
The rich aroma of melting chocolate fills the kitchen, beckoning everyone to gather around. Baking has a wonderful way of creating memorable moments, and this time, it’s all about Easy Turtle Bars. While they may look indulgent, these delightful treats are surprisingly simple to whip up, making them perfect for any occasion. Whether you’re craving a comforting dessert or need a quick crowd-pleaser, these gooey bars deliver on all fronts. With the option to easily adapt for dietary needs—like gluten-free alternatives or nut substitutions—there’s no excuse not to dive into this sweet delight. Curious about how to turn your kitchen into a haven of caramel and chocolate bliss? Let’s get baking!
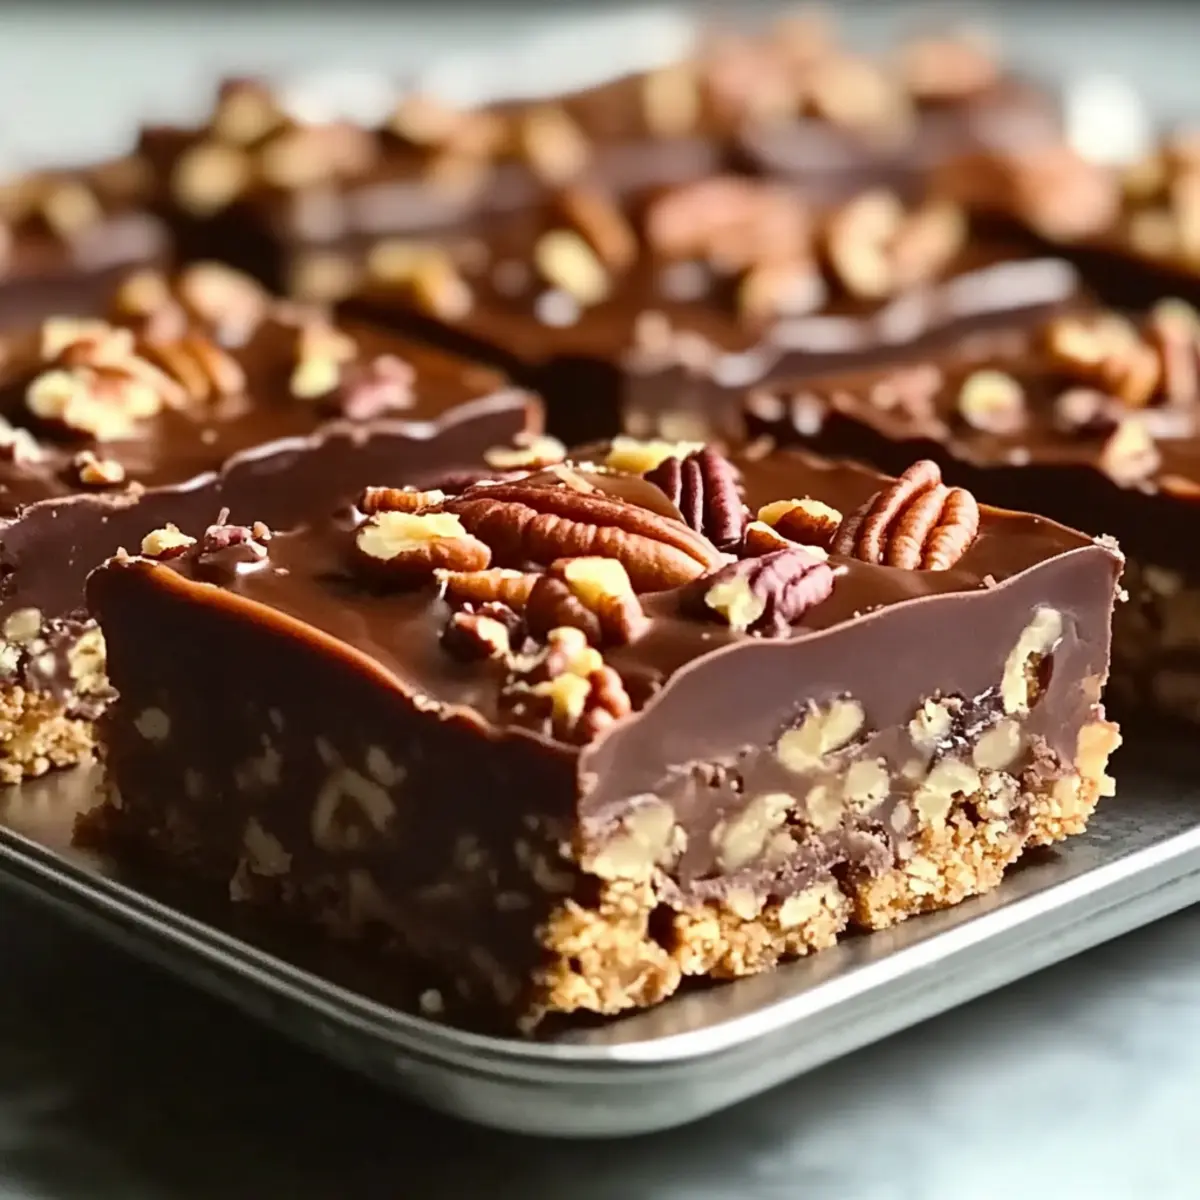
Why are Easy Turtle Bars a Must-Try?
Irresistible flavor: These bars combine rich chocolate, gooey caramel, and crunchy nuts, leading to an explosion of taste in every bite.
Quick and easy: With simple ingredients and straightforward steps, you can whip these up in no time, leaving more room for enjoyment.
Perfect for everyone: Gluten-free options and nut substitutes mean that no one is left out of the fun.
Versatile servings: Whether warm with ice cream or as a room-temperature snack, they fit any occasion perfectly.
Memorable moments: Baking these Easy Turtle Bars not only fills your home with delightful aromas but also creates special shared experiences.
If you love dessert recipes that impress, you’ll also enjoy Salted Caramel Bars or craving a twist on classic desserts? Try the irresistible Cannoli Squares!
Easy Turtle Bars Ingredients
• Dive into the deliciousness with these key ingredients that make your Easy Turtle Bars a heavenly treat!
For the Crust
• All-Purpose Flour – Provides the base for a sturdy yet tender crust; swap with a gluten-free flour blend for a gluten-free version.
• Brown Sugar (packed) – Adds caramel-like sweetness to the crust layer, creating depth of flavor.
• Unsalted Butter (cold and cubed) – Essential for creating a flaky crust; keep cold while mixing for the best texture.
For the Filling
• Pecan Halves – Offers a delightful crunch and nutty flavor; walnuts can be used as a nut alternative, or substitute with sunflower seeds for a nut-free option.
• Unsalted Butter (for caramel) – Brings a rich, smooth consistency to the caramel, enhancing its flavor.
• Brown Sugar (for caramel) – Enhances the rich, gooey caramel flavor that complements the chocolate.
For the Topping
• Chocolate Chips – Melts beautifully on top for a luscious finish; can be substituted with chopped chocolate for a personal touch.
With these ingredients, you’re just steps away from creating your very own delicious Easy Turtle Bars!
Step‑by‑Step Instructions for Easy Turtle Bars
Step 1: Preheat and Prepare
Begin by preheating your oven to 350°F (175°C). While it heats, line a 9×13 inch baking pan with parchment paper for easy removal later. This step is crucial for achieving the perfect texture for your Easy Turtle Bars, so make sure the pan is fully prepared before moving on.
Step 2: Combine Dry Ingredients
In a medium mixing bowl, combine 2 cups of all-purpose flour with 1 cup of packed brown sugar. Use a whisk to blend them well, ensuring the brown sugar is uniformly distributed. This mix will form the base of your crust, so take a moment to ensure everything is evenly combined before you continue.
Step 3: Cut in Butter
Next, cut in ¾ cup of cold, cubed unsalted butter into the flour and sugar mixture. Use a pastry cutter or your fingertips to work the ingredients together until the mixture resembles sandy crumbs. This should take about 2–3 minutes, and the cold butter is key to achieving a flaky crust for your Easy Turtle Bars.
Step 4: Press the Crust
Once the crumbly mixture is ready, transfer it into your prepared baking pan. Press it evenly into the bottom with your fingers or the bottom of a measuring cup to form a solid base. Aim for a smooth, even layer that will hold up when the bars are baked and topped with caramel and chocolate.
Step 5: Add the Pecans
After pressing the crust, scatter 1 cup of pecan halves evenly over the top. Gently press them into the crust to ensure they stick during baking. This layer adds delightful crunch and nutty flavor to your Easy Turtle Bars, making them truly irresistible.
Step 6: Make the Caramel
In a saucepan, melt ½ cup of unsalted butter and 1 cup of brown sugar over medium heat. Stir the mixture constantly until it starts to bubble, then continue cooking for an additional minute. The caramel should become smooth and slightly thickened—this rich layer will ooze beautifully over your crust and pecans.
Step 7: Pour the Caramel
Once the caramel is ready, pour it carefully over the crust and pecans in the baking pan. Use a spatula to spread it evenly, ensuring every corner is covered with that delicious, gooey layer. The warmth of the caramel will soak into the crust slightly, adding sweetness to your Easy Turtle Bars.
Step 8: Bake the Bars
Place the pan in the preheated oven and bake for 18-20 minutes. Keep an eye on them, looking for bubbles and a golden brown color around the edges. When done, the caramel should be bubbly and slightly firm, signaling that your Easy Turtle Bars are on the right track.
Step 9: Add Chocolate Chips
Remove the pan from the oven and immediately sprinkle 1 cup of chocolate chips evenly over the hot caramel layer. Allow the chocolate chips to soften for a few minutes before spreading them with a spatula. This creates a luscious, melting layer of chocolate that perfectly complements the crunchy and gooey textures.
Step 10: Cool and Slice
Finally, allow your Easy Turtle Bars to cool in the pan at room temperature until set. For cleaner cuts, let them chill in the refrigerator for about 30 minutes before slicing them into squares. This cooling period helps stabilize the layers, ensuring each bar showcases the delightful combination of flavors.
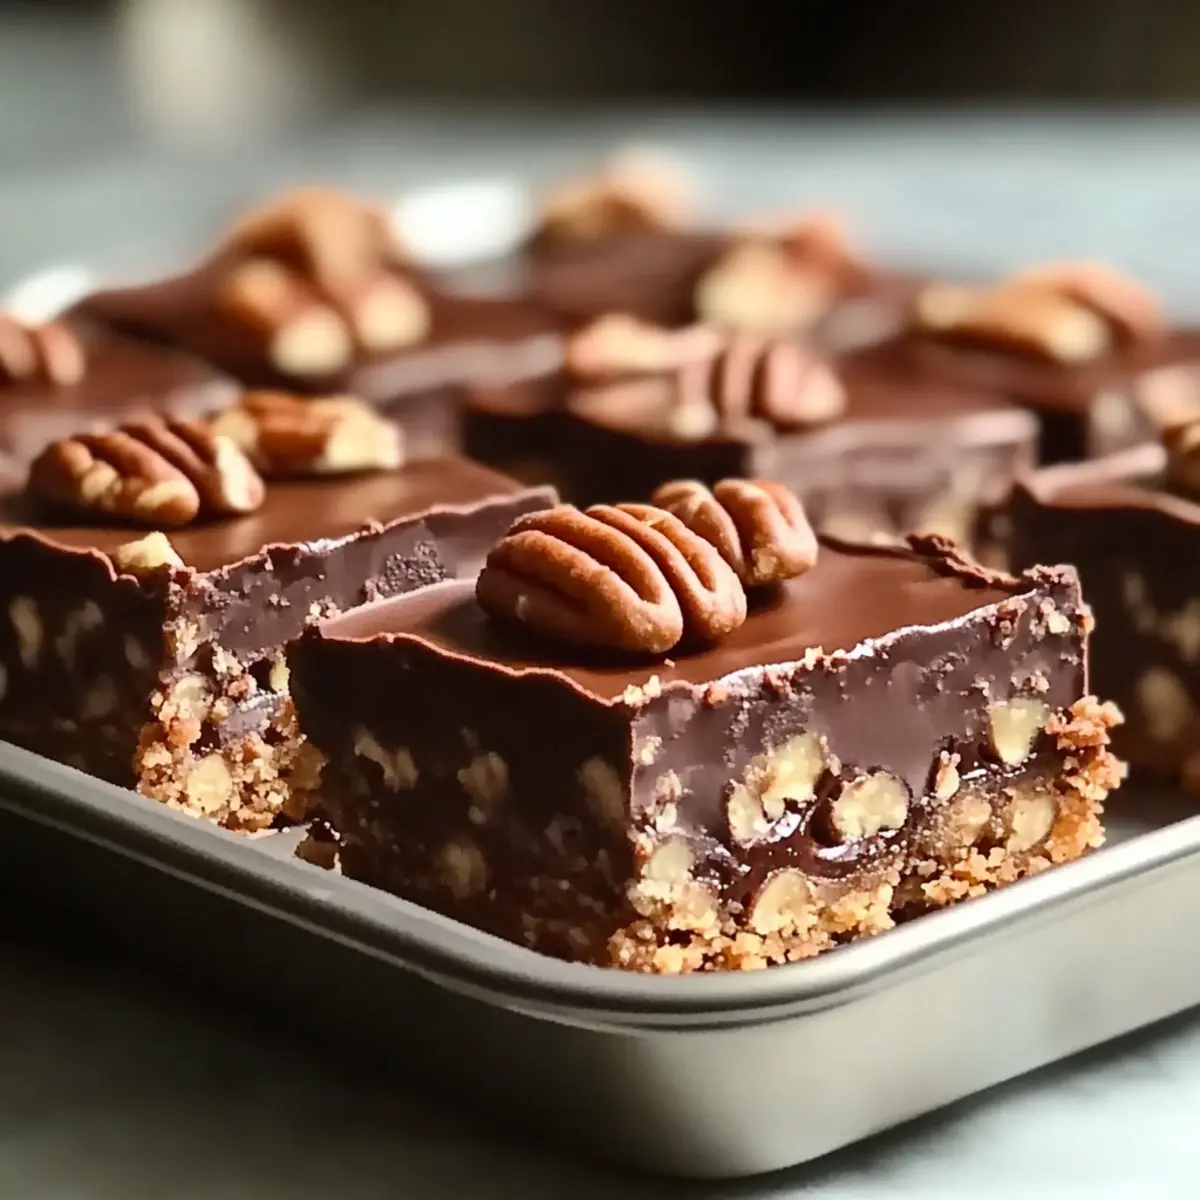
Storage Tips for Easy Turtle Bars
Room Temperature: Keep your Easy Turtle Bars in an airtight container at room temperature for up to 3 days to maintain their delightful texture and flavor.
Fridge: For longer freshness, refrigerate the bars in an airtight container for up to a week. The cool air helps preserve the chocolate and caramel layers.
Freezer: Wrap individual bars tightly in plastic wrap, then in aluminum foil. They can be frozen for up to 3 months, making them a perfect make-ahead treat!
Reheating: When ready to enjoy, thaw your frozen bars in the fridge overnight, then heat in the microwave for a few seconds to soften the chocolate before serving.
Easy Turtle Bars Variations
Feel free to tailor these Easy Turtle Bars to your taste, making them uniquely yours with just a few simple swaps and additions!
-
Nut-Free: Replace the pecans with sunflower seeds or omit the nuts entirely to create a delicious nut-free version.
-
Gluten-Free: Swap all-purpose flour for a gluten-free flour blend, ensuring everyone can savor the gooey goodness of your turtle bars.
-
Chocolate Twist: Use white chocolate or peanut butter chips instead of regular chocolate chips for a fun, unexpected flavor twist.
-
Extra Caramel: Drizzle homemade caramel sauce on top before serving for an amplified salty-sweet experience that will wow your taste buds.
-
Dairy-Free: Substitute the butter for a dairy-free alternative and use dairy-free chocolate chips to enjoy this delightful treat without the dairy.
-
Spiced Up: Add a pinch of cinnamon or a dash of sea salt to the caramel layer to enhance the flavor profile and introduce a cozy warmth.
-
Ice Cream Delight: Serve warm with a scoop of vanilla ice cream on top for a delightful dessert experience, perfect for sharing with family and friends.
-
Layered Treats: Create a layered version by adding a layer of your favorite jam or fruit preserves under the pecans for a delightful fruity contrast to the rich toppings.
Whether experimenting with nuts, flavors, or textures, the possibilities are endless! While you’re here, check out the delightful Salted Caramel Bars for another sensational sweet treat or indulge in the creamy goodness of Cannoli Squares that are sure to impress!
Make Ahead Options
These Easy Turtle Bars are perfect for busy home cooks who want to save time without sacrificing flavor! You can prepare the crust and caramel components up to 24 hours in advance. Simply mix the crust, press it into the baking pan, and cover it tightly with plastic wrap before refrigerating. The caramel can be made ahead as well; just store it in an airtight container after cooling. For the best quality, reheat the caramel gently before pouring it over the crust and pecans. Once baked and topped with chocolate, let them cool completely before slicing. This way, you’ll have delicious, homemade dessert bars ready to impress with minimal effort!
What to Serve with Easy Turtle Bars?
Transform your dessert experience and create a full meal by exploring the perfect pairings for these delightful Easy Turtle Bars.
- Vanilla Ice Cream: A classic pairing that enhances the richness of the caramel and chocolate, providing a delightful contrast in temperature and texture.
- Fresh Berries: Juicy strawberries or raspberries add a burst of freshness that balances the sweetness and brings a vibrant color to your dessert plate.
- Coffee or Espresso: The bold flavors of coffee complement the chocolate beautifully, making each bite even more satisfying—perfect for a post-dinner treat!
- Drizzle of Caramel Sauce: Elevate the indulgence by drizzling extra caramel over the bars for an extra layer of sweetness and gooeyness.
- Chocolate Sauce: For the ultimate chocolate lover’s experience, a drizzle of warm chocolate sauce can turn your Easy Turtle Bars into a dessert masterpiece.
- Milk or Almond Milk: A refreshing glass of milk or nut milk helps to mellow the richness of the bars, creating a well-rounded dessert experience.
- Whipped Cream: Light and airy whipped cream adds a delightful creaminess that pairs wonderfully with the dense texture of the bars, making every bite divine.
- Chopped Nuts: Sprinkle some chopped nuts on top for an additional crunch that mirrors the pecan goodness inside, enhancing the textural enjoyment.
- Mint Tea: A soothing cup of mint tea provides a refreshing cleanse for the palate, enhancing the overall dessert experience through its fragrant notes.
- Dark Chocolate Shavings: Finish your bars with a sprinkle of dark chocolate shavings for a striking presentation that also deepens the chocolate flavor—an irresistible touch!
Expert Tips for Easy Turtle Bars
• Cold Butter is Key: Ensure your unsalted butter remains cold while mixing. This helps achieve that flaky texture in your crust, essential for delicious Easy Turtle Bars.
• Watch the Caramel: Stir constantly while making caramel to prevent it from burning. If it begins to smell too strong or darkens too quickly, lower the heat immediately.
• Cooling Matters: Allow the baked bars to cool completely before slicing. This will help you achieve clean edges and prevent the layers from mixing together.
• Customize with Ease: Feel free to swap pecans with walnuts or sunflower seeds based on your dietary needs. This flexibility helps everyone enjoy the Easy Turtle Bars!
• Serving Tip: For an extra touch, serve these bars warm with a scoop of vanilla ice cream or a drizzle of caramel on top for enhanced indulgence.
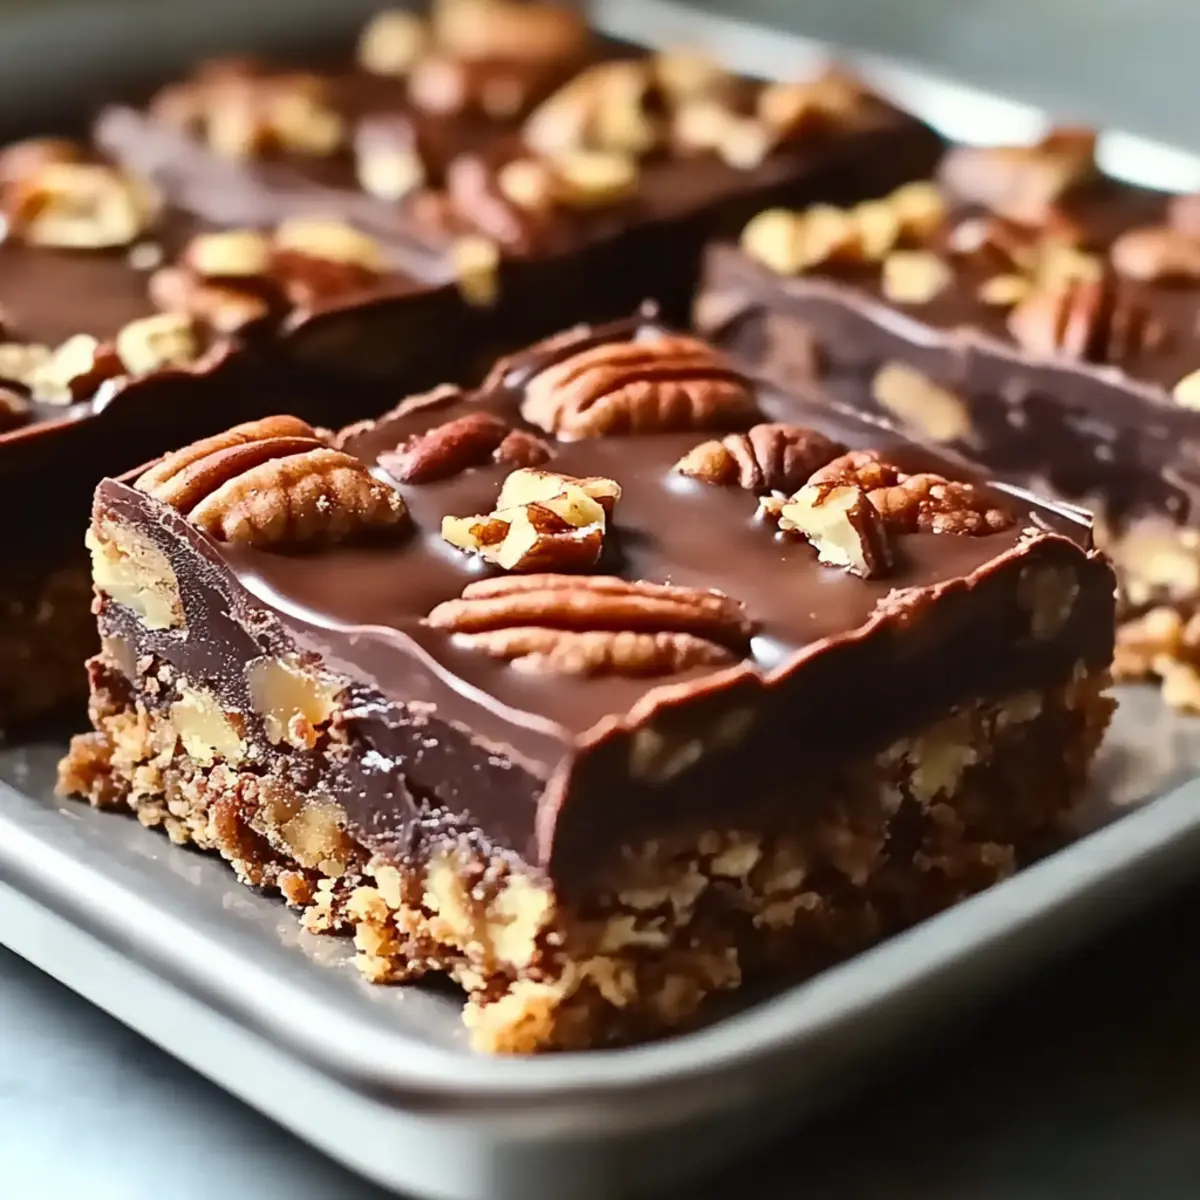
Easy Turtle Bars Recipe FAQs
How do I choose ripe ingredients for my Easy Turtle Bars?
Absolutely! For the best results, ensure your brown sugar is fresh and packed tightly, as this helps in achieving that rich caramel-like flavor. Since the recipe primarily uses shelf-stable ingredients, you don’t have to worry much about “ripeness,” but always check for any signs of clumping in your brown sugar—it should be soft and easy to pack.
What is the best way to store my Easy Turtle Bars?
For maximum freshness, store your Easy Turtle Bars in an airtight container. If left at room temperature, they’ll stay delicious for about 3 days. However, for longer-lasting treats, refrigerate them for up to a week. The cool environment preserves the luscious layers of chocolate and caramel wonderfully.
Can I freeze Easy Turtle Bars?
Yes, you can! To freeze your Easy Turtle Bars, wrap them individually in plastic wrap, ensuring they are well sealed to avoid freezer burn. Afterward, place them inside a freezer-safe bag or container. They can be enjoyed within 3 months. When you’re ready to savor them, simply thaw overnight in the fridge and warm them slightly in the microwave for that freshly baked feel.
What should I do if my caramel burns while making Easy Turtle Bars?
If your caramel starts to burn, immediately reduce the heat to low and remove the saucepan from the stove to prevent further damage. If it has already burnt, unfortunately, you’ll need to discard it and start over. Always stir constantly during this step and keep an eye on the bubbling stage; it’s key for a smooth caramel layer!
Are there any dietary considerations for Easy Turtle Bars?
Very! If you have nut allergies, simply substitute the pecans with sunflower seeds or omit them entirely for a delightful flavor still intact. For a gluten-free adaptation, swap the all-purpose flour with a certified gluten-free flour blend. It’s wonderful that these easy adjustments make it so everyone can join in on enjoying this sweet treat!
How can I ensure my Easy Turtle Bars cut nicely?
To achieve those perfect square cuts, allow your Easy Turtle Bars to cool completely in the pan. If you want even cleaner edges, refrigerate them for about 30 minutes before slicing. This cooling period helps stabilize the layers, ensuring that you’ll get beautiful, distinct squares when you cut into them!
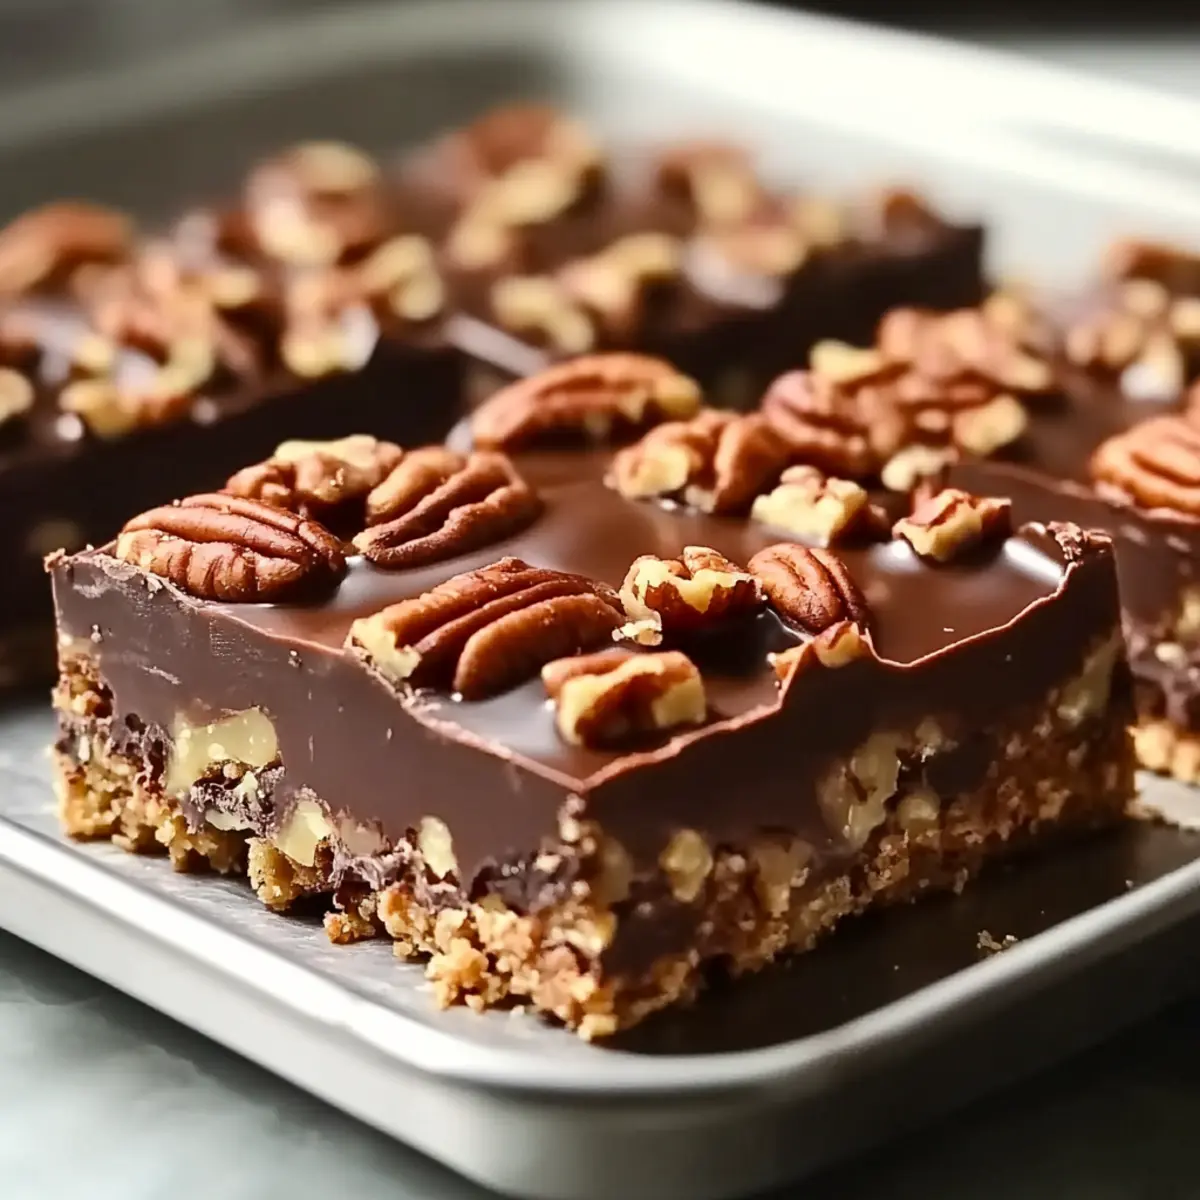
Decadent Easy Turtle Bars – Chocolate Caramel Bliss Await!
Ingredients
Equipment
Method
- Preheat your oven to 350°F (175°C) and line a 9x13 inch baking pan with parchment paper.
- Combine 2 cups of all-purpose flour with 1 cup of packed brown sugar in a medium mixing bowl.
- Cut in ¾ cup of cold, cubed unsalted butter until the mixture resembles sandy crumbs.
- Press the mixture evenly into the bottom of the prepared baking pan.
- Scatter 1 cup of pecan halves over the top and gently press them into the crust.
- Melt ½ cup of unsalted butter and 1 cup of brown sugar in a saucepan over medium heat, stirring constantly until bubbly.
- Pour the caramel over the crust and pecans, spreading it evenly.
- Bake for 18-20 minutes until bubbly and golden brown around the edges.
- Sprinkle 1 cup of chocolate chips over the hot caramel layer and spread them with a spatula once softened.
- Let the bars cool in the pan at room temperature, then chill in the refrigerator for about 30 minutes before slicing.
Leave a Reply