
There’s nothing quite like the joy of savoring a sweet treat on a warm summer day. That’s why I’m thrilled to share my latest creation: Strawberry Crunch Cheesecake Cones! This delightful portable dessert beautifully combines the rich, creamy essence of cheesecake with the bright, refreshing taste of fresh strawberries. Not only is this recipe incredibly easy to whip up, making it perfect for those busy summer afternoons, but it also provides a unique twist that’s sure to impress at your next gathering. Whether you’re hosting a picnic or simply treating yourself, these cones are bound to be an instant hit. How about diving into this scrumptious summer dessert?
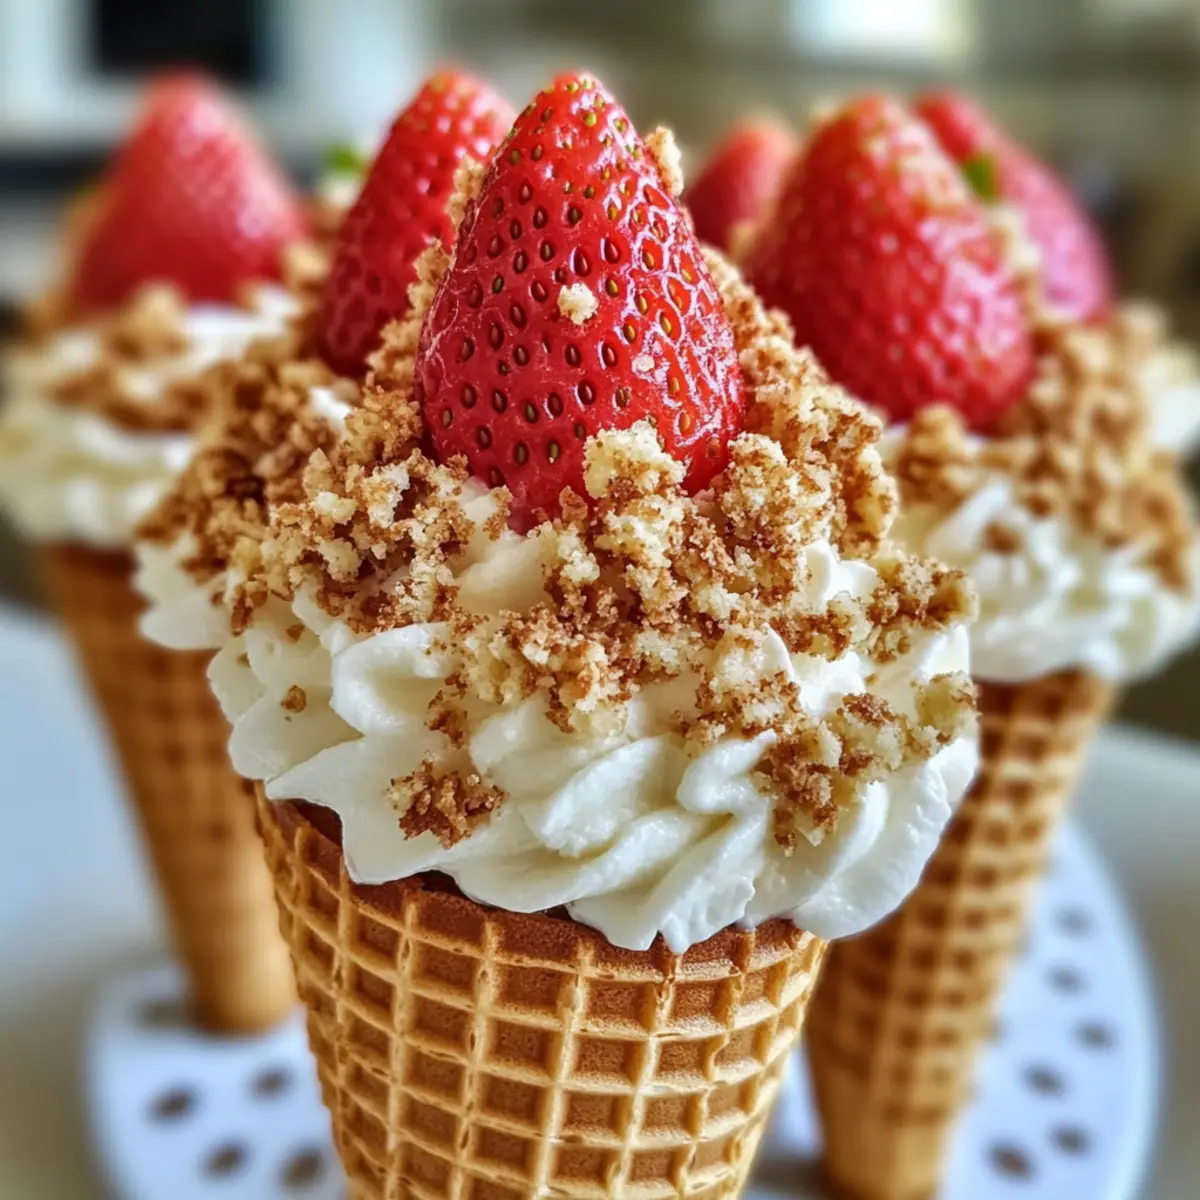
Why are these cones the ultimate dessert?
Uniquely Portable: Enjoy the classic cheesecake experience without the fuss of a traditional slice! These cones allow you to savor your dessert on-the-go.
Freshness for Summer: Bursting with juicy strawberries, this recipe captures the essence of summer in every delightful bite.
Easy to Make: Simple ingredients and straightforward steps mean you can whip these up quickly, leaving more time for fun in the sun!
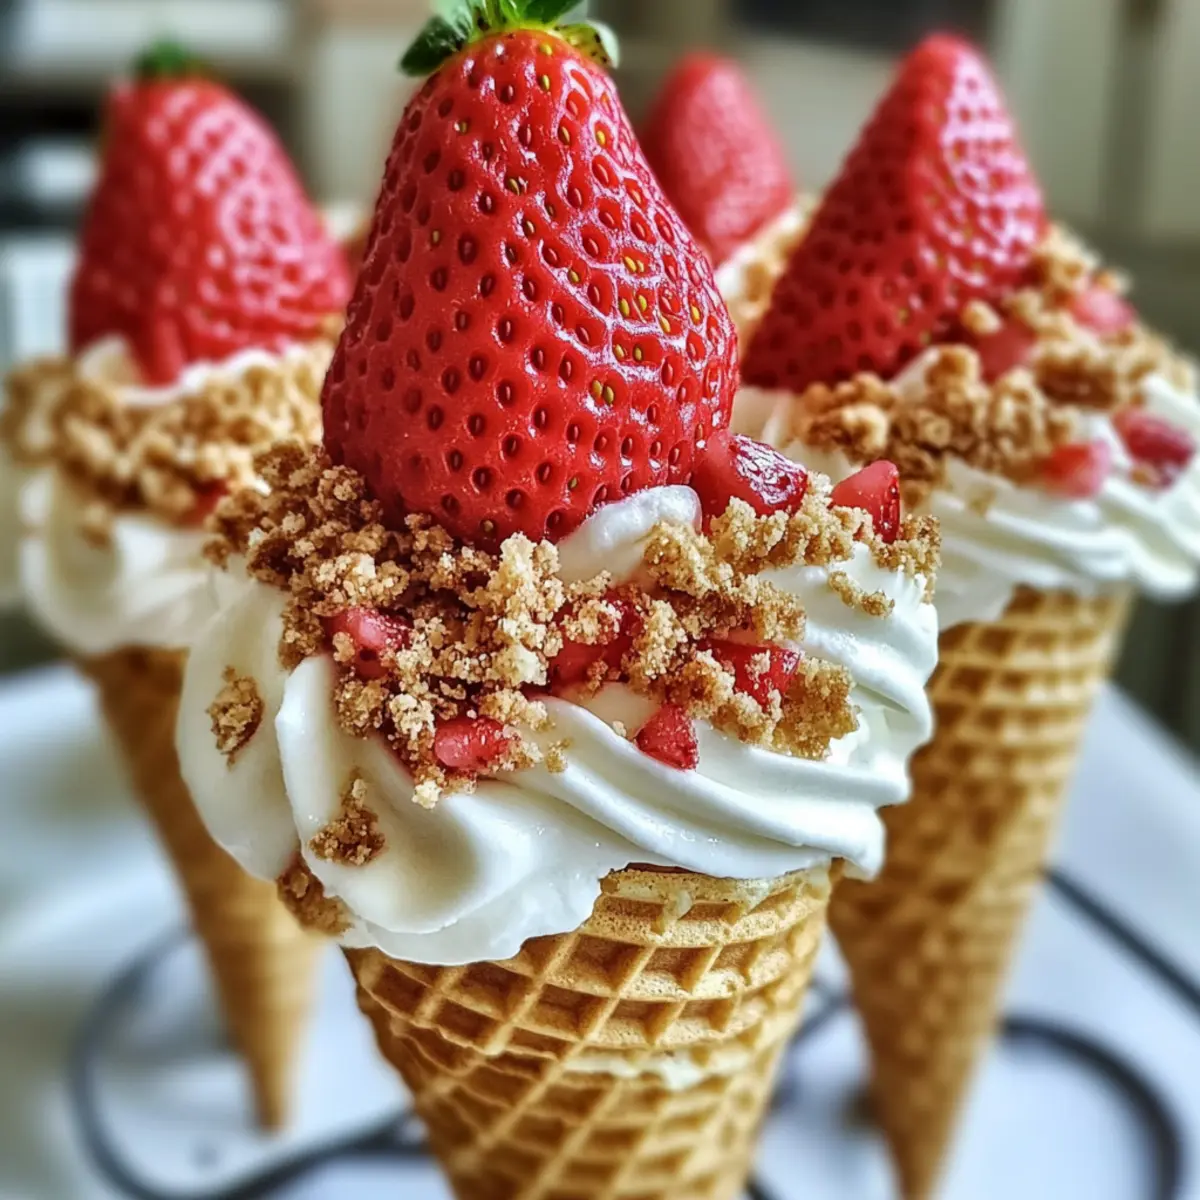
Perfect for Gatherings: Impress your friends and family with a dessert that’s not only delicious but also visually stunning.
Versatile Options: Feel free to switch up the strawberries for other berries or make it gluten-free with alternative ingredients—it’s all about what you love!
For more fruit-forward treats, don’t miss my Vanilla Custard Strawberry Tart or the delightful Fried Strawberry Cheesecake!
Strawberry Crunch Cheesecake Cones Ingredients
For the Strawberry Sauce
• Fresh Strawberries – Use ripe, sweet strawberries for the best flavor and brightness.
• Granulated Sugar – Adds sweetness and helps to draw out the juices from the strawberries.
• Lemon Juice – A splash of acidity brightens the flavor of the sauce and balances the sweetness.
For the Cheesecake Filling
• Cream Cheese – Use softened cream cheese for a smooth, creamy texture; it’s the backbone of your cheesecake.
• Heavy Cream – Whip until stiff peaks form, adding fluffiness to the filling; be careful not to over-whip.
• Powdered Sugar – Sweetens the filling without adding graininess, allowing for a velvety texture.
• Vanilla Extract – Enhances the flavor profile of the cheesecake, making it more indulgent.
For the Topping
• Vanilla Wafer Cookies – Toast and crush for a delightful crunch that contrasts with the creamy filling.
For Assembly
• Waffle Cones – These serve as the sturdy, crunchy base for your strawberry crunch cheesecake cones, making them portable and fun!
Embrace the joy of summer with these Strawberry Crunch Cheesecake Cones, perfect for sharing or sneaking away as a delightful solo treat!
Step‑by‑Step Instructions for Strawberry Crunch Cheesecake Cones
Step 1: Prepare the Strawberry Sauce
Start by washing and hulling 1 pound of fresh strawberries, then chop them into small pieces. In a saucepan over medium heat, combine the strawberries with ¼ cup of granulated sugar and the juice of half a lemon. Stir occasionally for about 5 to 7 minutes until the strawberries break down and release their juices. Once thickened, remove from heat and allow it to cool completely.
Step 2: Make the Cheesecake Filling
In a mixing bowl, beat 8 ounces of softened cream cheese with an electric mixer on medium speed until it becomes creamy and smooth, about 2-3 minutes. Make sure there are no lumps for a velvety texture. Gradually add ¾ cup of powdered sugar and 1 teaspoon of vanilla extract, mixing until well combined and fluffy.
Step 3: Whip the Heavy Cream
In a separate bowl, pour in 1 cup of heavy cream. Using a hand mixer or stand mixer, whip the cream on medium-high speed until stiff peaks form, taking about 4-5 minutes. Be careful not to over-whip, as you want a smooth consistency. This airy whipped cream will be folded into the cheesecake filling for lightness, adding a delightful texture.
Step 4: Combine the Fillings
Gently fold the whipped cream into the cream cheese mixture using a spatula until fully combined, being careful to maintain the fluffiness. Once the cream is incorporated, slowly add the cooled strawberry sauce, mixing until the cheesecake filling achieves a beautiful pink color that is evenly distributed.
Step 5: Prepare the Topping
To create the crunchy topping, take a handful of vanilla wafer cookies and lightly toast them in a preheated oven at 350°F (175°C) for about 5 minutes or until golden brown and fragrant. Allow the cookies to cool, then crush them into small pieces. This will add a wonderful crunch to your Strawberry Crunch Cheesecake Cones.
Step 6: Assemble the Cones
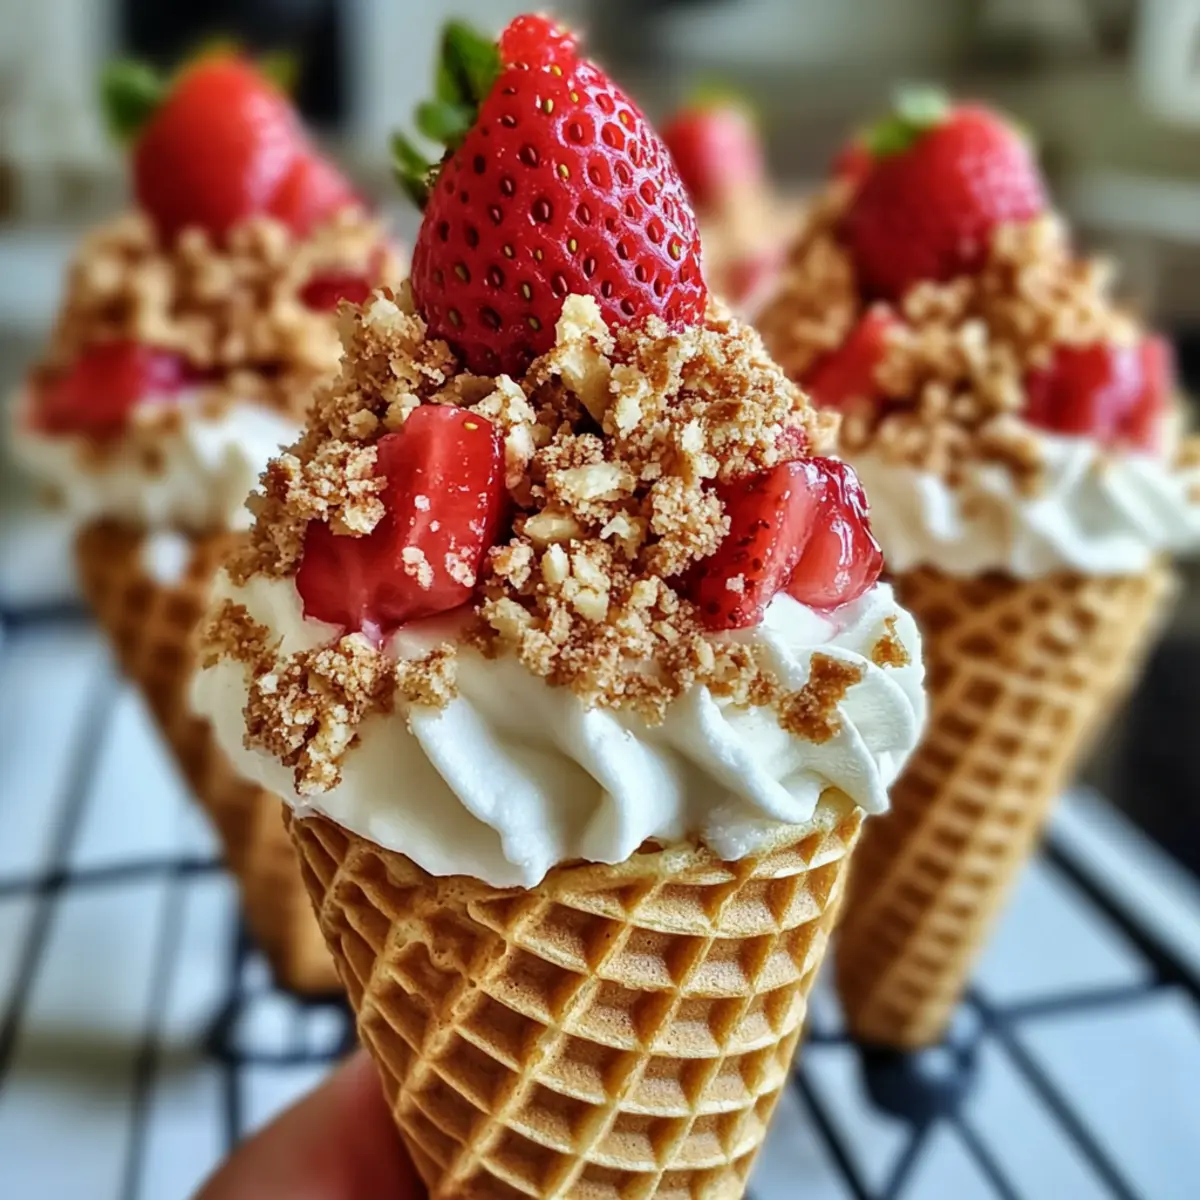
Now, it’s time to fill your waffle cones! Use a piping bag or a spoon to add the cheesecake filling generously into each cone, pressing down gently to pack it in. Leave a little space at the top for the crushed vanilla wafers. This will ensure each bite has that delightful creamy and crunchy contrast.
Step 7: Chill the Assembled Cones
Place the filled cones upright in a glass or stand to keep them steady. Refrigerate the cones for at least 1 hour to allow the filling to firm up a bit and the flavors to meld beautifully. This step is essential for serving a perfect Strawberry Crunch Cheesecake Cone that holds its shape and delights in texture.
Make Ahead Options
These Strawberry Crunch Cheesecake Cones are perfect for meal prep enthusiasts! You can prepare the cheesecake filling and strawberry sauce up to 24 hours in advance. Simply mix the filling and store it in an airtight container in the refrigerator, while the strawberry sauce can also cool and be kept separately. This helps maintain freshness and prevents the cones from getting soggy. When you’re ready to assemble, just fill the waffle cones with the cheesecake mixture, sprinkle the crushed vanilla wafers on top, and chill them for about an hour before serving. This way, you’ll have a delightful dessert ready to impress with minimal last-minute effort!
What to Serve with Strawberry Crunch Cheesecake Cones?
Enhance your dessert experience with delightful pairings that bring out the flavors of summer and sweetness.
-
Fresh Mint Leaves: A sprinkle of mint adds a refreshing herbal note that contrasts beautifully with the sweet cheesecake.
-
Vanilla Ice Cream: The creamy richness of vanilla ice cream creates a decadent pairing, perfect for those warm evenings.
-
Chocolate Drizzle: A light drizzle of chocolate brings indulgence while balancing the tartness of the strawberry.
-
Lemon Sorbet: The bright acidity of lemon sorbet refreshes the palate, enhancing the fruity flavors in the cones.
-
Fruit Salad: A mix of seasonal fruits alongside your cones provides a fresh texture, making every bite exciting and colorful.
-
Sparkling Water: The bubbles in sparkling water cleanse the palate, the perfect complement to the richness of cheesecake.
-
Homemade Whipped Cream: A dollop of slightly sweetened whipped cream elevates the dessert, adding fluffiness and an extra layer of joy.
-
Peach Iced Tea: This fruity drink mirrors the sweet notes of your cones while offering a thirst-quenching refreshment for summer gatherings.
-
Chocolate-Covered Strawberries: For a sweet pairing, enjoy berries dipped in chocolate, creating a cohesive dessert experience bursting with flavor.
How to Store and Freeze Strawberry Crunch Cheesecake Cones
Fridge: Keep any leftover cones in an airtight container in the refrigerator for up to 2 days. They’re best enjoyed fresh, but refrigeration helps maintain the texture.
Freezer: For longer storage, you can freeze the cheesecake filling in a sealed container for up to 1 month. However, avoid freezing the waffle cones as they may become soggy upon thawing.
Reheating: While these cones are best served cold, if you want to soften the filling slightly after refrigeration, let them sit at room temperature for about 10 minutes before serving.
Assembly Tip: If you’re preparing these Strawberry Crunch Cheesecake Cones in advance, consider storing the filling and the cones separately and assembling them just before serving for optimal freshness.
Strawberry Crunch Cheesecake Cones Customizations
Feel free to get creative with your Strawberry Crunch Cheesecake Cones! These easy ideas will let your imagination shine.
- Berry Swap: Substitute fresh strawberries with blueberries or raspberries for a new fruity twist. Each berry brings its own unique flavor to the party! You might even discover a surprise favorite that adds a delightful zing.
- Gluten-Free: Use gluten-free vanilla wafers and waffle cones to make these cones suitable for gluten-sensitive friends. It’s an easy switch that ensures everyone can enjoy this delightful treat.
- Rich Flavor Boost: Add a splash of almond extract or orange zest to the cheesecake filling for an extra dimension of flavor. The warm notes will create a beautiful harmony that dances joyfully on your palate.
- Chocolate Drizzle: Drizzle melted chocolate over the filled cones before chilling. This decadent touch adds a beautiful presentation and an irresistible richness. Who can resist chocolate and cheesecake together?
- Nutty Crunch: Fold in some finely chopped nuts like pecans or almonds into the cheesecake filling for an added texture boost. This delightful mix-in elevates the crunch factor and gives extra depth to your cones.
- Coconut Twist: Incorporate some toasted coconut flakes into the topping for a tropical flair. That little bit of sweetness creates a wonderful contrast with the strawberries and the creaminess of the filling.
- Spicy Kick: If you’re feeling adventurous, consider adding a hint of cayenne or chili powder to the strawberry sauce for a surprising sweet-heat combo. This playful twist will tantalize your taste buds and make for fun conversations!
- Sundae Style: Top your cones with whipped cream or a scoop of vanilla ice cream for an over-the-top dessert experience. This indulgent touch transforms your cones into a spectacular sundae, perfect for celebrations or anytime you crave a treat.
For more mouthwatering cheesecakes, be sure to check out these delightful desserts: Oreo Cheesecake Cookie and Millionaires Cheesecake!
Expert Tips for Strawberry Crunch Cheesecake Cones
-
Room Temperature Cream Cheese: Ensure your cream cheese is at room temperature for easier mixing; this avoids lumps and achieves a smooth consistency in your cheesecake filling.
-
Watch the Whipping: Be mindful when whipping the heavy cream; stop as soon as stiff peaks form. Over-whipped cream can turn grainy and ruin the texture of your filling.
-
Cool the Sauce: Always allow your strawberry sauce to cool completely before adding it to the cheesecake mixture. This prevents melting the filling and ensures a perfect blend of flavors.
-
Packing the Cones: When filling the waffle cones, gently press the cheesecake mixture down to avoid air pockets, ensuring you get that creamy goodness all the way to the bottom.
-
Chill Time Matters: Don’t rush the refrigeration step—allow the Strawberry Crunch Cheesecake Cones to chill for at least an hour. This helps the filling set and makes for easier serving!
Strawberry Crunch Cheesecake Cones Recipe FAQs
How do I choose the best strawberries for this recipe?
Absolutely! For the best flavor and sweetness, look for ripe strawberries that are bright red without any dark spots or blemishes. Ideally, you want to select berries that yield slightly to the touch, indicating they are juicy and ready to use.
What’s the best way to store leftover cheesecake cones?
Keep any leftover cones in an airtight container in the refrigerator for up to 2 days. Although they’re best enjoyed fresh, chilling them helps to maintain their texture. Just be aware that the cones may start to soften over time.
Can I freeze the cheesecake filling?
Yes, you can! To freeze the cheesecake filling, pour it into a sealed, airtight container and store it in the freezer for up to 1 month. However, I wouldn’t recommend freezing the waffle cones, as they may become soggy once thawed. Assemble the cones fresh when you’re ready to enjoy.
What should I do if my cream cheese filling is too lumpy?
Very! If your cream cheese filling ends up lumpy, don’t worry—simply continue to beat it at medium speed until it smooths out. Make sure the cream cheese is at room temperature beforehand for easier mixing, and consider using a fine-mesh sieve to strain out any tougher bits if necessary.
Can I make this recipe gluten-free?
Absolutely! To make gluten-free Strawberry Crunch Cheesecake Cones, simply substitute the vanilla wafer cookies and waffle cones for gluten-free alternatives. There are many options available that still provide that delicious crunch while accommodating dietary needs.
Can pets have strawberries or any of the ingredients?
While fresh strawberries are generally safe for dogs in moderation, they shouldn’t be given any of the cheesecake filling ingredients like cream cheese or heavy cream, which can upset their stomach. Always consult your vet for specific dietary recommendations for your pets.
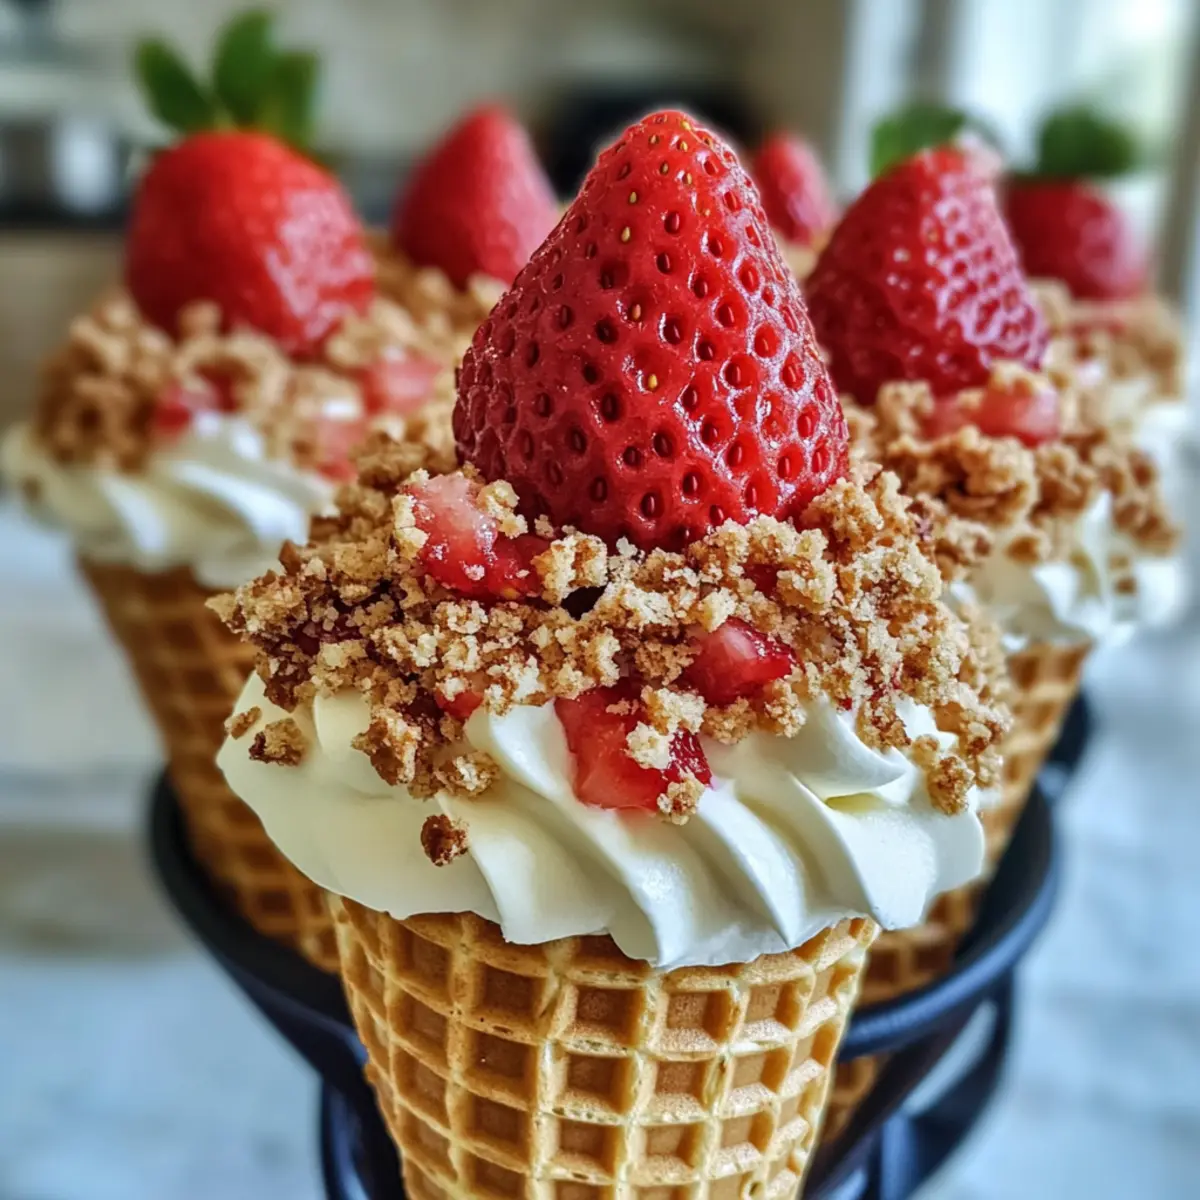
Strawberry Crunch Cheesecake Cones for a Fun Summer Treat
Ingredients
Equipment
Method
- Prepare the Strawberry Sauce by washing and hulling the strawberries and chopping them into small pieces. Combine in a saucepan with sugar and lemon juice over medium heat for 5 to 7 minutes. Cool completely.
- Make the Cheesecake Filling by beating cream cheese until creamy, then adding powdered sugar and vanilla extract until fluffy.
- Whip the Heavy Cream until stiff peaks form, then gently fold it into the cream cheese mixture.
- Combine the fillings by adding the cooled strawberry sauce to the cheesecake filling until evenly mixed.
- Prepare the Topping by toasting the vanilla wafer cookies in a preheated oven at 350°F for about 5 minutes or until golden brown. Crush them.
- Assemble the Cones by filling each waffle cone with the cheesecake filling and leaving space for the crushed wafers.
- Chill the assembled cones upright in the refrigerator for at least 1 hour.
Leave a Reply