
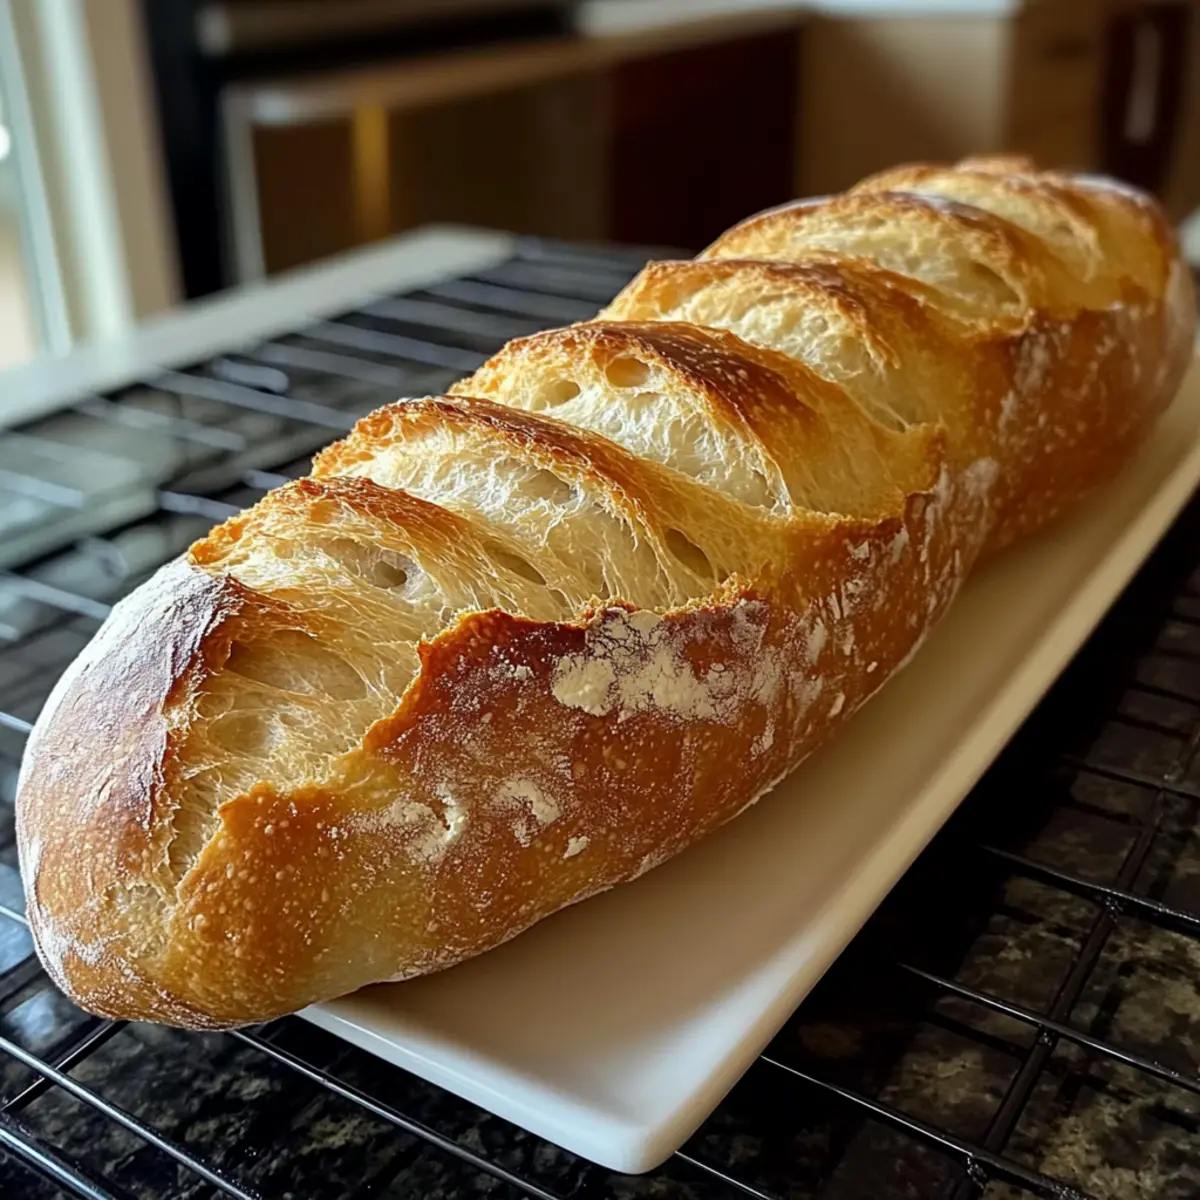
As the warm aroma of freshly baked bread wafts through your kitchen, it’s hard not to feel a wave of comfort wash over you. This Quick and Easy Crusty Homemade French Bread is your ticket to bakery-quality loaves without the fuss, turning any average day into a delightful occasion. With no special equipment required and a simple process designed for beginners, you’ll be amazed at how quickly you can whip up this crusty delight, perfect for sandwiches or a side to your favorite soup. Not only does it save you a trip to the store, but it also offers a fun, engaging way to showcase your culinary skills. So, are you ready to impress your friends and family with your newfound bread-baking prowess? Let’s dive in!
Why Make Homemade French Bread?
Irresistible Freshness: There’s nothing quite like the aroma of warm bread filling your home; it’s an experience that store-bought simply can’t match.
Beginner-Friendly: No specialized tools are needed! Perfect for anyone wanting to dip their toes into bread-making.
Quick Bake Time: In under two hours, you can enjoy a fresh loaf to complement your meals.
Perfect for Any Occasion: Whether for a cozy dinner or a casual lunch with your favorite soup, it’s a versatile bread that suits all.
Crowd Pleaser: You’ll leave your friends and family in awe of your baking skills; pair it with a spread or serve it in slices! Try it with Pumpkin French Toast or as a side to French Mustard Chicken.
French Bread Ingredients
• Stock your kitchen with these essential ingredients to create your tasty french bread:
- Warm Water – Activates yeast; ensure it’s between 105-115°F to avoid killing the yeast.
- Active Dry Yeast – Responsible for leavening the bread; use fresh yeast for optimal rising.
- Granulated Sugar – Feeds the yeast, promoting fermentation; substitute with honey for a different flavor.
- All-Purpose Flour – Provides structure and texture; stick to all-purpose for best results.
- Salt – Enhances flavor and regulates yeast activity; essential to balance the bread’s taste.
- Olive Oil – Adds moisture and elasticity; can be swapped with melted butter for richness.
Step‑by‑Step Instructions for Quick and Easy Crusty Homemade French Bread
Step 1: Activate Yeast
In a small bowl, combine warm water (105-115°F) with granulated sugar. Sprinkle the active dry yeast over the water and let it sit for 5-10 minutes until it becomes foamy. This bubbling mixture indicates that the yeast is alive and ready to help your french bread rise beautifully.
Step 2: Mix Dough
In a large mixing bowl, combine the foamy yeast mixture with all-purpose flour, salt, and olive oil. Stir with a wooden spoon or spatula until a shaggy dough forms. This will create the base for your french bread. Once combined, prepare to transfer the dough to a floured surface for kneading.
Step 3: Knead Dough
Turn the shaggy dough onto a well-floured surface. Knead the dough for about 5-7 minutes, folding and pressing until it is smooth and elastic. Aim for a slightly tacky texture that springs back when pressed. This step is crucial for developing gluten, giving your french bread its wonderful structure.
Step 4: First Rise
Place the kneaded dough in a lightly greased bowl, turning it to coat. Cover the bowl with a clean kitchen towel or plastic wrap, and let it rise in a warm place for about 60 minutes, or until the dough has doubled in size. This is your opportunity to feel the excitement of home-baking as the dough expands.
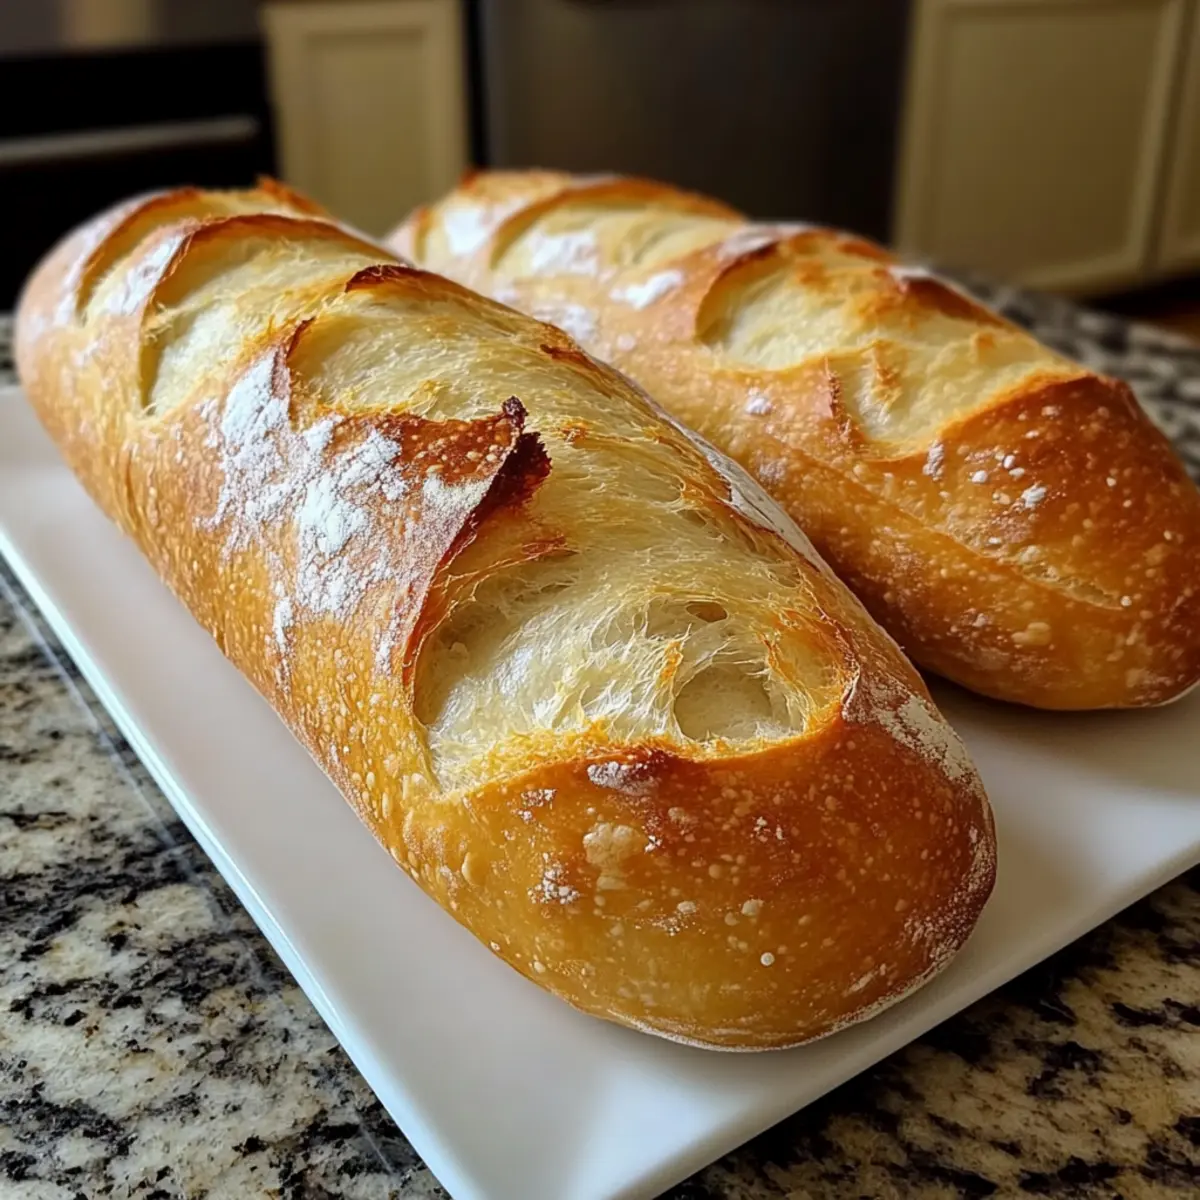
Step 5: Shape Loaves
Once risen, punch down the dough gently to release air. Split it into two equal pieces and shape each piece into long loaves. Place the shaped loaves on a parchment-lined baking sheet and let them rest for 20 minutes, allowing the gluten to relax, making shaping easier.
Step 6: Preheat Oven
While the loaves rest, preheat your oven to 425°F. Place a shallow pan on the bottom rack to create steam while baking, which will assist in achieving a crusty exterior on your french bread. This step is key to mimicking the bakery-style crust that everyone loves.
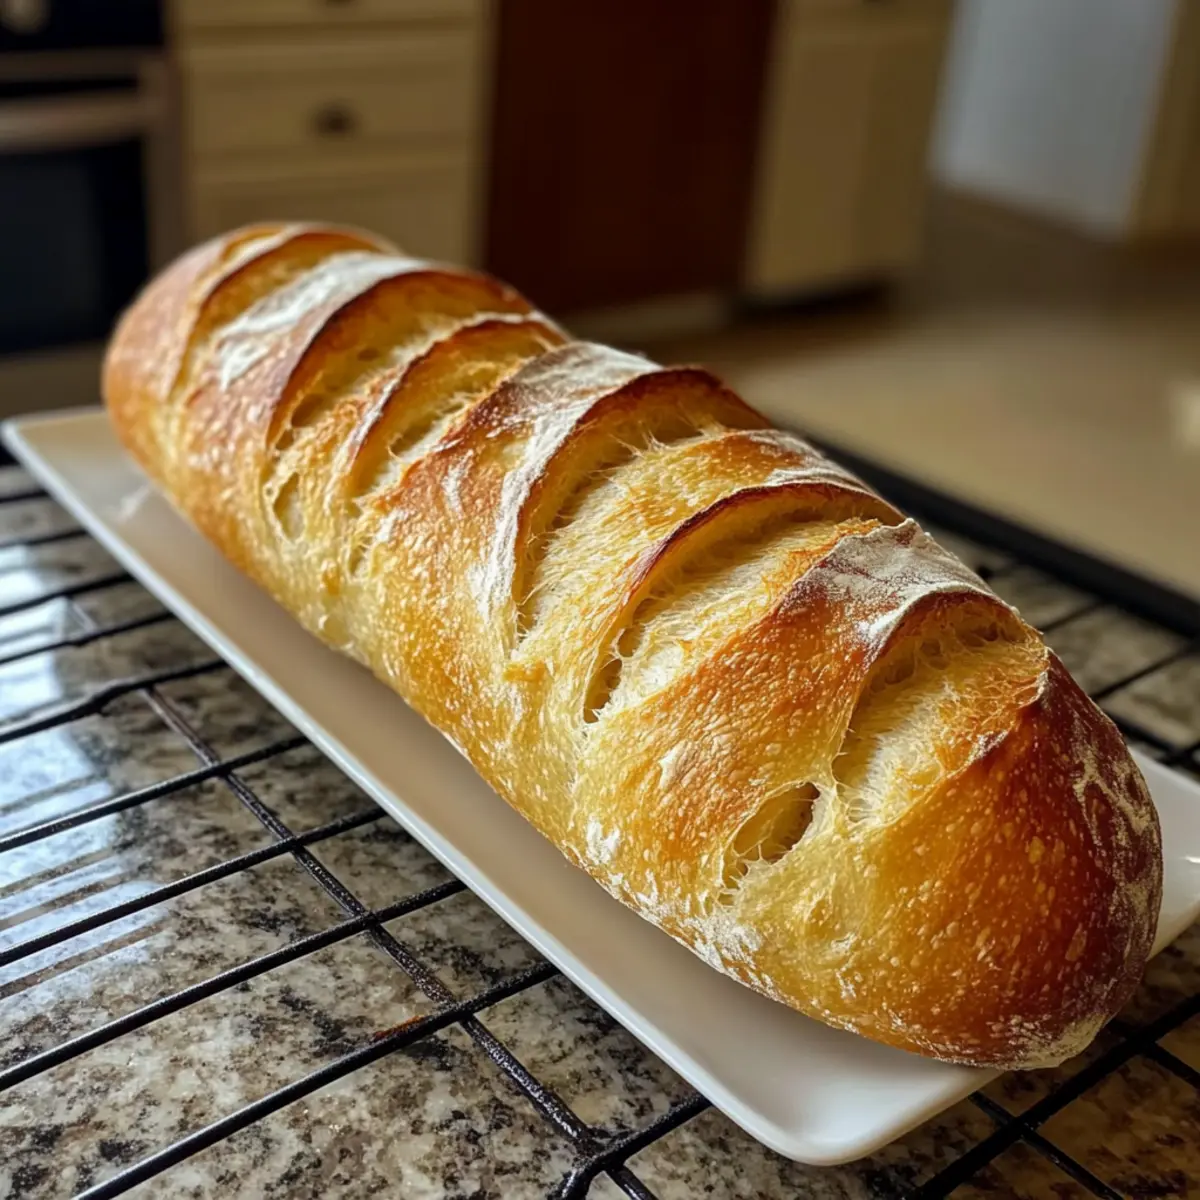
Step 7: Prepare for Baking
After the rest period, use a sharp blade or serrated knife to make three diagonal slashes across the top of each loaf. This gives your french bread room to expand while baking. Carefully pour hot water into the steam pan at the bottom of the oven for that perfect crust.
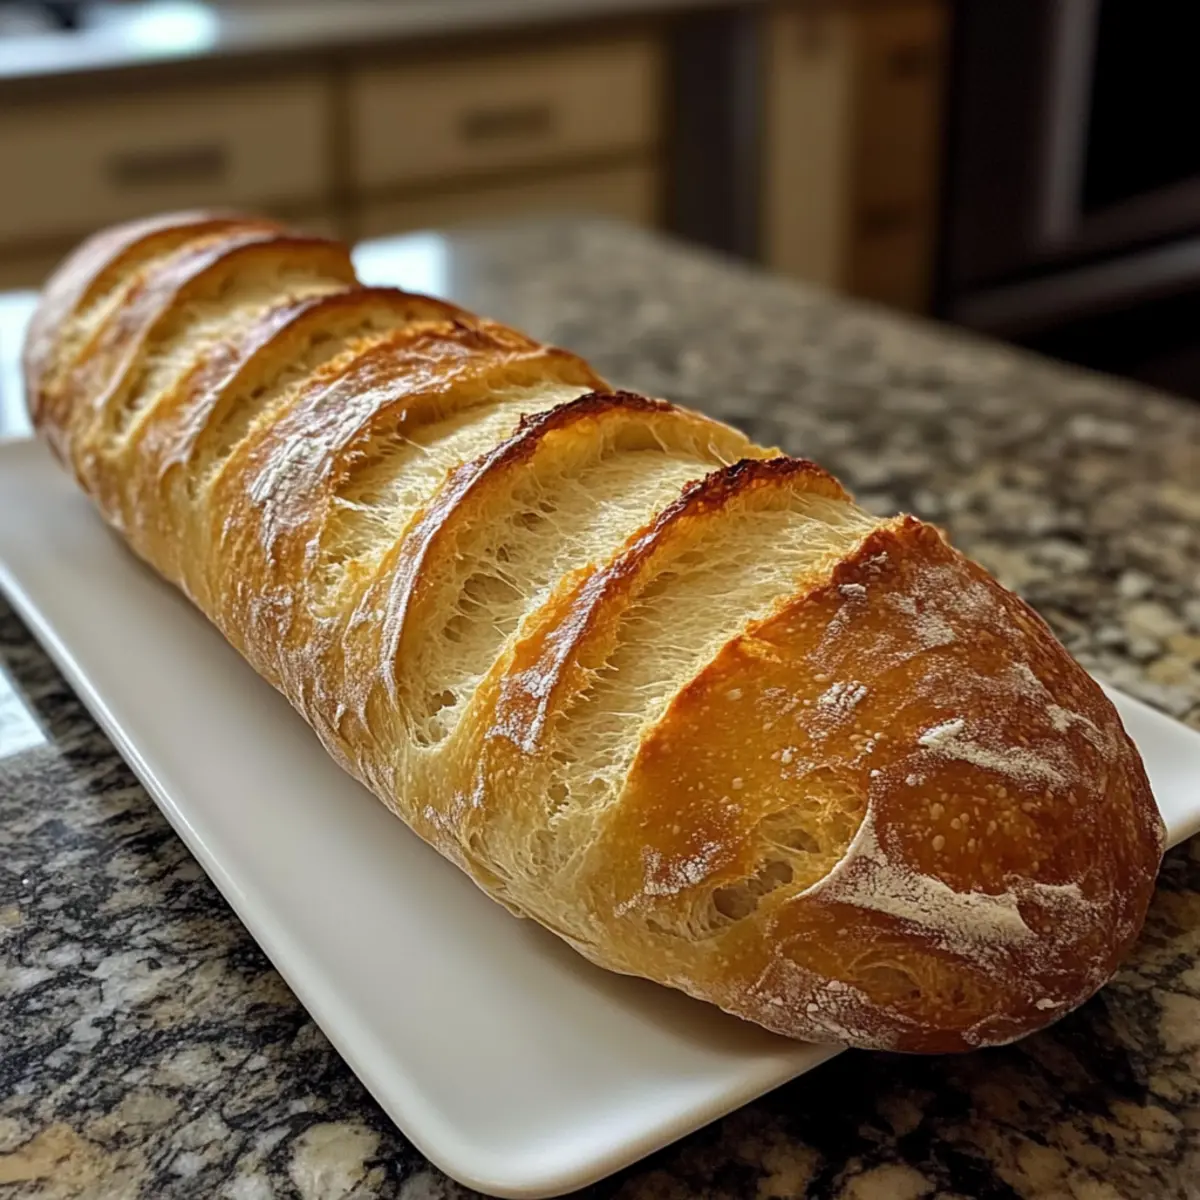
Step 8: Bake
Place the baking sheet with the loaves in the preheated oven and bake for 20-25 minutes. Keep an eye on them! You’ll know they’re ready when they turn a golden brown and sound hollow when tapped on the bottom. This sound is the signature of perfectly baked french bread.
Step 9: Cool
Once baked, remove the loaves from the oven and transfer them to a wire rack. Allow them to cool completely before slicing—this helps to avoid a gummy texture in the middle and allows the flavors to settle. Your patience will pay off with warm, delicious french bread awaiting your family and friends.
What to Serve with Quick and Easy Crusty Homemade French Bread
Experience the warmth of homemade meals by pairing your freshly baked bread with delightful accompaniments that elevate every bite.
-
Creamy Butternut Squash Soup: The velvety texture of this soup contrasts beautifully with the crusty bread, creating a comforting combination.
-
Classic Garden Salad: Crisp greens and fresh veggies add a burst of color and crunch, offering a refreshing balance to the rich flavor of the bread.
-
Garlic Butter Spread: Slather this savory spread on warm slices for a quick, flavorful treat that enhances the bread’s natural goodness.
-
Rich Beef Stew: Hearty and packed with flavor, this stew combines perfectly with the bread, allowing you to soak up every last drop.
-
Homemade Bruschetta: Top slices of your French bread with this fresh tomato mixture for an appetizer that bursts with Italian-inspired flavors.
-
Cheese Platter: Arrange a selection of cheeses, olives, and nuts beside the bread for a lovely grazing board, perfect for entertaining.
-
Chardonnay or Pinot Noir: A glass of crisp Chardonnay or light Pinot Noir complements the bread’s texture, creating an inviting dining experience.
The aroma of crusty French bread mingling with these delicious side dishes is sure to create cherished moments around the table. Enjoy!
How to Store and Freeze French Bread
- Room Temperature: Store the cooled French bread in a paper bag or wrapped in a clean kitchen towel to maintain its crust and freshness for up to 2 days. Avoid plastic, as it can make the bread soggy.
- Fridge: It’s best not to refrigerate your French bread, as this can lead to faster staling. Enjoy it fresh instead!
- Freezer: For longer storage, slice your French bread and freeze it in an airtight container or freezer bag for up to 3 months. Thaw individual slices at room temperature or toast directly from frozen.
- Reheating: To revive your bread, preheat the oven to 350°F, wrap the loaf in foil, and warm it for about 10-15 minutes. This will give it that fresh-baked quality again before you enjoy your homemade French bread!
French Bread Variations & Substitutions
Feel free to get creative and make this french bread recipe your own! Whether you’re looking for healthier options or fun flavor infusions, you’ve got plenty of choices.
-
Whole Wheat Flour: Substitute half of the all-purpose flour with whole wheat flour for a heartier texture and added nutritional benefits.
Experience a rustic taste that pairs beautifully with soups. -
Herb-Infused Dough: Mix in dried herbs like oregano or basil to the dough for a fragrant twist.
Imagine the aroma wafting through your kitchen as the bread bakes—so inviting! -
Garlic Lover’s Delight: Incorporate minced garlic or garlic powder into the dough to boost flavor.
This makes for an extraordinary bread that’s just perfect for accompanying dipping oils. -
Cheesy Goodness: Add grated cheese, such as Parmesan or cheddar, to the dough for a savory kick.
Each slice will melt in your mouth, stealing the spotlight at your dinner table! -
Spicy Kick: Sprinkle red pepper flakes into the dough for a subtle heat that enhances flavor.
This is especially delightful when served with rich, creamy soups. -
Sweet Twist: Substitute a bit of sugar with honey or add a touch of cinnamon for a sweet bread option.
Your breakfast routine will love this twist, especially when slathered with butter! -
Seeded Crust: Before baking, sprinkle sesame seeds or poppy seeds on top for extra texture and flavor.
This simple touch elevates your homemade french bread to a sophisticated level!
Looking for creative ways to enjoy your french bread? Try it as a base for bruschetta, just like with my favorite Pumpkin French Toast or pair it with a rich slice of French Butter Cake. The possibilities are endless, and your culinary adventure awaits!
Make Ahead Options
These Quick and Easy Crusty Homemade French Bread loaves are perfect for meal prep enthusiasts! You can mix and knead the dough up to 24 hours in advance; just keep it covered in the refrigerator to prevent over-proofing. When you’re ready to bake, remove the dough, let it come to room temperature for about 30 minutes, and allow it to rise again for about 60 minutes until it doubles in size. To maintain that irresistible crust, bake it fresh the day you plan to serve or enjoy it within 3 days if stored in a paper bag at room temperature. Your friends and family will be amazed by the bakery-quality results with minimal effort!
Expert Tips for Perfect French Bread
- Water Temperature: Use warm water (105-115°F) to activate the yeast properly; water that’s too hot will kill it.
- Kneading Technique: Knead until the dough is smooth and slightly tacky for the best texture; under-kneading results in denser bread.
- Steam Creation: Always place a shallow pan in the oven with water to create steam; this is vital for achieving that coveted crust on your French bread.
- Sharp Blade for Slashing: Use a sharp knife to make the diagonal cuts; this ensures the bread expands evenly while baking.
- Cooling Time: Resist the urge to slice immediately after baking; letting the loaves cool completely on a rack enhances flavor and texture.
Quick and Easy Crusty Homemade French Bread Recipe FAQs
How can I tell if my yeast is fresh and active?
Absolutely! An excellent indicator of fresh yeast is when you activate it with warm water and sugar—look for a foamy, bubbly appearance after about 5-10 minutes. If it doesn’t foam, the yeast is likely dead. Always check the expiration date on the package before using.
What’s the best way to store leftover French bread?
To keep your homemade French bread fresh, allow it to cool completely before storing. Place it in a paper bag or wrap it in a clean kitchen towel at room temperature. This maintains the crust’s texture for up to 2 days. If you want to extend its lifespan, slice it and freeze it in an airtight container or freezer bag for up to 3 months.
Can I freeze French bread? If so, how?
Yes, you can freeze French bread! Slice the bread first for easy access. Then, wrap each slice individually in plastic wrap or aluminum foil, and place them in a freezer-safe bag or container. When you’re ready to enjoy it, you can thaw slices at room temperature or toast them straight from the freezer. I often do this so I can have fresh-tasting bread anytime!
What if my dough doesn’t rise?
Very often, dough may not rise if the yeast isn’t active or the environment is too cold. Ensure your water is between 105-115°F when activating the yeast; too hot can kill it, and too cold won’t help it activate. If your kitchen is chilly, try letting the dough rise in a warmer spot, such as the oven with the light turned on. Patience is key; sometimes, it may take a bit longer than expected!
Is there a gluten-free option for this French bread recipe?
Yes! You can use a gluten-free all-purpose flour blend that includes xanthan gum to help with the texture. I recommend mixing in a little extra olive oil or a different fat to maintain moisture. Keep in mind that gluten-free bread behavior differs from traditional bread, so adjust your expectations and baking time accordingly!
Crusty French Bread Made Easy: Bake Like a Pro at Home
Ingredients
Equipment
Method
- Combine warm water with granulated sugar. Sprinkle yeast and let sit for 5-10 minutes until foamy.
- In a mixing bowl, combine the foamy yeast mixture with flour, salt, and olive oil. Stir until a shaggy dough forms.
- Turn the dough onto a floured surface and knead for 5-7 minutes until smooth and elastic.
- Place the kneaded dough in a greased bowl, cover, and let rise for about 60 minutes, or until doubled in size.
- Punch down the risen dough, divide into two pieces, shape into loaves, and rest for 20 minutes.
- Preheat the oven to 425°F and place a shallow pan on the bottom rack for steam.
- Make three diagonal slashes on each loaf, pour hot water into the steam pan, and bake for 20-25 minutes.
- Let the loaves cool completely on a wire rack before slicing.
Leave a Reply