
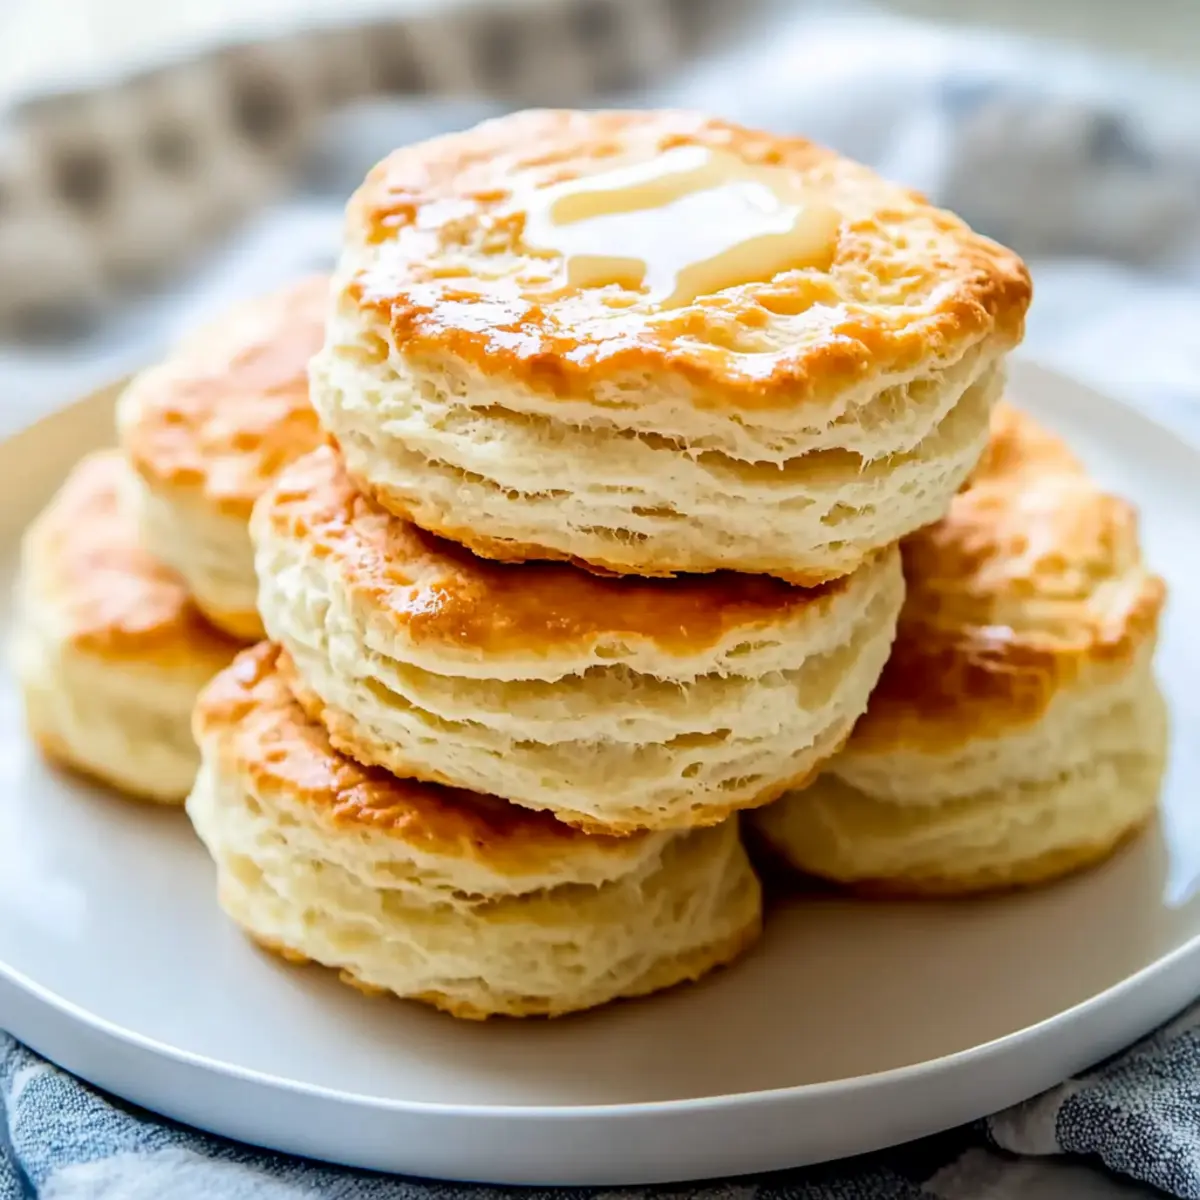
There’s something magical about the first bite of a warm biscuit, isn’t there? As I floured the countertop and gathered simple ingredients from my pantry, I couldn’t help but think of the countless mornings spent eagerly anticipating those soft, flaky layers fresh from the oven. This recipe for homemade biscuits is not only quick but requires no yeast, making it the perfect go-to comfort food for busy days. In just 30 minutes, you can whip up a batch that outshines any store-bought option, offering that irresistible aroma and texture that fill your kitchen with warmth. Imagine serving these beauties alongside creamy sausage gravy or a dollop of your favorite jam—delightful! Curious to see just how easily you can create these heavenly homemade biscuits? Let’s dive in!
Why are Homemade Biscuits So Irresistible?
Fluffiness is achieved in just 30 minutes with no yeast needed, making this biscuit recipe a quick favorite. Comforting aroma fills your kitchen, instantly warming hearts and inviting smiles around the breakfast table. Versatile serving options abound: enjoy them with creamy sausage gravy, fresh jam, or even a side of scrambled eggs. Crowd-pleaser appeal is guaranteed; these biscuits can brighten any meal, whether breakfast or brunch. Plus, if you love homemade comfort food, check out our spectacular Homemade Meatballs Savory for another delightful recipe!
Homemade Biscuits Ingredients
• Get ready to create fluffy, comforting homemade biscuits with these simple ingredients!
For the Biscuits
- All-purpose flour – Provides structure; use a spoon-and-level method for accurate measurement.
- Baking powder – Acts as the leavening agent for rise; aluminum-free is recommended for the best results.
- Granulated sugar – Adds a hint of sweetness to balance flavors.
- Salt – Enhances overall taste; fine sea salt is best for even distribution.
- Unsalted butter (cold) – Essential for flakiness; make sure to cut it into small, pea-sized pieces.
- Half and half – Adds moisture and richness; adjust the amount slightly based on humidity levels.
For Brushing
- Melted butter – Provides a beautiful glossy finish and enhances aroma when brushed onto hot biscuits.
With these ingredients on hand, you’re well on your way to whipping up a batch of homemade biscuits that will have everyone coming back for more!
Step‑by‑Step Instructions for Homemade Biscuits
Step 1: Prep the Butter
Begin by chilling your unsalted butter in the refrigerator until very cold, approximately 15 minutes. Once chilled, remove it from the fridge and dice it into small, pea-sized pieces. Keep the butter cold to ensure your fluffy homemade biscuits achieve optimal flakiness and texture.
Step 2: Mix the Dry Ingredients
In a large mixing bowl, whisk together 2 cups of all-purpose flour, 1 tablespoon of baking powder, 1 tablespoon of granulated sugar, and 1 teaspoon of fine sea salt. Mix the ingredients thoroughly until they are well combined, and you can see a uniform blend that indicates a solid base for your homemade biscuits.
Step 3: Incorporate the Butter
Add the cold, diced butter to the flour mixture. Using a pastry cutter or your fingertips, gently cut the butter into the flour until the mixture resembles coarse crumbs with pea-sized pieces. This step is crucial for achieving that light, flaky texture as it ensures that pockets of butter will create steam during baking.
Step 4: Add the Half and Half
Slowly pour in ¾ cup of half and half to the flour and butter mixture, stirring gently with a fork. Mix just until the dough begins to come together; overmixing will lead to tough biscuits. Aim for a shaggy texture, where there are still some dry spots in the dough.
Step 5: Build Layers
On a floured countertop, turn the dough out and fold it a few times. Pat the dough gently to about 1-inch thick without overworking it. This folding process helps create layers, crucial for the lightness of your homemade biscuits.
Step 6: Cut the Biscuits
Using a floured biscuit cutter, press straight down into the dough to cut out rounds without twisting, which could seal the edges. Place the biscuits about 1 inch apart on a prepared baking sheet. Reroll any scraps to cut more biscuits, ensuring every bit of dough is utilized.
Step 7: Bake
Preheat your oven to 450°F (232°C) while prepping the biscuits for baking. Once the oven is ready, set the baking sheet with your cut biscuits inside and bake for 12 to 15 minutes. Look for a golden-brown top and risen sides that indicate they’re done and ready to be enjoyed.
Step 8: Finish with Butter
As soon as your homemade biscuits come out of the oven, brush the tops with melted butter for an appealing sheen and extra flavor. The luscious aroma fills the kitchen, beckoning everyone to the table to enjoy these soft, flaky delights while they’re still warm.
Homemade Biscuits Variations & Substitutions
Feel free to explore the world of flavor and texture with these delightful twists on your homemade biscuits!
-
Buttermilk: Replace half and half with buttermilk for a tangy richness that adds complexity to each bite. The extra acidity will elevate the flavor profile beautifully.
-
Cheesy Goodness: Incorporate shredded cheddar or your favorite cheese into the dough for a savory twist. Each biscuit will be infused with cheesy delight, perfect for brunch!
-
Herbed Biscuits: Mix in fresh herbs like rosemary or chives for a fragrant boost. These herbal notes complement breakfast spreads or serve as a savory side to dinner.
-
Sweet Twist: Add a handful of chocolate chips or dried fruit such as cranberries for a sweet variation. Pair this with honey butter for a delectable treat at breakfast.
-
Spiced Biscuits: Stir in a teaspoon of garlic powder or paprika for a savory biscuit with a kick. These will pair wonderfully with soups or stews, adding depth to your meal.
-
Gluten-Free Option: Swap the all-purpose flour with a gluten-free flour blend. Just be sure to check if any additional binding agents are needed for the right texture.
-
Freezer-Friendly: Take advantage of your batch by freezing unbaked biscuits. Enjoy homemade warmth anytime by popping a couple into the oven—how convenient is that?
Enhance your biscuit experience further by serving them alongside a warm, rich Beef Enchiladas Homemade or some heartwarming Homemade Meatballs Savory for a comforting feast!
Expert Tips for Fluffy Homemade Biscuits
• Cold Butter is Key: Ensure your butter is extremely cold; this helps create those flaky layers that make homemade biscuits irresistible.
• Avoid Overmixing: Gently combine the dough. Overmixing can lead to tough biscuits, so mix just until it comes together.
• Use Flour Wisely: If the dough feels sticky, dust lightly with flour instead of adding too much. Too much flour can make them dense.
• High Oven Temperature: Baking at 450°F is crucial for achieving that perfect rise and golden crust on your homemade biscuits.
• Cut Straight Down: When cutting the biscuits, press straight down with the cutter; avoid twisting to keep the edges from sealing.
Make Ahead Options
These homemade biscuits are perfect for meal prep enthusiasts! You can prepare the biscuit dough up to 24 hours in advance by following these steps: After cutting the biscuits, place them on a baking sheet and cover tightly with plastic wrap before refrigerating. This helps maintain their flakiness and flavor. Alternatively, you can freeze unbaked biscuits for up to 3 months. Simply flash freeze them on a baking sheet until solid, then transfer to a freezer-safe bag. When you’re ready to bake, no need to thaw—just add a couple of extra minutes to the baking time. With these make-ahead options, you’ll enjoy warm biscuits fresh out of the oven on busy mornings with minimal effort!
What to Serve with Fluffy Homemade Biscuits?
There’s something truly special about creating a complete meal with your fluffy, buttery creations, enticing everyone around the table.
-
Creamy Sausage Gravy: This rich, savory accompaniment perfectly complements the flaky texture of biscuits, elevating your breakfast experience to delightful heights. Imagine each bite, soft biscuit topped with velvety gravy—a magical combination!
-
Scrambled Eggs: Fluffy, buttery eggs bring a bright contrast to warm biscuits, creating a wholesome breakfast that’s both satisfying and comforting. Pair them for an easy morning feast!
-
Fresh Berries: Juicy blueberries or raspberries add a refreshing sweetness and vibrant color to your plate, cutting through the richness of the biscuits for a delightful balance.
-
Maple Syrup: Drizzling warm, golden syrup over your biscuits not only adds sweetness but also plays beautifully with the buttery flavor. This is a classic combination that never disappoints!
-
Honey or Jam: A dollop of your favorite jam or a drizzle of honey introduces a delightful tartness or sweetness that harmonizes with the doughy warmth.
-
Bacon: Crispy bacon adds a savory crunch and a contrast to the softness of homemade biscuits. It’s a breakfast staple that everyone loves!
-
Hot Coffee or Tea: A steaming cup beside your plate makes for the perfect breakfast ritual, enhancing the delicious experience of enjoying homemade biscuits with a warm drink.
-
Chilled Fruit Salad: A medley of seasonal fruits adds a refreshing touch, providing vibrant colors and a hint of sweetness that rounds out your breakfast beautifully.
-
Buttermilk Pancakes: Why stick to just one bread? Pair your biscuits with fluffy pancakes for an indulgent breakfast treat that will leave everyone feeling satisfied!
-
Almond Milk: This dairy alternative adds a subtle nutty flavor, perfect for those who want a lighter beverage that still feels indulgent with your meal.
How to Store and Freeze Homemade Biscuits
Room Temperature: Keep freshly baked biscuits in an airtight container at room temperature for up to 2 days. This helps maintain their soft texture and prevents them from drying out.
Fridge: If you need to store them longer, place the biscuits in the fridge for up to 5 days. Make sure they are wrapped tightly to avoid absorbing odors from other foods.
Freezer: For long-term storage, freeze unbaked biscuits by placing them on a baking sheet until firm, then transfer to a freezer-safe bag. They can last for up to 3 months.
Reheating: When ready to enjoy your homemade biscuits, reheat them in a low oven (350°F) for about 10 minutes to restore their warmth and flakiness.
Fluffy Homemade Biscuits Recipe FAQs
How do I choose the best flour for homemade biscuits?
Absolutely! For the fluffiest homemade biscuits, I recommend using all-purpose flour. It’s versatile and gives the right structure without being too heavy. Make sure to use the spoon-and-level method for accurate measurement—this helps prevent dense biscuits.
What’s the best way to store leftover biscuits?
Very! Allow them to cool completely before storing in an airtight container at room temperature for up to 2 days. If you want to keep them longer, you can refrigerate them for up to 5 days, ensuring they’re tightly wrapped to avoid absorbing any fridge odors.
Can I freeze unbaked biscuits? How?
Yes, you can! Pre-shape your biscuit dough and place cut-out biscuits on a baking sheet, ensuring they don’t touch. Freeze them until firm, about 1 to 2 hours, then transfer to a freezer-safe bag or container. They’ll keep well for up to 3 months. When you’re ready to bake, no need to thaw—just pop them in the oven and add a couple of extra minutes to the baking time.
What should I do if my biscuit dough feels too sticky?
If your dough is sticky, don’t panic! Simply sprinkle a light dusting of flour over the dough and your hands while working with it. It’s important to use just enough to make it manageable without overdoing it, as too much flour can lead to dense biscuits.
Are these biscuits safe for my pets or anyone with allergies?
I recommend caution here! These biscuits contain common allergens, including wheat and dairy. If your pets happen to sneak a nibble, a small amount of plain biscuit should be fine, but be mindful of their overall diet. For allergies, consider substituting with gluten-free flour and a non-dairy milk to make them safe for those with dietary restrictions.
How can I tell if my biscuits are done baking?
Look for that golden-brown top and sides! Biscuits typically need 12 to 15 minutes at 450°F (232°C). When they rise beautifully and the tops are golden, that’s your cue they’re perfectly baked and ready to enjoy!
Fluffy Homemade Biscuits for That Perfect Breakfast Comfort
Ingredients
Equipment
Method
- Chill the unsalted butter in the refrigerator for approximately 15 minutes, then dice into small, pea-sized pieces.
- In a large mixing bowl, whisk together the flour, baking powder, sugar, and salt until well combined.
- Add the cold, diced butter to the flour mixture and cut it into the flour until it resembles coarse crumbs.
- Slowly pour in the half and half, stirring gently until the dough begins to come together.
- Turn the dough onto a floured countertop and fold it a few times, patting it to about 1-inch thick.
- Using a floured biscuit cutter, cut out rounds of dough and place them on a baking sheet.
- Preheat the oven to 450°F (232°C) and bake the biscuits for 12 to 15 minutes until golden-brown.
- Brush the tops with melted butter immediately after taking them out of the oven.
Leave a Reply