
As I stood in my kitchen, dusting flour on the counter, the familiar aroma of freshly baked pita bread instantly took me back to my travels through Greece. There, I discovered the joy of warm, fluffy bread that hugs your favorite ingredients perfectly. Today, I’m thrilled to share my twist on this classic with a recipe for Homemade Greek Pita Bread using yogurt instead of yeast. Not only is this method gluten-free for those who need it, but these pitas also come together in a flash, making them a go-to for busy weeknights or casual gatherings. With a texture that’s soft, chewy, and utterly irresistible, you’ll want to serve them with everything from dips to delicious wraps. So, are you ready to elevate your meals with this simple yet satisfying delight? Let’s dive in!
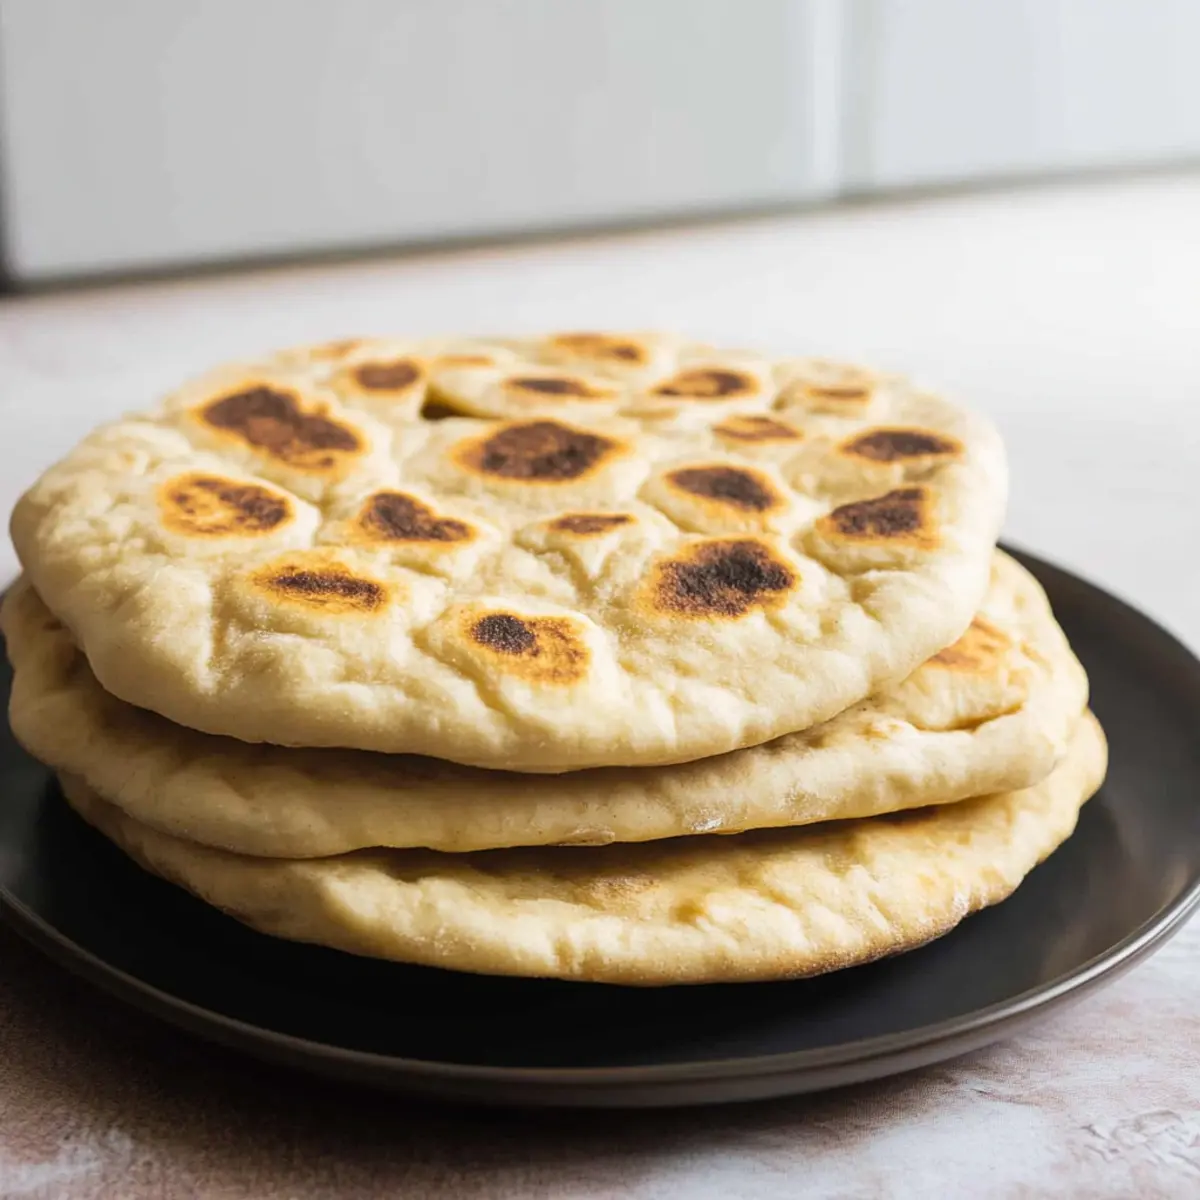
Why Is This Pita Recipe So Special?
Simplicity at Its Best: This recipe is straightforward, making it easy for home cooks of any skill level to achieve fluffy, delicious pita bread in no time.
Yogurt-based Goodness: Using Greek yogurt instead of yeast not only speeds up the process but results in a delightful texture that’s moist and soft.
Versatile Delight: Perfect for scooping up your favorite dips like Tzatziki or wrapping grilled meats, the possibilities are endless.
Gluten-Free Option: By simply substituting all-purpose flour for gluten-free flour, you can cater to various dietary needs without sacrificing flavor.
Quick to Make: In just minutes, you can whip up a batch of these pitas, making them ideal for busy weekdays or impromptu gatherings.
Crowd-Pleasing Appeal: These pitas are sure to impress family and friends alike, offering a homemade touch that fast food simply can’t match.
Homemade Pita Bread Ingredients
• For the soft and fluffy texture you crave, gather these simple ingredients!
For the Pita Dough
- All-Purpose Flour – Provides structure to the breads; substitute with gluten-free flour for a homemade pita bread that’s gluten-free.
- Greek Yogurt (full-fat, strained) – Keeps the pita moist and helps achieve a fluffy texture; the secret to delicious pita!
- Olive Oil – Adds richness and flavor; feel free to replace it with melted butter if you prefer.
- Salt – Enhances overall flavor; a crucial element for taste.
- Baking Soda – Reduces density, making the pita lighter and fluffier.
- Baking Powder – Assists in rising, creating that delightful fluffy texture we all love.
Step-by-Step Instructions for Soft and Fluffy Homemade Greek Pita Bread with Yogurt
Step 1: Mix the Wet Ingredients
In a large mixing bowl, whisk together 1 cup of Greek yogurt, 2 tablespoons of olive oil, 1 teaspoon of salt, 1 teaspoon of baking soda, and 1 teaspoon of baking powder until smooth. This should take about 2 minutes. You’ll want a creamy consistency with no lumps, which lays the perfect foundation for your homemade pita bread.
Step 2: Incorporate the Flour
Gradually add 2 to 2.5 cups of all-purpose flour (or gluten-free flour) into the wet mixture, stirring with a wooden spoon. Mix until a sticky dough forms, which should take about 3–4 minutes. The dough will cling to your spoon initially, but it will smooth out as you continue mixing; avoid adding excessive flour at this stage.
Step 3: Shape the Dough
Dust your hands and a clean surface with flour to manage the sticky dough. With floured hands, shape the dough into a log and cut it into 6 equal pieces. This process helps you create uniform pitas. Each piece should be roughly the size of a golf ball, prepping them for the next steps.
Step 4: Roll Out the Pitas
Take each piece and roll it into a ball, then flatten it on your floured surface into a disk about 14-15 cm (5½ – 6 inches) in diameter. This should take about 1 minute per piece. Make sure to apply gentle pressure to create even thickness for that perfect puff during baking; they should be about half a centimeter thick.
Step 5: Cook the Pita Bread
Preheat a non-stick frying pan over medium-high heat until you can see light smoke, which usually takes about 3–4 minutes. Place one pita into the pan, cover, and cook for 1 minute. Flip it and cook for an additional minute uncovered. You should see the pita puff up slightly, a sign that it’s becoming the soft and fluffy homemade pita bread you desire.
Step 6: Cool and Store
Transfer the cooked pita bread to a cooling rack, stacking them while covering with plastic wrap to retain moisture. This resting period helps keep them soft. Allow them to cool at room temperature for about 5 minutes, after which they’re ready to serve with dips or wraps, or stored in the refrigerator for up to a week.
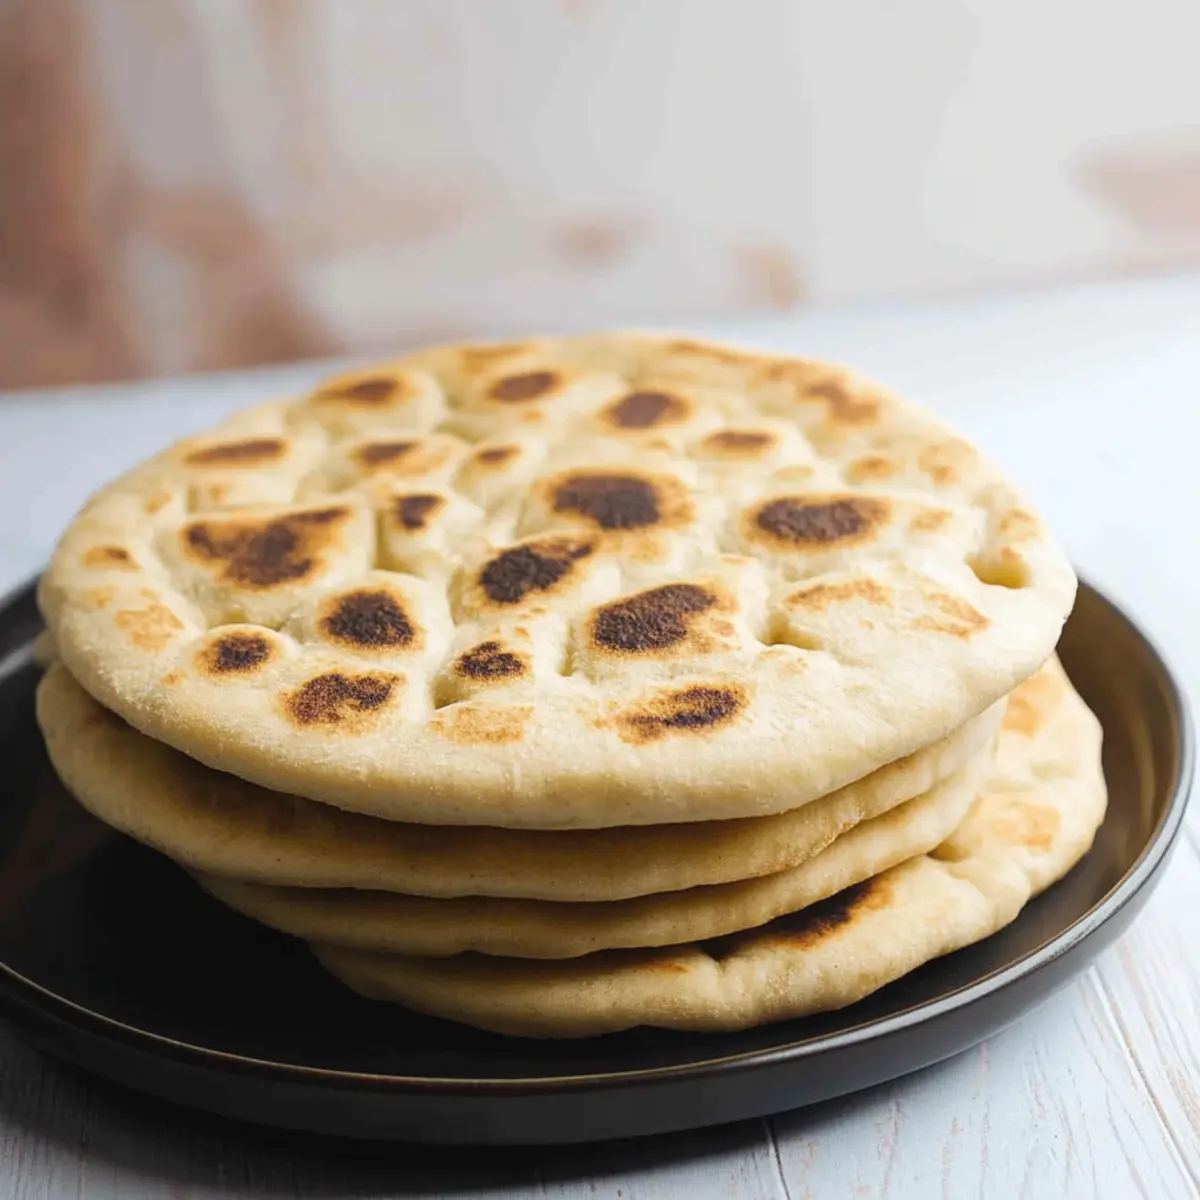
Expert Tips for Homemade Pita Bread
-
Flour Control: Avoid adding too much flour when mixing; this can lead to dense pita. Only use enough to keep the dough manageable.
-
Hot Pan Needed: Ensure your frying pan is hot enough before cooking each pita. A smokey pan is crucial for achieving that perfect puff!
-
Proper Thickness: Roll each disk to about half a centimeter thick for ideal cooking. Thicker pitas may not puff properly during cooking.
-
Cooling Tips: Keep the cooked pitas stacked and covered with plastic wrap while cooling to maintain softness—this is key for fluffy homemade pita bread.
-
Flavor Additions: For a delightful twist, consider adding herbs like oregano or thyme to the dough before rolling out!
-
Storage Strategy: To enjoy fresh pitas later, slice and store them in airtight bags in the freezer, allowing for quick use whenever cravings arise.
How to Store and Freeze Homemade Pita Bread
Fridge: Store your homemade pita bread in an airtight container or wrap it in plastic wrap for up to 1 week. This helps maintain their soft and fluffy texture.
Freezer: For long-term storage, freeze pitas individually in freezer bags for up to 6 months. Lay them flat to prevent sticking.
Thawing: When ready to enjoy, thaw at room temperature for 1-2 hours before serving. You can also reheat them in a hot pan for a few seconds on each side for that just-baked taste.
Reheating: If you want to revive the softness, wrap them in a damp paper towel and microwave for about 20-30 seconds, keeping the delicious homemade pita bread feel intact.
Homemade Pita Bread Variations & Substitutions
Feel free to get creative and tailor this recipe to suit your taste buds! Each delightful twist will bring a new experience to your homemade pita bread.
- Gluten-Free: Use gluten-free flour instead of all-purpose flour for a light, fluffy option everyone can enjoy.
- Herbed Pita: Incorporate dried herbs like oregano or basil into the dough for a flavorful upgrade that pairs perfectly with dips.
- Whole Wheat: Swap in whole wheat flour for a nutty flavor and extra fiber. The result is slightly denser but still delicious!
- Spicy Kick: Add a pinch of cayenne pepper or paprika to the dough for a warm, spiced flavor that complements savory fillings beautifully.
- Savory Cheese: Mix in crumbled feta or shredded cheese into the dough for a rich, savory twist that takes your pitas to the next level.
- Sweet Variation: For a breakfast treat, fold in some cinnamon and a dash of sugar to create a sweet pitas perfect for serving with honey or jam.
- Pita Chips: Cut leftover pitas into triangles, brush them with olive oil, sprinkle with salt, and bake until crispy for scrumptious pita chips—perfect for dipping in your favorite spreads!
- Flatbread Style: Roll the dough thinner to make a flatbread that works wonderfully with grilled meats or as a pizza base, marrying versatility with flavor.
Remember, every variation offers a unique taste journey, whether you’re wrapping up fresh veggies, grilled meats, or delightfully dipping into dips like Tzatziki or Melitzanosalata. Enjoy the culinary adventure!
Make Ahead Options
These Homemade Greek Pita Breads are perfect for meal prep! You can prepare the dough up to 24 hours in advance by following the initial steps, then store the shaped balls of dough in an airtight container in the refrigerator. To maintain their quality, dust them lightly with flour and cover with plastic wrap to prevent drying. When you’re ready to cook, simply remove the dough from the fridge for 15-30 minutes to come to room temperature before rolling and cooking them. This way, you’ll have soft and fluffy pita bread ready to complement your meals with minimal effort on busy weeknights!
What to Serve with Soft and Fluffy Homemade Greek Pita Bread
There’s nothing quite like the warm, inviting embrace of freshly made pita bread to elevate your culinary creations. Let’s explore some delightful pairings that will make your meals unforgettable!
-
Creamy Tzatziki: The cool, refreshing qualities of tzatziki made with yogurt create a heavenly contrast to warm, soft pita, perfect for dipping.
-
Savory Hummus: Rich and nutty, a smooth hummus complements the fluffy texture of the pita, bringing a delicious Mediterranean flair to your meal.
-
Roasted Vegetables: Caramelized veggies add depth and sweetness, creating a textural balance with every bite of your warm pita.
-
Grilled Chicken Skewers: Juicy, well-seasoned chicken fits perfectly inside pita bread, making a satisfying wrap that’s both hearty and bursting with flavor.
-
Feta and Olive Salad: The briny notes of feta and olives synergize beautifully with fresh herbs, brightening up the dish with pops of flavor that pair exquisitely with pita.
-
Stuffed Grape Leaves: These traditional bites are easy to wrap with pita, and their tangy fillings make for a delightful contrast of tastes and textures.
-
Lemon-Dill Dip: A zesty dip brightens up your meal, providing a refreshing touch that complements the lovely softness of the pita.
-
Pineapple Mint Cooler: A chilled drink, like a pineapple mint cooler, refreshes your palate and enhances the Mediterranean vibes of your meal.
-
Baklava for Dessert: Sweet, sticky, and nutty, this traditional pastry is the perfect way to end your meal on a delicious note, offering a delightful contrast to the savory dishes.
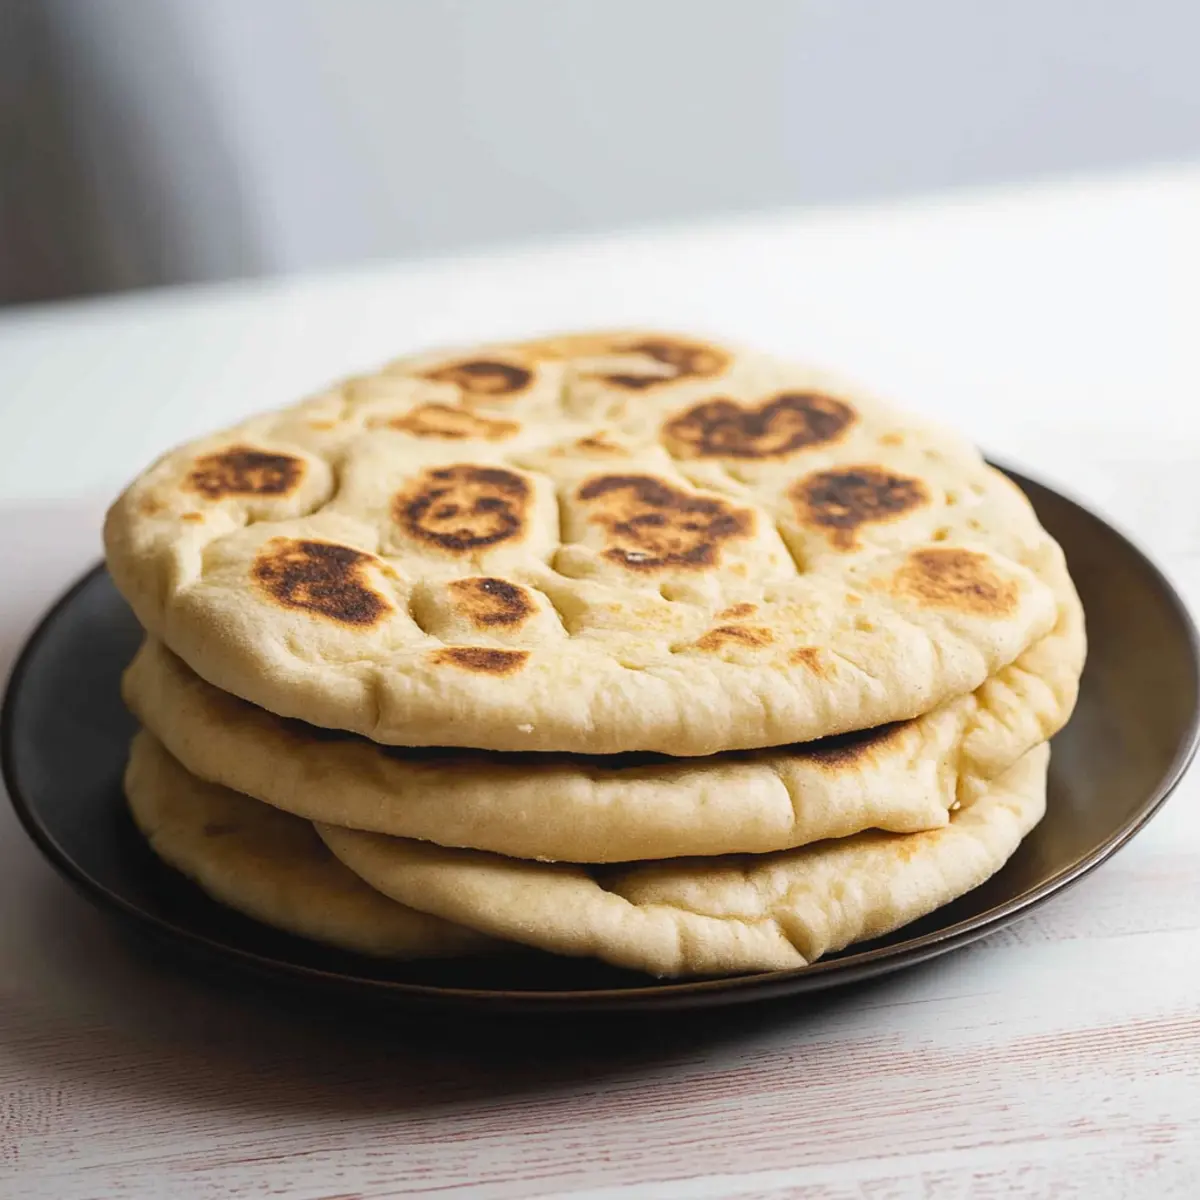
Homemade Greek Pita Bread Recipe FAQs
What type of flour should I use for the best results?
I recommend using all-purpose flour for a classic soft and fluffy texture. However, if you’re looking for a gluten-free option, you can easily substitute it with a gluten-free flour blend. Just be sure to check that your blend contains xanthan gum if you want to maintain the right texture!
How should I store my homemade pita bread?
To keep your pita bread fresh, store it in an airtight container or wrap it in plastic wrap at room temperature for up to 1 week. This helps in retaining that delightful softness. If you notice it getting too stiff, simply reheat it for a few seconds on a pan or wrap it in a damp paper towel and microwave for about 20 seconds.
Can I freeze the pita bread, and if so, how?
Absolutely! Freeze your pita bread individually by placing them in freezer bags, ensuring you remove as much air as possible. This way, they won’t stick together and can be kept for up to 6 months. When you’re ready to use them, let them thaw at room temperature for 1-2 hours, or if you’re in a hurry, pop them on a hot pan for a quick reheat.
What should I do if my pita bread doesn’t puff up while cooking?
Not to worry! If your pita doesn’t puff up, it might be due to a few reasons: ensure your pan is truly hot enough before placing the dough in it (look for smoky heat!), and make sure the thickness of your rolled-out dough is about half a centimeter—not too thick or too thin. If you encounter any sticking or difficulty flipping, ensure there’s enough flour on the surface while shaping.
Are there any dietary considerations for pets or allergies?
While the ingredients in this homemade Greek pita bread are generally safe for humans, they’re not suitable for pets. The dough contains ingredients like salt and baking powder, which are not good for animals. If anyone in your group has allergies (like to gluten or dairy), be sure to use gluten-free flour and dairy-free yogurt alternatives to ensure everyone can enjoy this delicious homemade pita bread!
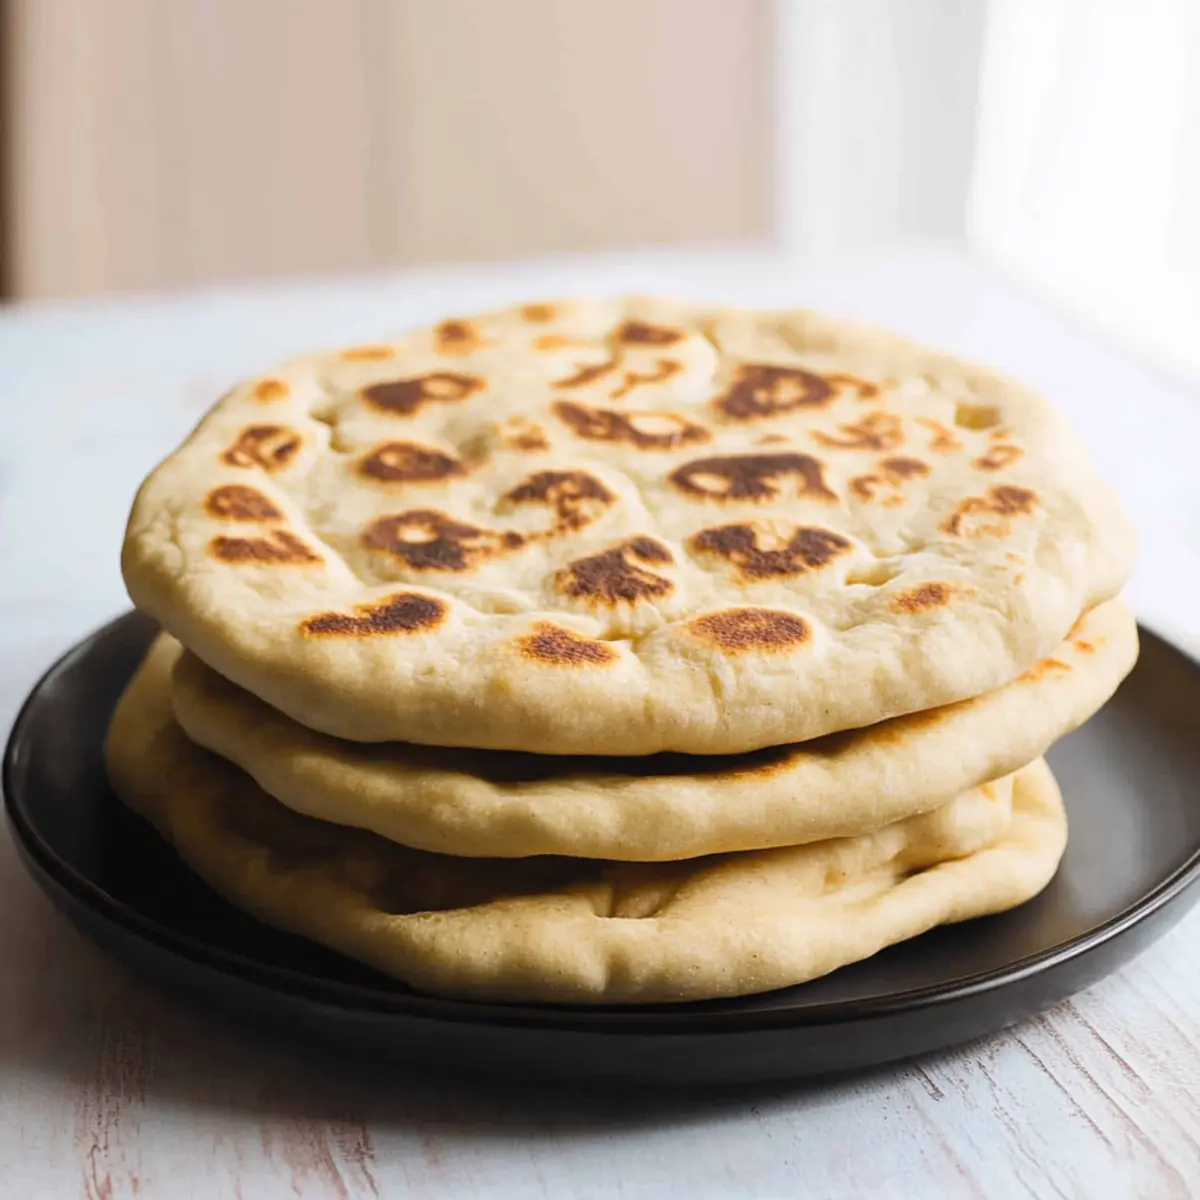
Fluffy Homemade Pita Bread You Can Make with Yogurt
Ingredients
Equipment
Method
- In a large mixing bowl, whisk together 1 cup of Greek yogurt, 2 tablespoons of olive oil, 1 teaspoon of salt, 1 teaspoon of baking soda, and 1 teaspoon of baking powder until smooth.
- Gradually add 2 to 2.5 cups of all-purpose flour (or gluten-free flour) into the wet mixture, stirring with a wooden spoon until a sticky dough forms.
- Dust your hands and a clean surface with flour. Shape the dough into a log and cut it into 6 equal pieces.
- Roll each piece into a ball and flatten into a disk about 14-15 cm (5½ - 6 inches) in diameter.
- Preheat a non-stick frying pan over medium-high heat. Place one pita into the pan, cover, and cook for 1 minute. Flip and cook for an additional minute uncovered.
- Transfer the cooked pita bread to a cooling rack, stacking them while covering with plastic wrap to retain moisture.
Leave a Reply