
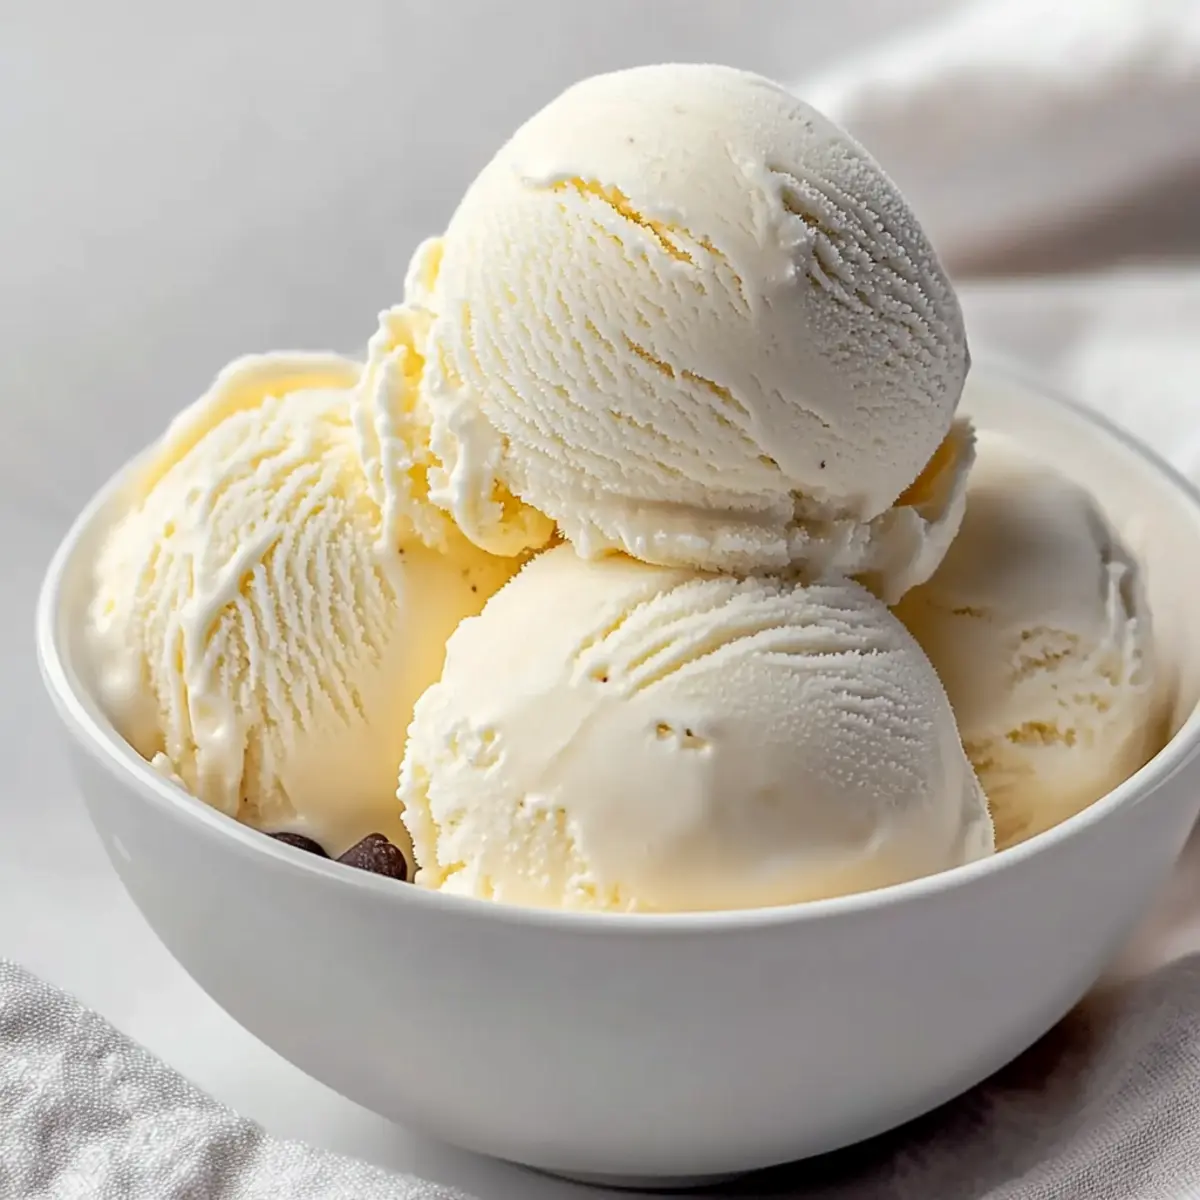
As I stood in my kitchen, the aroma of vanilla swirling around me, I realized there’s something magical about crafting Homemade Vanilla Ice Cream. Just a handful of quality ingredients is all it takes to transform your summertime gatherings into memorable delights. Not only is this recipe rich and creamy, offering a beautiful contrast to store-bought versions, but it also allows for endless customization—think chunks of fresh fruit, chocolate chips, or even a sprinkle of coconut! Whether it’s a hot summer evening or a cozy night in, this homemade treat brings a personal touch to every scoop. Ready to whip up some happiness in your own kitchen? Let’s dive in!
Why Is Homemade Vanilla Ice Cream Special?
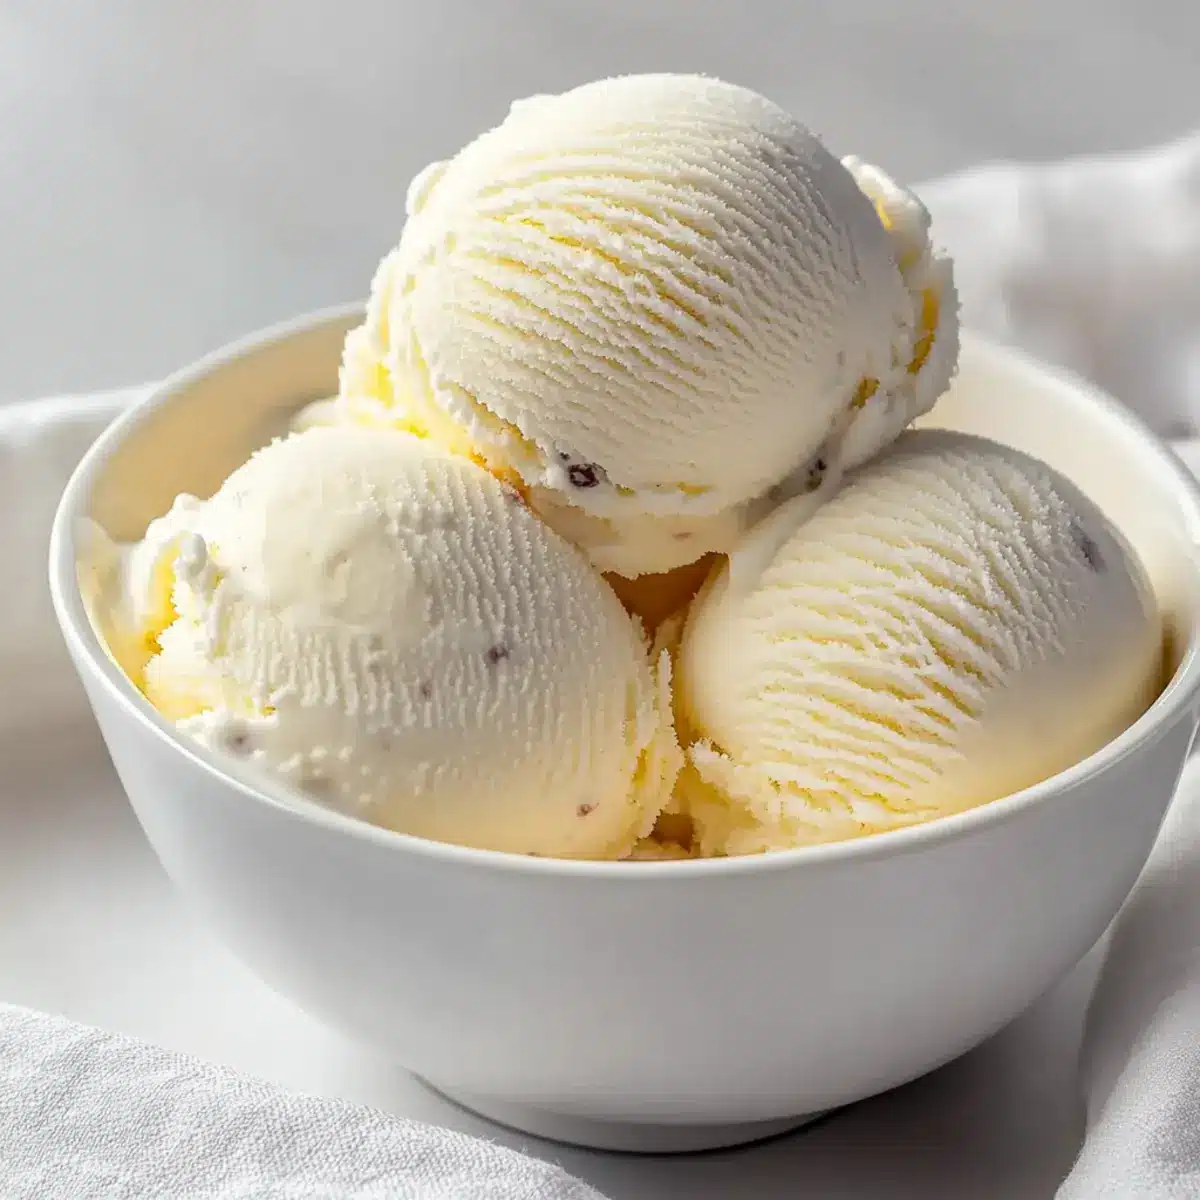
Indulgence at its finest: This homemade vanilla ice cream delivers a rich, creamy flavor that surpasses any store-bought option. Customization is key: Whether you prefer classic chocolate chips or fresh strawberries, tailoring your ice cream to your taste is effortless. Quick and Easy: With just a few basic ingredients, you can create this dessert without any complicated steps. Crowd-Pleaser: It’s perfect for summer barbecues or cozy family nights, ensuring everyone leaves satisfied. For more delicious ideas, check out my Banana Walnut Cream or Sweet Coconut Cream Pancakes to complement your homemade ice cream experience!
Homemade Vanilla Ice Cream Ingredients
For the Ice Cream Base
- 2 cups heavy cream – Provides a rich, creamy texture; using high-quality cream enhances flavor.
- 2 cups whole milk – Adds creaminess and balances the heavy cream; alternative milks like oat can also be used for a dairy-free option.
- 3/4 cup granulated sugar – Sweetens the mixture and enhances flavors; make sure it’s fully dissolved for a smooth ice cream.
- 2 tablespoons vanilla extract – Delivers the classic vanilla flavor essential in this recipe; for a richer taste, consider using vanilla bean paste instead.
- Pinch of salt – Enhances sweetness and elevates the overall flavor profile; don’t skip this crucial ingredient!
For Optional Mix-Ins
- Chocolate chips – Add to the mixture for bursts of chocolatey goodness; try dark chocolate for a richer flavor.
- Fresh fruit – Fold in chunks of your favorite fruits, such as strawberries or peaches, for a fresh twist in every scoop.
- Nuts – Include chopped pistachios or pecans for a delightful crunch and added texture.
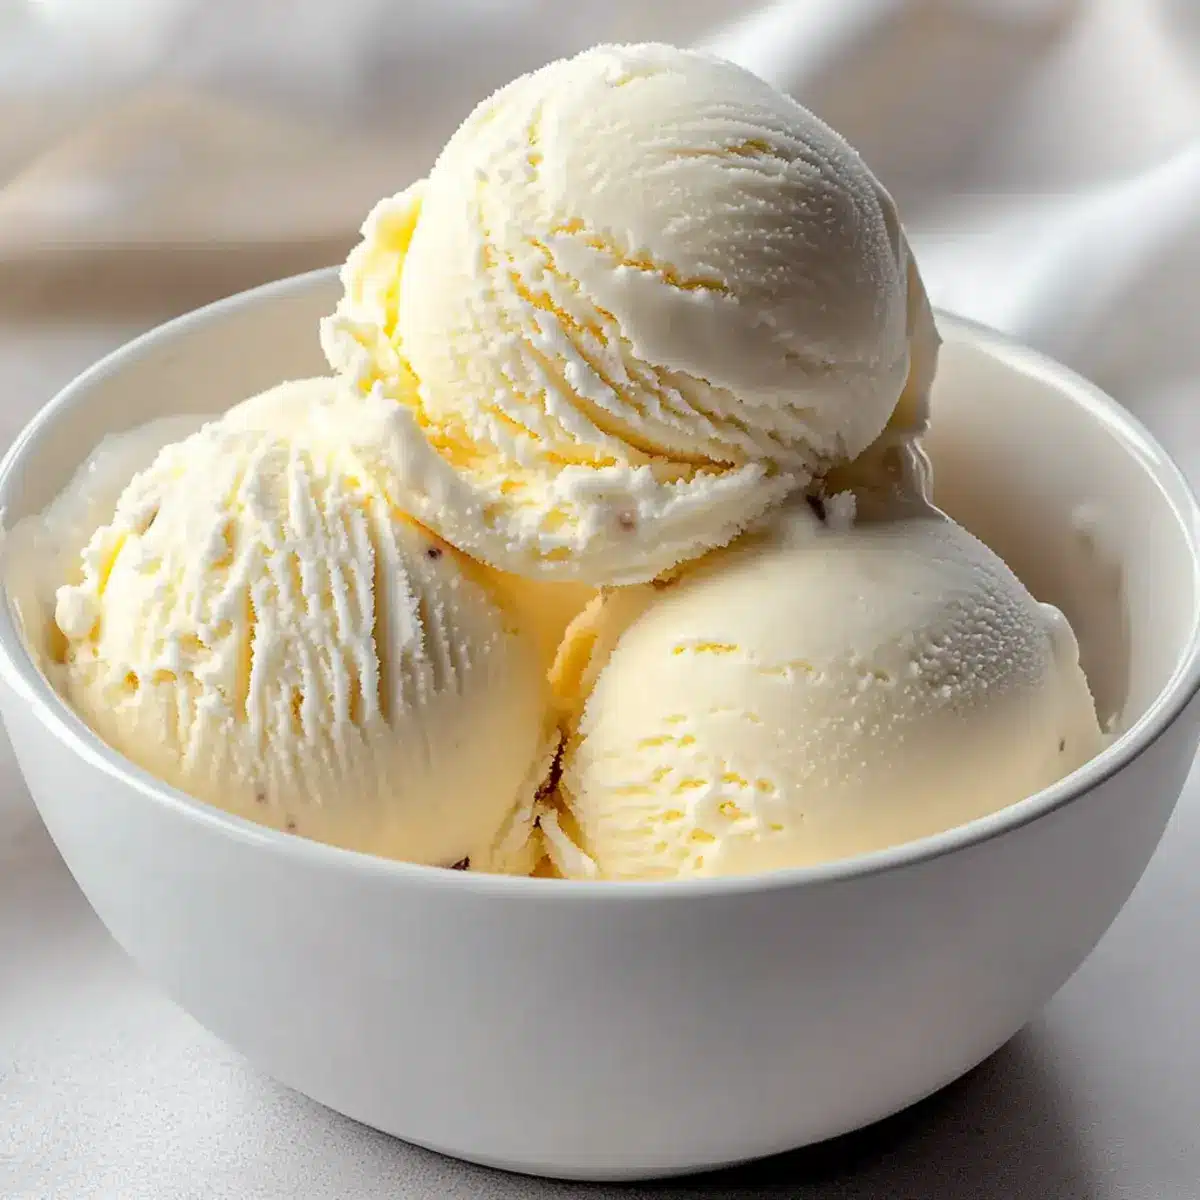
Dive into the world of homemade vanilla ice cream and experience the joy of customizing this creamy delight to your heart’s content!
Step‑by‑Step Instructions for Homemade Vanilla Ice Cream
Step 1: Mix the Base
In a large mixing bowl, combine the chilled heavy cream, whole milk, granulated sugar, vanilla extract, and a pinch of salt. Whisk the mixture vigorously for about 2 minutes, ensuring the sugar is completely dissolved and the ingredients are well incorporated. You should see a slightly frothy texture; this is key for a smooth finish in your homemade vanilla ice cream.
Step 2: Chill the Mixture
Once your base is mixed, cover the bowl with plastic wrap and place it in the refrigerator for at least 1 hour. This chilling step is crucial, as it helps the cream and milk blend seamlessly. When the mixture is cool to the touch, it will churn more effectively and prevent ice crystals from forming later, resulting in a creamy consistency.
Step 3: Churn the Ice Cream
After the mixture has chilled, pour it into your ice cream maker according to the manufacturer’s instructions. Turn on the machine and churn for 20 to 25 minutes or until you reach a soft-serve texture; you’ll know it’s ready when it thickens substantially and holds a shape when scooped. This step transforms your liquid base into the luscious homemade vanilla ice cream you dream of.
Step 4: Add Mix-Ins (Optional)
If you’re looking to infuse extra flavor and texture, fold in your chosen mix-ins like chocolate chips or fresh fruit during the last 2 minutes of churning. Gently stir the ingredients to ensure even distribution without over-mixing, which can affect the final texture. This is a fun way to customize your homemade vanilla ice cream!
Step 5: Freeze the Ice Cream
Once churning is complete, transfer the ice cream into an airtight container. Press a sheet of plastic wrap directly onto the surface to prevent ice crystals from forming. Seal the lid and place it in the freezer for 4 to 6 hours, allowing it to firm up and reach the perfect scoopable consistency that will delight your taste buds.
Homemade Vanilla Ice Cream Variations
Feel free to let your creativity shine as you explore delightful twists on this classic treat!
-
Lighter Version: Replace heavy cream with 1 ½ cups of Greek yogurt and ½ cup of milk for a tangy, lower-calorie option.
This change not only cuts calories but adds a lovely tang that complements the sweetness perfectly. -
Chocolate Lovers: Stir in 1 cup of mini chocolate chips during the last 2 minutes of churning.
The little bursts of chocolate add a sweet surprise in every creamy scoop, making it a chocolate dream come true. -
Fruity Bliss: Fold in 1 cup of fresh strawberries or peaches for a refreshing fruit twist.
The sweetness of the fruit pairs beautifully with the vanilla, introducing natural flavors that brighten each bite. -
Nutty Delight: Add ½ cup of chopped pecans or pistachios into the mix after churning.
Their crunchy texture brings an exciting contrast to the soft vanilla ice cream, enhancing the overall experience. -
Coconut Dream: Incorporate ½ cup of shredded coconut either into the base or as a delightful topping.
Together with the creamy ice cream, coconut brings a tropical vibe that transports you straight to the beach. -
Spiced Up: For a unique flavor, mix in 1 teaspoon of cinnamon or nutmeg during the whisking phase.
This will add warmth and depth, making each scoop reminiscent of cozy evenings by the fireplace. -
Mint Chocolate Chip: Replace some of the vanilla extract with 1 teaspoon of peppermint extract and add 1 cup of chocolate chips.
This variation is not only refreshing but also a fun alternative for those warm summer nights. -
Caramel Swirls: Drizzle in ½ cup of caramel sauce in the last few minutes of churning for a decadent touch.
The luscious caramel ribbons create a beautiful, gourmet finish to your homemade vanilla ice cream.
Let your taste buds guide you as you experiment with these variations! Try serving your homemade vanilla ice cream alongside fresh cookies or pair it with a slice of Banana Walnut Cream for a delightful dessert duo. For another sweet treat, indulge in Sweet Coconut Cream Pancakes and experience something truly tasty.
Make Ahead Options
Homemade Vanilla Ice Cream is perfect for meal prep enthusiasts! You can prepare the ice cream base up to 24 hours in advance by mixing the heavy cream, whole milk, sugar, vanilla extract, and salt, then refrigerating the mixture until you’re ready to churn. This chilling step not only enhances the flavor but also improves the texture, ensuring a creamy result. When you’re ready to serve, simply pour the chilled mixture into your ice cream maker and churn according to the manufacturer’s instructions. For best results, if you’ve mixed in any added ingredients (like fruit or chocolate), fold them in during the last two minutes of churning, and enjoy your delightful homemade treat just as delicious as when made fresh!
Storage Tips for Homemade Vanilla Ice Cream
- Room Temperature: Allow the ice cream to sit out for about 5 minutes before serving to soften slightly; this makes scooping easier without turning it into a melted puddle.
- Fridge: If you plan to eat leftovers in 1-2 days, store the ice cream tightly covered in the fridge to maintain its creamy texture; avoid longer fridge storage as it may not hold up well.
- Freezer: Place the homemade vanilla ice cream in an airtight container, pressing plastic wrap against the surface to prevent ice crystals for up to 2 weeks.
- Reheating: There’s no need to reheat ice cream, but if it becomes too hard, a short 10-15 second burst in the microwave can soften it for easier scooping.
Expert Tips for Homemade Vanilla Ice Cream
- Chill Before Mixing: Ensure your heavy cream and milk are very cold before combining them; this helps achieve a creamier texture in your homemade vanilla ice cream.
- Stirring Smooth: Whisk your mixture thoroughly until the sugar is fully dissolved; this prevents any graininess in the final texture.
- Avoid Over-Churning: Keep an eye on the churning process; stopping the ice cream maker at the right time ensures a lovely soft-serve consistency without overworking the mixture.
- Customize Wisely: When adding mix-ins, do so in the final minutes of churning to evenly distribute flavors without compromising texture.
- Storage Smart: Remember to label your container with the date made; homemade vanilla ice cream typically lasts up to 2 weeks in the freezer when stored properly.
What to Serve with Homemade Vanilla Ice Cream?
Imagine basking in the warm glow of summer, your homemade vanilla ice cream tempting you to create the perfect dessert spread.
-
Warm Chocolate Brownies: The fudgy richness beautifully contrasts with the creamy ice cream, creating a delightful pairing that takes dessert to new heights.
-
Fresh Summer Berries: Juicy strawberries or blueberries add a refreshing burst of flavor, enhancing the sweetness of the ice cream while offering a vibrant, colorful touch.
-
Crispy Waffle Cones: Serve your ice cream in these crunchy delights, turning scoops into delightful sundaes topped with chocolate or sprinkles that kids (and adults!) will love.
-
Caramel Sauce: A drizzle of warm caramel amplifies the ice cream’s flavor and introduces a sweet, buttery element that creates blissful indulgence with every spoonful.
-
Roasted Nuts: Adding a handful of pecans or almonds introduces a satisfying crunch that complements the lush creaminess of the vanilla ice cream while boosting the nutty flavor profile.
-
Espresso: A shot of espresso poured over a scoop creates an indulgent affogato experience, where flavors collide beautifully—ideal for coffee lovers seeking a sweet surprise.
Each of these pairings brings unique textures and flavors, making your homemade vanilla ice cream a catalyst for delightful dessert moments.
Homemade Vanilla Ice Cream Recipe FAQs
How do I know if my vanilla is ripe?
Absolutely! When selecting vanilla beans, look for ones that are plump, shiny, and flexible. The scent should be rich and aromatic. If the beans feel dry or brittle, they’re past their prime. For extract, choose high-quality brands with real vanilla as the first ingredient.
What’s the best way to store homemade vanilla ice cream?
To enjoy your homemade vanilla ice cream at its best, transfer it into an airtight container. Press a layer of plastic wrap against the surface to prevent ice crystals, and seal with the lid. Stored properly, it can last up to 2 weeks in the freezer. Remember to label with the date made for easy tracking!
Can I freeze the ice cream if I don’t finish it in time?
Yes, you can freeze homemade vanilla ice cream! For optimal freshness, use an airtight container, ensuring no air pockets. It can last for up to 3 months in the freezer, but for the best flavor and texture, enjoy it within the first month. Just don’t forget to let it sit out for about 5 minutes to soften before scooping!
What should I do if my ice cream is too hard after freezing?
If your ice cream becomes too hard, don’t worry! Simply take it out of the freezer and let it sit at room temperature for about 5 to 10 minutes before serving. If you’re in a hurry, you can microwave it for just 10-15 seconds in bursts, checking frequently to avoid melting completely.
Are there any dietary considerations for homemade vanilla ice cream?
Indeed! This homemade vanilla ice cream is vegetarian, but if you have dietary restrictions such as lactose intolerance, consider substituting the dairy ingredients with coconut milk or almond milk. Additionally, ensure all mix-ins comply with your dietary needs, especially regarding allergens like nuts or chocolate!
Can I use other flavors instead of vanilla?
Very! You can easily switch things up by using different extracts or flavorings. Almond, coconut, or even espresso can provide delightful variations. Just be sure to adjust the quantities to maintain balance; for instance, start with 1 tablespoon of almond extract and taste before adding more. The more the merrier!
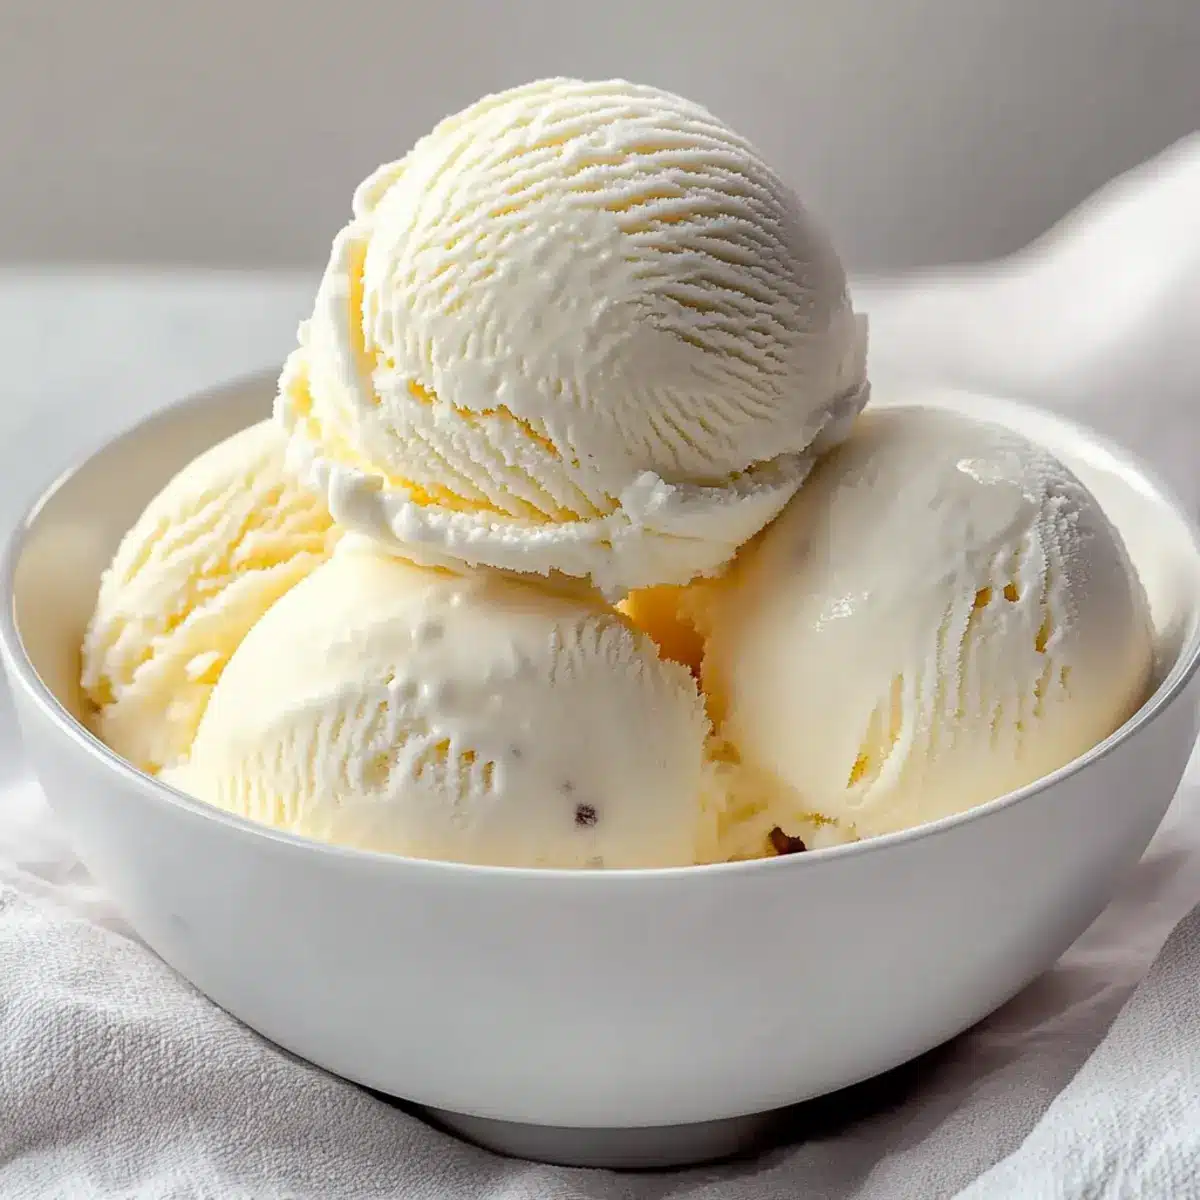
Homemade Vanilla Ice Cream: Decadent, Creamy Bliss Awaits
Ingredients
Equipment
Method
- In a large mixing bowl, combine the chilled heavy cream, whole milk, granulated sugar, vanilla extract, and a pinch of salt. Whisk the mixture vigorously for about 2 minutes, ensuring the sugar is completely dissolved and the ingredients are well incorporated.
- Cover the bowl with plastic wrap and place it in the refrigerator for at least 1 hour to chill.
- Pour the chilled mixture into your ice cream maker according to the manufacturer’s instructions. Churn for 20 to 25 minutes or until you reach a soft-serve texture.
- During the last 2 minutes of churning, fold in your chosen mix-ins if desired.
- Transfer the ice cream into an airtight container, pressing plastic wrap directly onto the surface. Seal and place it in the freezer for 4 to 6 hours.
Leave a Reply