
It’s a quiet evening, and I’m dreaming of something sweet yet effortless. Enter the 5-Ingredient No-Bake Peanut Butter Chocolate Bars, my go-to for those moments when a little indulgence is non-negotiable. These bars perfectly balance the creamy texture of peanut butter with the rich allure of chocolate, reminiscent of your favorite classic treats but so much simpler to whip up. With just five simple ingredients and a mere 10 minutes of prep time, you’ll have a delicious dessert ready without even turning on the oven. Not only are they quick to prepare, but they also offer a delightful crunch from the graham cracker base, making them a true crowd-pleaser. With each bite, you’ll find the ultimate blend of flavors and textures that’s sure to brighten your day. Curious how to create this luscious treat without breaking a sweat? Let’s dive right in!
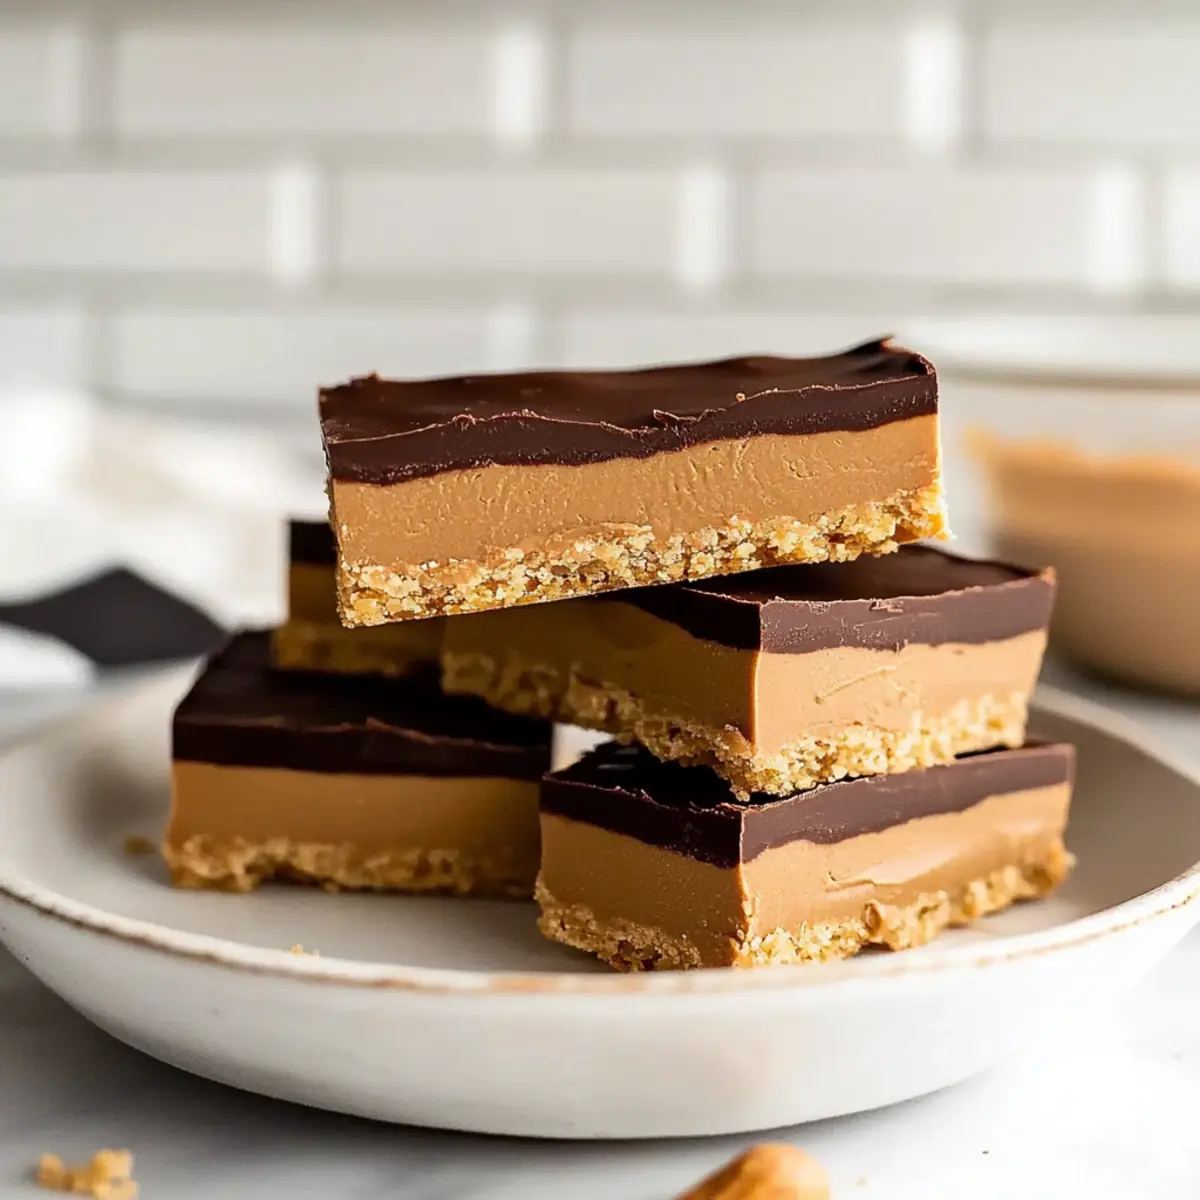
Why Make No-Bake Peanut Butter Bars?
Simplicity: With just five ingredients, this recipe is perfect for anyone eager to indulge without the fuss of baking.
Quick to Prepare: You can whip these bars up in just 10 minutes—easy enough for a last-minute treat or a busy weeknight dessert!
Decadent Flavor: The combination of creamy peanut butter and rich chocolate creates a flavor experience that rivals beloved classics like Reese’s cups.
Crowd-Pleasing: These bars are perfect for parties or potlucks, appealing to both kids and adults alike.
Versatile: Try adding unique twists with different toppings or crusts, like crushed pretzels or a sprinkle of sea salt for an upscale touch.
Pair it with a warm cup of coffee, and you’ve got a sweet treat that everyone will love! Don’t forget to check out my other easy dessert recipes like Dark Chocolate Raspberry for more delicious ideas!
No-Bake Peanut Butter Chocolate Bars Ingredients
For the Peanut Butter Layer
- Unsalted Butter – Use melted and slightly cooled butter for easier mixing.
- Creamy Peanut Butter – Jif or Skippy brand is recommended; avoid natural peanut butter to prevent oil separation.
- Powdered Sugar – Adds sweetness and helps firm up the peanut butter layer.
- Graham Cracker Crumbs – Provides texture; digestive biscuits can be substituted if needed.
For the Chocolate Topping
- Semi-Sweet Chocolate Chips – This balances the richness; substituting with milk chocolate chips is an option for a sweeter finish.
These delightful No-Bake Peanut Butter Chocolate Bars are sure to become a favorite in your home!
Step‑by‑Step Instructions for No-Bake Peanut Butter Chocolate Bars
Step 1: Prepare the Pan
Begin by lining a 9×13-inch baking dish with foil or parchment paper, ensuring you leave some overhang on the sides for easy removal later. This simple step will make serving your No-Bake Peanut Butter Chocolate Bars a breeze, so take the time to do it properly!
Step 2: Mix the Peanut Butter Base
In a large mixing bowl, whisk together ½ cup of melted and slightly cooled unsalted butter and 1 cup of creamy peanut butter until you achieve a smooth and creamy consistency. This should take around 1-2 minutes of vigorous mixing to incorporate the flavors fully, creating a rich base for your bars.
Step 3: Sweeten it Up
Gradually sift in 1 cup of powdered sugar while continuously mixing the peanut butter mixture. Ensure it’s well incorporated, which should take another 1-2 minutes. You’ll know it’s ready when the mixture thickens slightly and has a uniform appearance, delivering a delightful sweetness that complements the peanut butter.
Step 4: Add the Texture
Now, stir in 1 cup of graham cracker crumbs, adding them one cup at a time to ensure full integration. Mix until you achieve a thick, dough-like consistency that holds together well. This process should take about 2-3 minutes. You’ll love the crunchiness the crumbs bring to your No-Bake Peanut Butter Chocolate Bars.
Step 5: Press the Base into the Pan
Transfer the peanut butter and graham cracker mixture into your prepared baking dish, spreading it evenly to fill the entire pan. Use your hands or a spatula to press down firmly to create a compact and smooth layer. This will take about 2 minutes and is essential for the structure of your bars.
Step 6: Melt the Chocolate
In a microwave-safe bowl, combine 1 cup of semi-sweet chocolate chips with an optional 2 tablespoons of creamy peanut butter. Microwave in 30-second intervals, stirring in between until the chocolate is fully melted and smooth, which usually takes about 1-2 minutes. This glossy topping will beautifully finish your No-Bake Peanut Butter Chocolate Bars.
Step 7: Pour the Chocolate Topping
Once melted, pour the chocolate mixture evenly over the pressed peanut butter layer. Use a spatula to gently spread it out, ensuring all edges are covered for a decadent finish. This step should only take a couple of minutes, and the melt-in-your-mouth topping will elevate your bars.
Step 8: Chill to Set
Cover the pan with plastic wrap and place it in the refrigerator for at least 90 minutes. This chilling time is crucial for allowing the layers to set and firm up perfectly, resulting in bars that are easy to slice and serve. After 90 minutes, your mouth will water at the thought of these chilled No-Bake Peanut Butter Chocolate Bars!
Step 9: Slice and Serve
Once the bars are firm, carefully lift them out of the pan using the foil overhang. Place them on a cutting board and slice into even squares. Feel free to serve them chilled or at room temperature, and watch as friends and family revel in the deliciousness of your homemade No-Bake Peanut Butter Chocolate Bars!
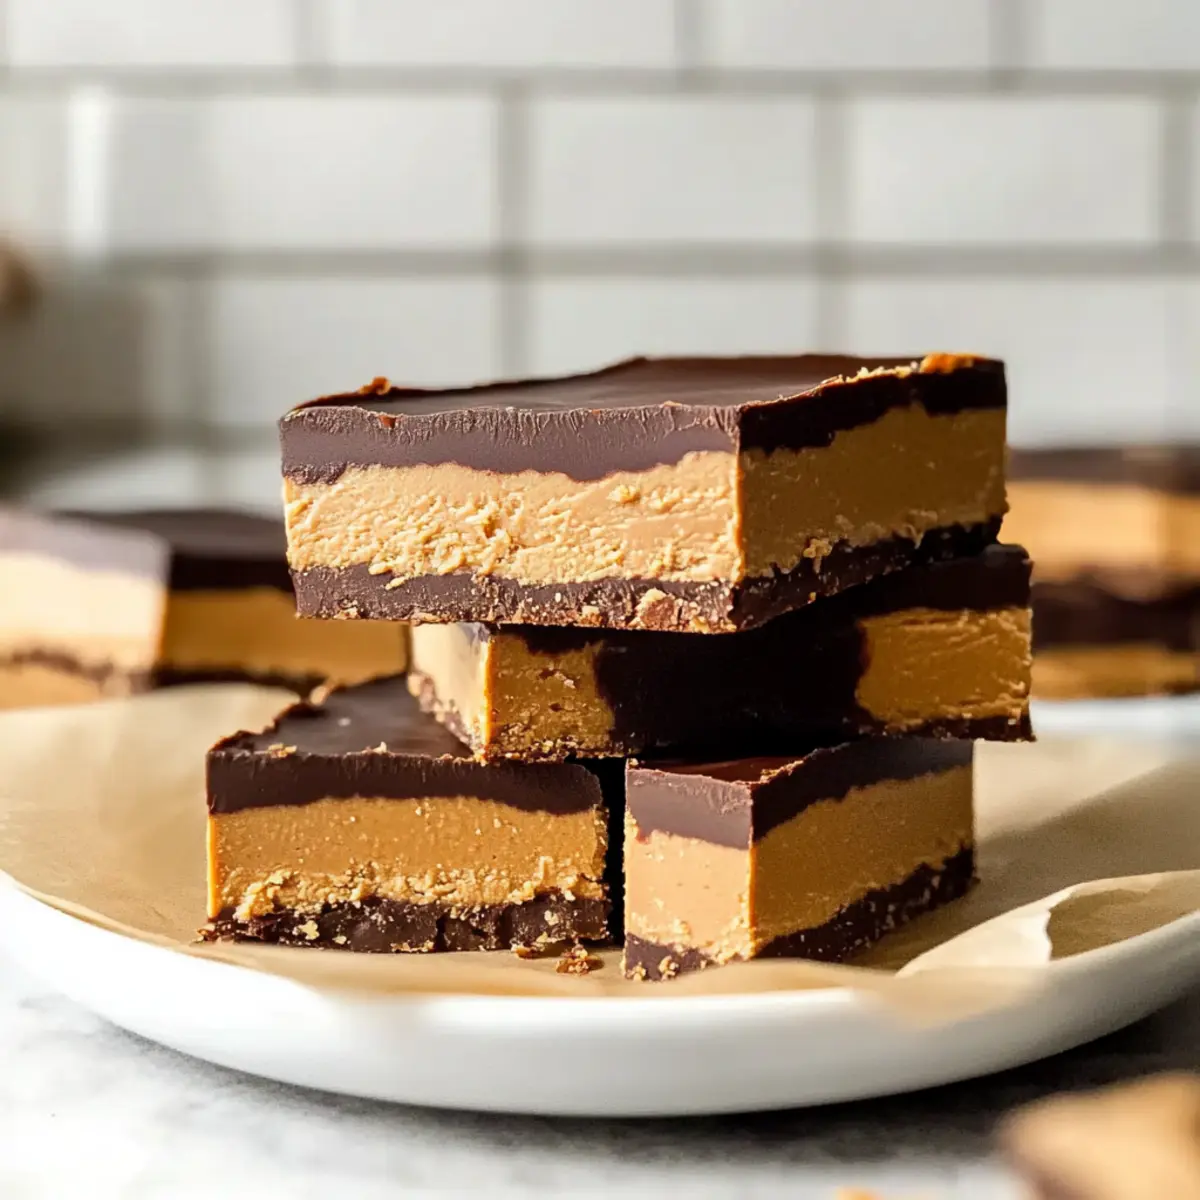
Make Ahead Options
These No-Bake Peanut Butter Chocolate Bars are perfect for meal prep enthusiasts looking to save time! You can prepare the peanut butter base and chocolate topping up to 24 hours in advance. Simply follow steps 1 through 6, then cover the pan tightly with plastic wrap and store it in the refrigerator. You can also prepare the bars fully and keep them covered for up to 3 days in the fridge. This way, they remain just as delicious without losing their texture. When you’re ready to finish, simply melt the chocolate topping, pour it over the set peanut butter layer, chill for about 90 minutes, and slice into squares. This makes for effortless entertaining or a sweet treat on busy weeknights!
Storage Tips for No-Bake Peanut Butter Chocolate Bars
Fridge: Store leftover bars in an airtight container in the refrigerator for up to 4 days. This keeps them fresh while preserving their delightful textures.
Freezer: For longer storage, freeze the bars for up to three months. Wrap them tightly in plastic wrap and place them in a freezer-safe container.
Thawing: To enjoy frozen bars, thaw them overnight in the refrigerator before serving. This step ensures they retain their delicious, creamy goodness.
Reheating: If desired, you can enjoy them slightly warm. Just pop a slice in the microwave for 10-15 seconds to soften the chocolate topping without melting it away.
What to Serve with No-Bake Peanut Butter Chocolate Bars?
Indulging in a slice of these creamy, chocolatey delights is made even better when you pair them with complementary treats and beverages.
-
Cold Glass of Milk: A classic choice, the refreshing milk balances the richness of the bars, making each bite even more enjoyable.
-
Fresh Berries: Sweet strawberries or tart raspberries bring a burst of freshness that cuts through the richness, adding a delightful contrast in flavor.
-
Scoop of Vanilla Ice Cream: Creamy vanilla ice cream not only enhances the dessert experience but also creates a deliciously indulgent combination that’s simply irresistible.
-
Coffee or Espresso: A strong cup of coffee brings out the chocolate and peanut butter flavors beautifully. The warmth can take your dessert experience to the next level.
-
Nutty Granola: A sprinkle of granola gives added crunch and a wholesome element, making each bite even more satisfying and filling.
-
Dark Chocolate Dipping Sauce: Drizzling melted dark chocolate on top can elevate your bars. The slight bitterness of dark chocolate contrasts perfectly with the sweetness of the peanut butter layer.
Each pairing enriches your experience, ensuring that every moment spent enjoying these No-Bake Peanut Butter Chocolate Bars feels warm and inviting. Enjoy your sweet adventure!
No-Bake Peanut Butter Chocolate Bars Customizations
Feel free to get creative and make these delightful bars your own with these fun and tasty variations.
-
Gluten-Free: Swap graham cracker crumbs for gluten-free cookies or oats. It maintains the perfect texture while catering to gluten sensitivities.
-
Nut Butter Swap: Replace peanut butter with almond or cashew butter for a unique flavor twist that will surprise and delight your taste buds.
-
Flavor Boost: Add a teaspoon of vanilla extract to the peanut butter mixture for an extra layer of aromatic sweetness that enhances the overall flavor.
-
Salted Caramel Layer: Drizzle a layer of salted caramel over the chocolate before chilling. It’s a delightful contrast to the rich chocolate, and it adds a gourmet touch!
-
Crunchy Variation: Use crunchy peanut butter instead of creamy for an added layer of texture. The delightful crunch complements the smooth chocolate topping perfectly.
-
Dairy-Free Option: Replace butter with coconut oil and use dairy-free chocolate chips. This keeps the bars both delicious and suitable for vegan diets.
-
Spicy Kick: For those who enjoy a little heat, sprinkle in a pinch of cayenne pepper to the chocolate topping for a daring twist on this classic treat.
-
Oreo Crust: For an indulgent themed version, substitute graham cracker crumbs with crushed Oreos, creating a deliciously chocolatey bottom layer. This will elevate your bars to cookie heaven!
Feel free to explore these ideas and don’t hesitate to link your sweet creations back to our amazing family recipes like Crockpot Garlic Butter or Lemon Garlic Butter for more inspiration!
Expert Tips for No-Bake Peanut Butter Chocolate Bars
-
Use Creamy Peanut Butter: For the best results, opt for a traditional no-stir creamy peanut butter. This avoids texture issues you may encounter with natural varieties.
-
Chilling is Key: Don’t rush the refrigeration process! Allow the bars to chill for at least 90 minutes to ensure they firm up correctly before slicing.
-
Melting Chocolate Tips: Microwave chocolate in short bursts of 30 seconds. Stir between each interval to achieve a smooth consistency without burning your chocolate.
-
Press Firmly: When pressing the peanut butter mixture into the pan, use your hands or a spatula to compact it well. A firm base ensures the bars hold their shape when sliced.
-
Customize Flavors: Feel free to experiment with different toppings! Trying milk chocolate or adding a sprinkle of sea salt can elevate your No-Bake Peanut Butter Chocolate Bars to new heights.
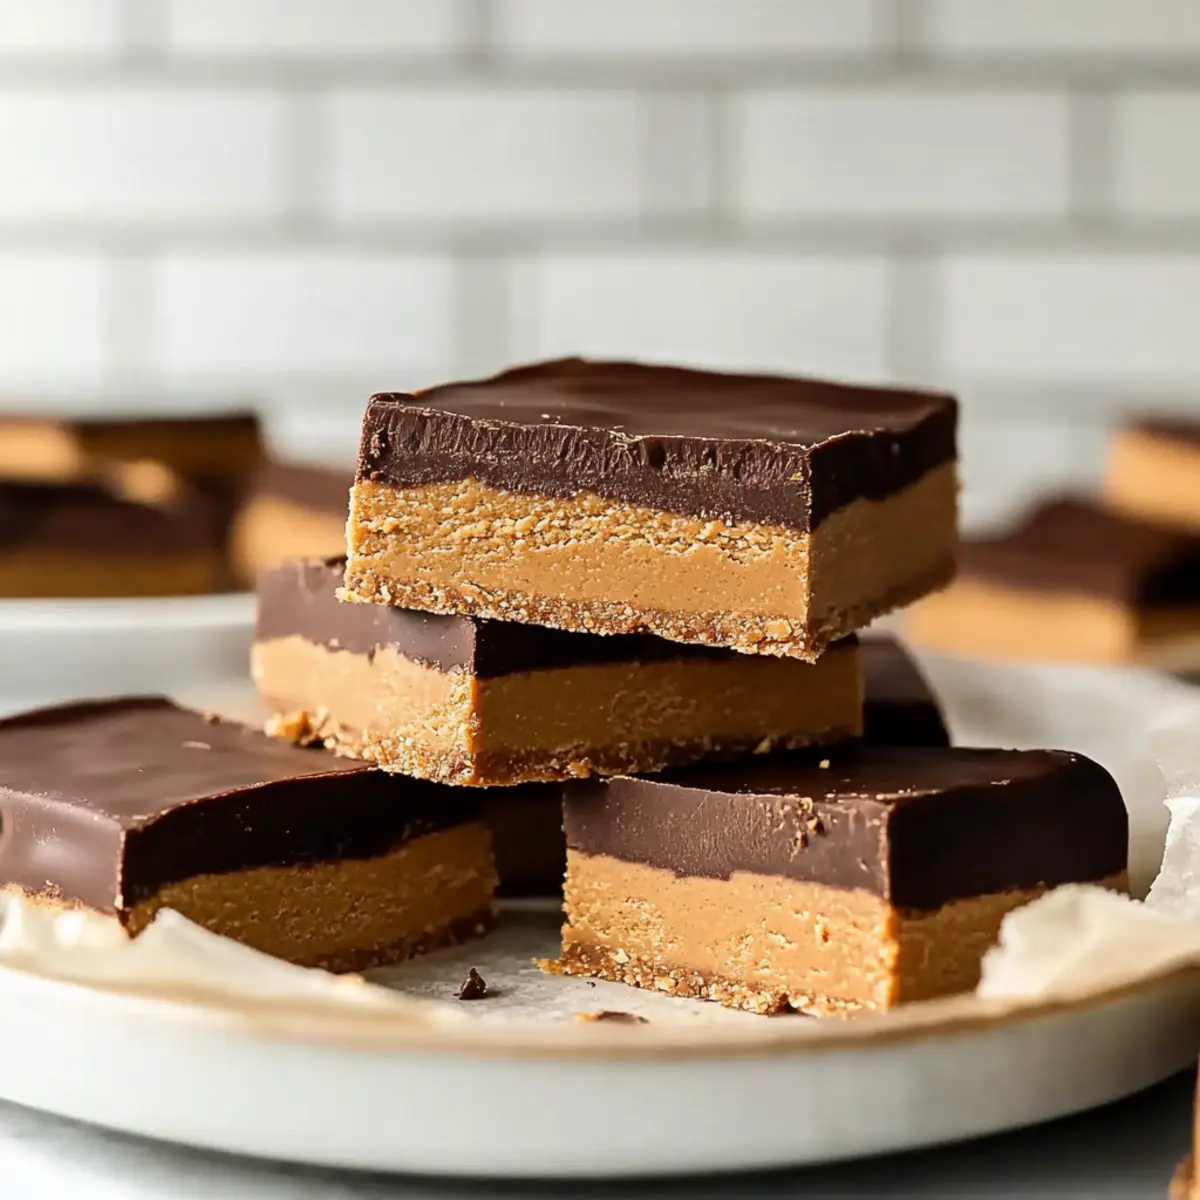
No-Bake Peanut Butter Chocolate Bars Recipe FAQs
What type of peanut butter should I use?
Absolutely! For the best results, I recommend using traditional no-stir creamy peanut butter, such as Jif or Skippy. Natural peanut butter tends to separate due to the oils, which can affect the texture of your bars and lead to a crumbly base.
How should I store the No-Bake Peanut Butter Chocolate Bars?
You can store leftover bars in an airtight container in the refrigerator for up to 4 days. This helps maintain their delicious texture and flavor. If you’re looking to keep them longer, they can be frozen for up to three months; just make sure to wrap them tightly in plastic wrap first!
Can I freeze No-Bake Peanut Butter Chocolate Bars? What’s the best way to do it?
Definitely! To freeze your bars, wrap each one individually in plastic wrap, then place them in a freezer-safe container. This way, you can enjoy them as a treat anytime. When you’re ready to indulge, just thaw them overnight in the refrigerator before serving, ensuring they remain creamy and delightful.
What if my bars don’t firm up properly?
Very! If your bars don’t set as expected, it might be due to not chilling them long enough. Make sure to refrigerate them for at least 90 minutes. If they still seem soft, give them extra chilling time. You can also try pressing the peanut butter layer down more firmly during preparation to create a denser base.
Are these bars suitable for kids? What about allergies?
Yes! These No-Bake Peanut Butter Chocolate Bars are a kid-friendly treat beloved by many. However, be mindful of peanut allergies—if you’re serving them to someone with this allergy, I recommend swapping peanut butter for a suitable alternative like sunflower seed butter. Always check ingredient labels for potential allergens, especially with chocolate chips!
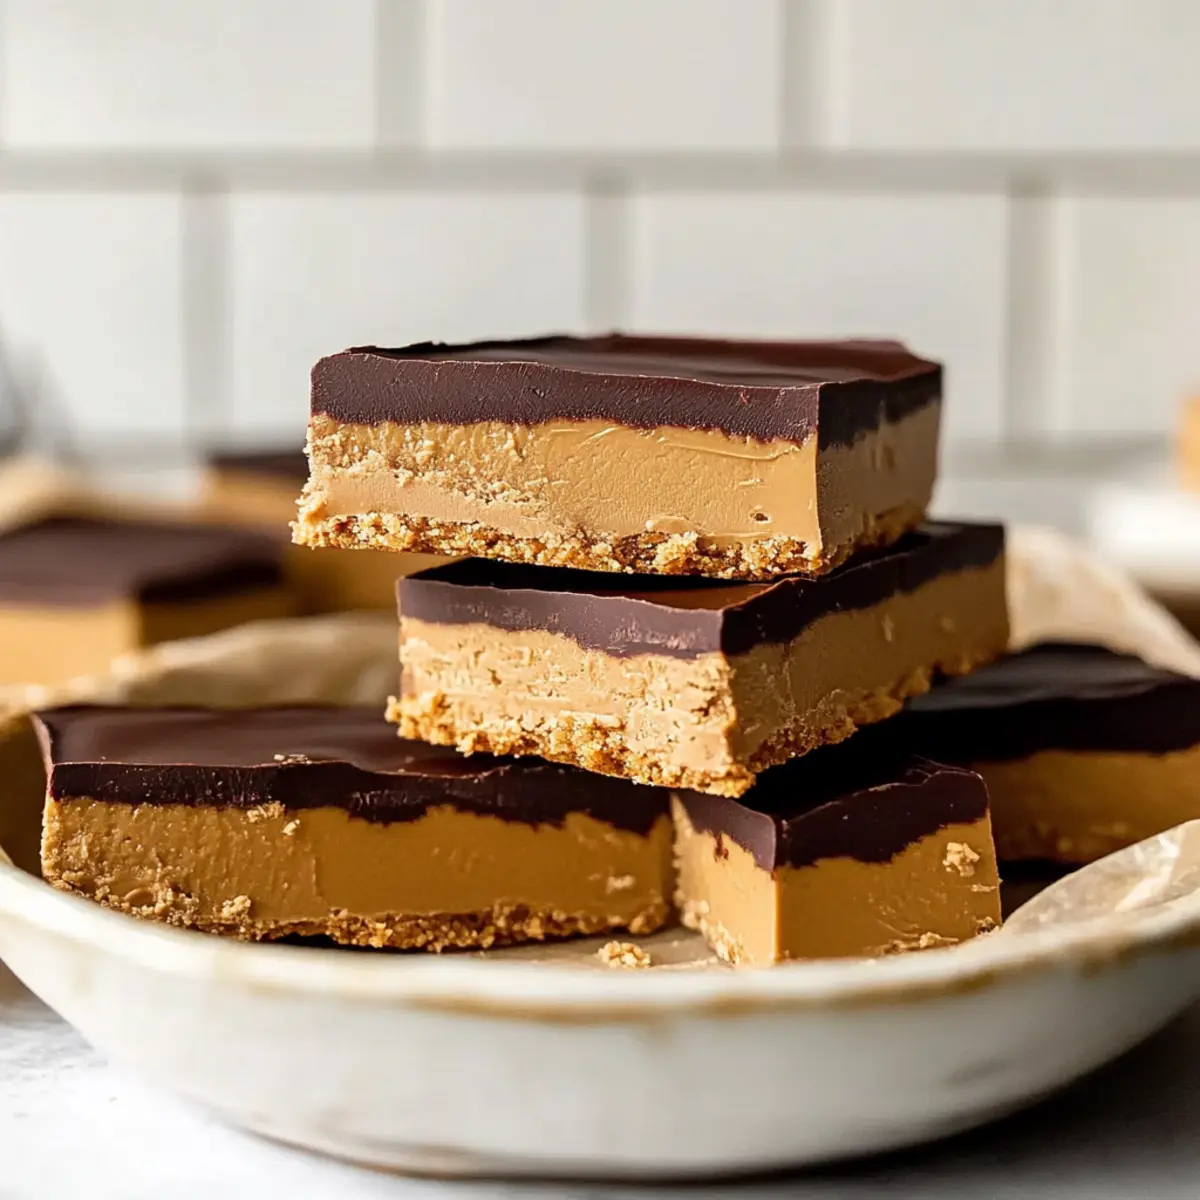
Irresistible No-Bake Peanut Butter Chocolate Bars in 10 Minutes
Ingredients
Equipment
Method
- Prepare the Pan: Line a 9x13-inch baking dish with foil or parchment paper.
- Mix the Peanut Butter Base: Whisk together melted butter and creamy peanut butter until smooth.
- Sweeten it Up: Gradually sift in powdered sugar while mixing until well incorporated.
- Add the Texture: Stir in graham cracker crumbs until achieving a thick, dough-like consistency.
- Press the Base into the Pan: Transfer the mixture to the baking dish and press down evenly.
- Melt the Chocolate: Combine chocolate chips with optional peanut butter and microwave until melted.
- Pour the Chocolate Topping: Spread the melted chocolate evenly over the pressed peanut butter layer.
- Chill to Set: Cover and refrigerate for at least 90 minutes until firm.
- Slice and Serve: Lift out, slice into squares, and enjoy!
Leave a Reply