
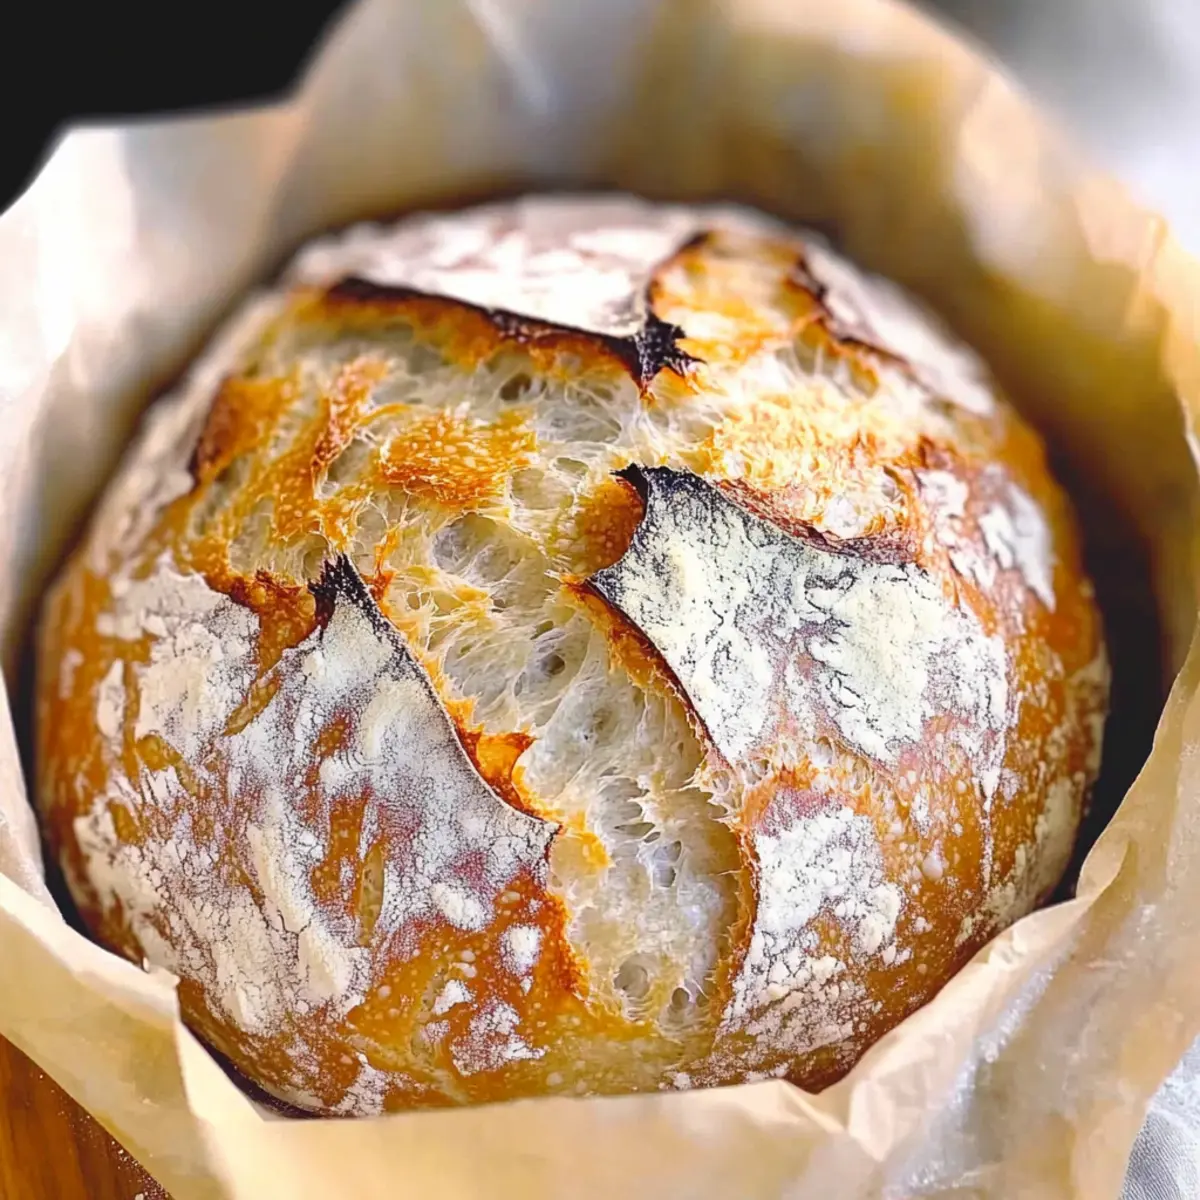
Have you ever found yourself daydreaming about the warm, crusty bread that fills the air with a comforting aroma? That’s where my No Knead Dutch Oven Bread comes in—a game changer for home bakers seeking deliciousness with minimal effort! This recipe is perfect for anyone, whether you’re just starting out or you’ve been baking for ages. With its golden crust and soft, chewy center, you’ll have an artisan-style loaf right from your kitchen. Plus, it’s a fantastic canvas for creative variations; think fragrant herb bread or gooey cheesy bread. The best part? You can impress your family and friends without spending hours in the kitchen! Ready to discover how this simple yet rewarding recipe can elevate your homemade meals? Let’s dive in!
Why is No Knead Dutch Oven Bread Amazing?
Simplicity: With just a few ingredients and minimal hands-on time, this artisan-style loaf is perfect for beginner bakers.
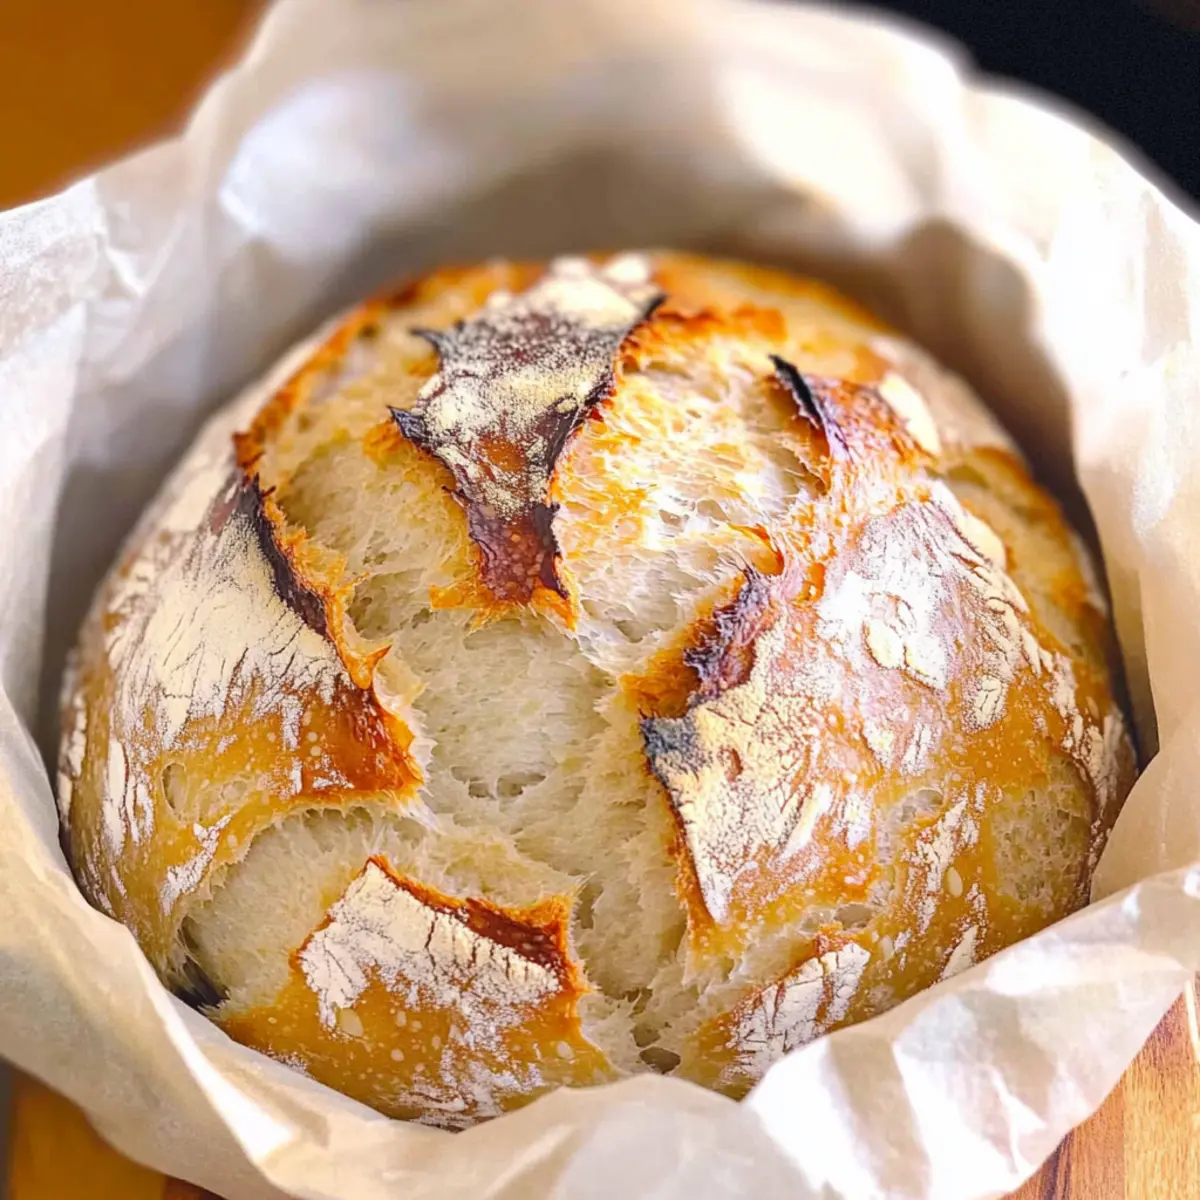
Crowd-Pleaser: Your family and friends will be astounded by the warm, crusty bread that boasts incredible flavor and texture.
Versatility: Customize it to your liking by turning it into flavorful herb bread or cheesy bread, offering something for everyone.
Time-Saving: Let the dough rise overnight and enjoy fresh bread with virtually zero effort the next day; it’s that easy!
Comforting Aroma: The delightful smell of baking bread will fill your home, creating a cozy atmosphere perfect for gatherings and dinners.
Make this No Knead Dutch Oven Bread your go-to recipe, and don’t forget to check out our tips for storing and serving to elevate your bread-baking game!
No Knead Dutch Oven Bread Ingredients
- For the Dough
• Warm Water – Activates the yeast; ensure it’s warm, not hot.
• All-Purpose Flour – The foundation of the bread, giving it that perfect chewy texture.
• Fine Grain Salt – Enhances flavor while regulating yeast activity for a great rise.
• Yeast – The leavening hero that makes the bread rise; fresh yeast gives the best results.
This No Knead Dutch Oven Bread requires easy-to-find ingredients, making it an approachable choice for both novice bakers and seasoned pros!
Step‑by‑Step Instructions for No Knead Dutch Oven Bread
Step 1: Prepare the Dough
In a large mixing bowl, combine 1 ½ cups of warm water with 2 teaspoons of yeast and 1 ½ teaspoons of fine grain salt. Stir gently until both the yeast and salt dissolve completely. Gradually add in 3 cups of all-purpose flour, mixing until a sticky dough forms. This dough will need to be moist and somewhat shaggy, which is exactly what you want for your No Knead Dutch Oven Bread.
Step 2: Let It Rise
Cover the bowl with a clean kitchen towel or plastic wrap, allowing it to rise at room temperature for 12 to 18 hours. Look for the dough to double in size and bubble on the surface, indicating it’s ready for the next step. This slow rise develops the flavor and texture of your bread. A warm, draft-free environment helps the dough achieve its full potential overnight.
Step 3: Preheat Dutch Oven
About 30 minutes before you’re ready to bake, preheat your oven to 450°F (230°C) and place your Dutch oven (with the lid on) inside. This ensures that the pot gets thoroughly heated, which is essential for creating that delicious crust. While the oven warms, take a moment to prepare your baking area.
Step 4: Shape the Dough
Once the dough has risen, lightly flour your countertop and carefully turn the dough out onto the surface. With floured hands, gently shape it into a round loaf by folding the edges toward the center. Be careful to maintain as much air in the dough as possible. Allow it to rest for about 20 minutes, covered with a towel, to relax and develop its shape.
Step 5: Bake the Bread
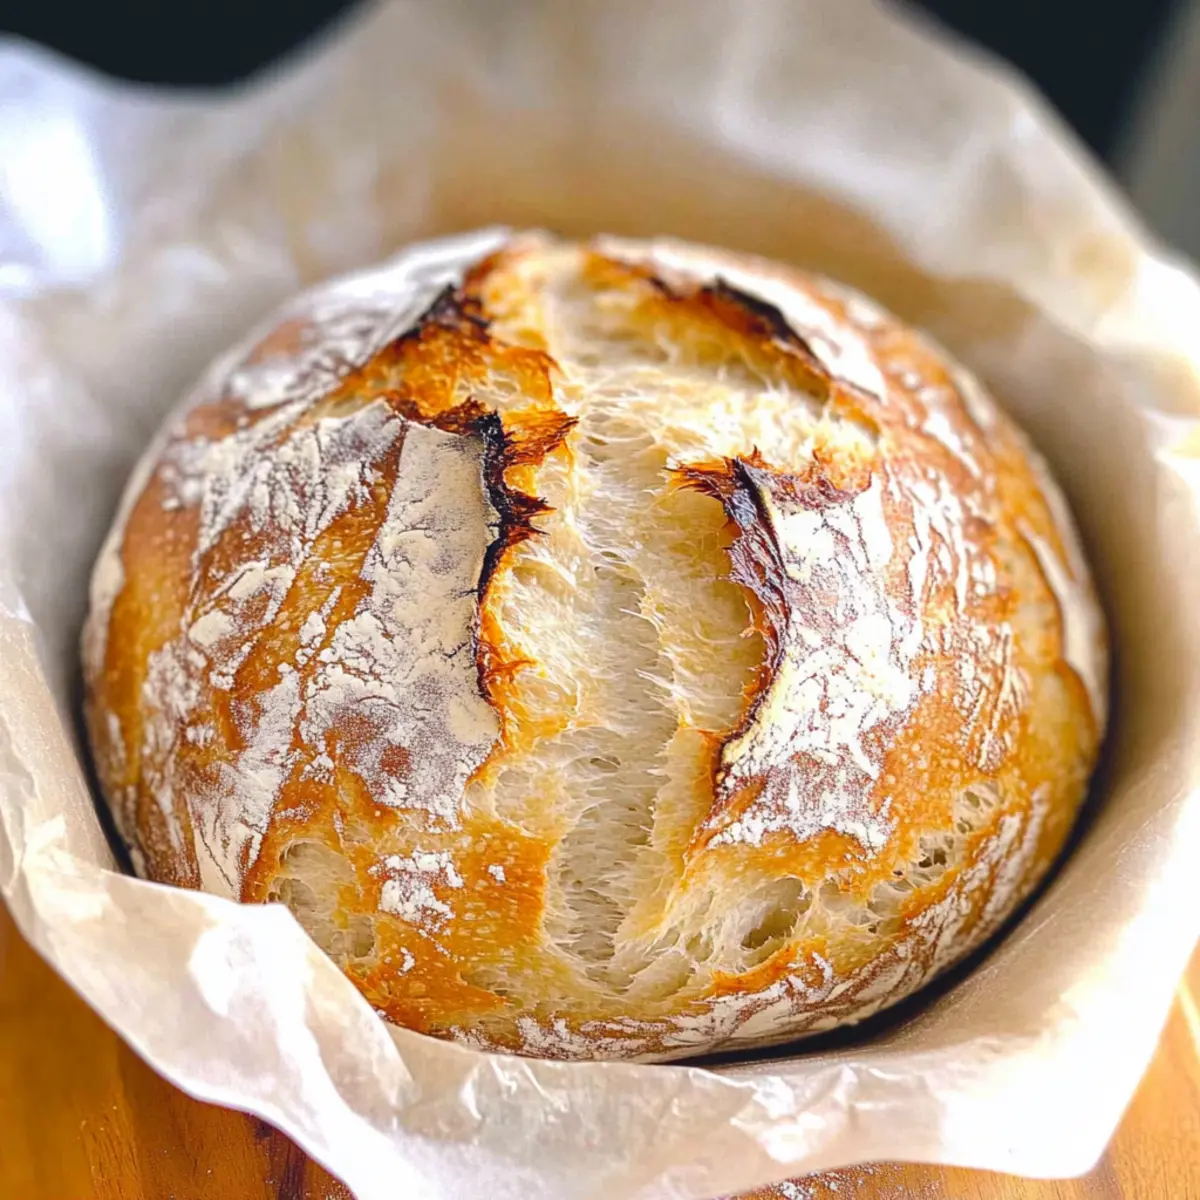
After the dough has rested, carefully remove the hot Dutch oven from the oven. Transfer the shaped dough into the pot and cover it with the lid. Bake for 30 minutes, then remove the lid and continue baking for another 15 to 20 minutes until the crust turns a deep golden brown. The steam trapped inside will create a beautifully crispy crust on your No Knead Dutch Oven Bread.
Step 6: Cool and Serve
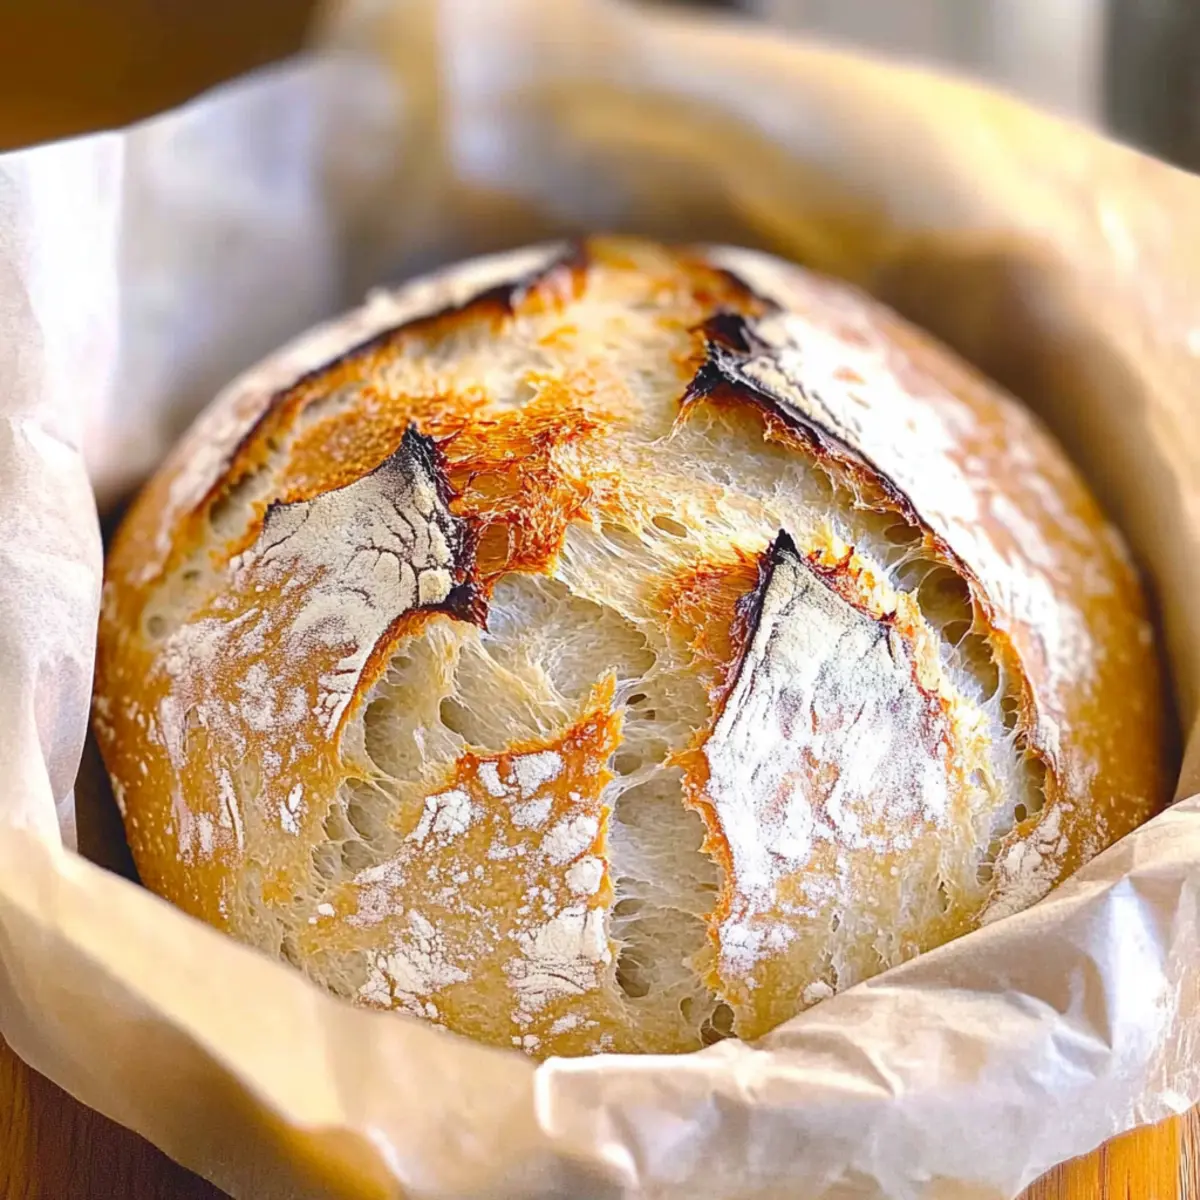
Once baked, carefully remove the Dutch oven from the oven and lift the bread out using a spatula. Place it on a wire rack to cool for at least 30 minutes before slicing. This cooling period allows the crumb to set perfectly. Once cooled, enjoy your artisan-style No Knead Dutch Oven Bread fresh, warm, and ready to elevate your meals!
How to Store and Freeze No Knead Dutch Oven Bread
Room Temperature: Store your bread wrapped loosely in a clean kitchen towel or paper bag for up to 2 days to maintain its crust and freshness.
Fridge: While it’s best to avoid the fridge (as it can dry out the bread), if needed, you can store it in an airtight container for up to a week.
Freezer: For longer storage, slice the bread and freeze in airtight freezer bags for up to 2 months. This makes it easy to grab a piece whenever you crave that delicious No Knead Dutch Oven Bread.
Reheating: To enjoy your frozen bread, simply toast slices directly from the freezer or wrap the whole loaf in foil and heat it in a preheated oven at 350°F (175°C) for about 15-20 minutes.
No Knead Dutch Oven Bread Variations
Customize your bread-making experience and discover delightful twists to this already amazing recipe!
-
Herb Bread: Add rosemary, thyme, or Italian seasoning directly into the dough for an aromatic flavor infusion. The earthy notes from the herbs elevate the freshness, turning a simple loaf into a garden-inspired masterpiece.
-
Cheesy Bread: Mix in your favorite shredded cheese before the dough rises for a melty, savory treat. Imagine pulling apart that warm, gooey goodness—perfect for pairing with a hearty soup or enjoying as is!
-
Seeded Crust: Top your dough with sesame seeds or an everything bagel blend before baking for added crunch and flavor. The seeds create a delightful texture contrast against the soft bread, making every bite a new experience.
-
Whole Wheat Variation: Swap half of the all-purpose flour with whole wheat flour for a heartier, nutritious loaf. This adds a nutty flavor and dense texture while still keeping it soft and delicious.
-
Spicy Kick: Incorporate minced jalapeños or red pepper flakes into the dough for a zesty bread that adds excitement to any meal. The heat balances beautifully with the soft, chewy center and golden crust.
-
Sweet Twist: Add a tablespoon of sugar and some cinnamon along with raisins or dried cranberries for a sweet version. Serve it warm with butter or cream cheese for a delightful breakfast treat.
-
Gluten-Free: Substitute all-purpose flour with a gluten-free flour blend specifically designed for baking. Though texture may vary slightly, it ensures everyone can enjoy the same delicious experience.
-
Infused Oils: Brush the crust with garlic-infused olive oil before baking for a rich, decadent flavor. The aromatic oil seeps into the bread, adding depth and enhancing the crusty finish.
Let these variations inspire your baking adventures! If you need more tips on creative bread twists, feel free to explore our suggestions for serving and storage as you craft your perfect loaf.
Make Ahead Options
These No Knead Dutch Oven Bread are perfect for meal prep enthusiasts! You can prepare the dough and let it rise overnight, which saves you time in the morning, allowing you to bake fresh bread with minimal effort. Simply mix the ingredients together and let the dough rise at room temperature for up to 18 hours. For even more convenience, you can shape the loaf and then refrigerate it for up to 3 days; just allow it to come to room temperature before baking. When ready to enjoy, bake it straight from the Dutch oven. This approach keeps your bread just as delicious, with a crispy crust and soft interior, making it an ideal solution for busy weeknights!
Expert Tips for No Knead Dutch Oven Bread
-
Fresh Ingredients: Always use fresh yeast for the best rise; stale yeast can lead to dense bread.
-
Hydration Level: If the dough feels too thick, don’t be afraid to add a little more warm water to achieve that sticky consistency.
-
Don’t Rush the Rise: Allow at least 12 hours for the dough to rise; this slow fermentation is key for flavor development in your No Knead Dutch Oven Bread.
-
Temperature Check: Ensure your Dutch oven is fully preheated before adding the dough; this helps create that quintessential crispy crust.
-
Cool Before Slicing: Resist the temptation to cut too early; let the bread cool for 30 minutes to set the crumb and maintain texture.
What to Serve with No Knead Dutch Oven Bread
Indulge in a comforting meal that pairs perfectly with your homemade bread, inviting warmth and delicious flavors to your table.
-
Hearty Vegetable Soup: A classic pairing, this rich and savory soup complements the crusty texture of the bread, making every bite a cozy delight.
-
Creamy Tomato Basil Bisque: Its velvety richness and fresh basil notes create a heavenly combination, making your dinner feel like a gourmet experience.
-
Savory Garlic Butter Shrimp: The buttery, garlicky breeze of this dish pairs wonderfully, balancing the bread’s delicious crustiness with succulent seafood.
-
Rich Beef Stew: The robust flavors of beef stew make a perfect companion, allowing you to soak up every last drop with your tender slices of bread.
-
Fresh Garden Salad: A light, refreshing salad with crisp greens and a zesty vinaigrette adds a pop of freshness that beautifully contrasts the warm bread.
-
Herby Couscous: Fluffy couscous laced with fresh herbs delivers a delightful texture, perfect for mopping up sauces and bringing brightness to the meal.
-
Creamy Mashed Potatoes: Silky and smooth, they’re a delightful contrast to the crusty bread. Top with gravy for an irresistible combination!
-
Cheese Platter: Combine a variety of cheeses and nuts for a beautiful presentation, enhancing the enjoyment of your rustic loaf with rich flavors.
-
Red Wine: A glass of your favorite red wine elevates the dining experience, pairing effortlessly with the bread and any savory dishes.
-
Chocolate Chip Cookies: For a sweet ending, chocolate chip cookies offer a nostalgic comfort, balancing the hearty meal with something delightful and familiar.
No Knead Dutch Oven Bread Recipe FAQs
What is the best way to select ingredients for No Knead Dutch Oven Bread?
Absolutely! When choosing ingredients, it’s essential to use warm water—not hot—to activate the yeast effectively. Opt for all-purpose flour for that perfect chewy texture. Make sure your fine grain salt enhances the flavor while keeping that yeast activity in check. And don’t forget to use fresh yeast, as stale yeast will prevent your bread from rising properly.
How should I store leftover No Knead Dutch Oven Bread?
For optimal freshness, store your No Knead Dutch Oven Bread wrapped loosely in a clean kitchen towel or a paper bag at room temperature for up to 2 days. This method helps maintain its crispy crust. If you need to store it longer, consider slicing the bread and placing it in an airtight freezer bag to freeze for up to 2 months.
Can I freeze No Knead Dutch Oven Bread and how?
Yes, you can! Here’s how to freeze it: Once your bread is completely cooled, slice it into pieces and place them in an airtight freezer bag. Make sure to push out as much air as possible before sealing to prevent freezer burn. Label the bag with the date. For the best taste, aim to enjoy it within 2 months. When you’re ready to indulge, you can toast the slices straight from the freezer or wrap the whole loaf in foil and bake it at 350°F (175°C) for about 15-20 minutes.
What are some troubleshooting tips if my No Knead Dutch Oven Bread doesn’t turn out as expected?
If you encounter dense bread, ensure that your dough has risen adequately (12 to 18 hours) and that you’re using fresh yeast. For dough that’s too sticky, lightly flour your hands and work surface when shaping. If your bread has a pale crust, make sure to remove the lid during the last baking phase. Lastly, allow sufficient cooling time to prevent a gummy texture—30 minutes is key for setting the crumb!
Is No Knead Dutch Oven Bread suitable for special diets or allergies?
While this bread primarily contains simple ingredients, be cautious if you have gluten allergies, as it uses all-purpose flour. You could replace it with a gluten-free flour blend to make a gluten-free version, though results may vary. As for pets, bread is not toxic, but it’s best to avoid giving them any, especially in quantities.
How can I customize my No Knead Dutch Oven Bread for different flavors?
The more the merrier when it comes to flavors! To create an herby loaf, simply mix in dried herbs like rosemary or thyme with the flour. For cheesy bread, fold in shredded cheese right before the first rise. You can even top your loaf with sesame seeds or an “everything seasoning” blend for a delicious twist!
No Knead Dutch Oven Bread for Effortless Artisan Goodness
Ingredients
Equipment
Method
- In a large mixing bowl, combine warm water with yeast and salt. Stir gently until dissolved.
- Gradually add in all-purpose flour, mixing until a sticky dough forms.
- Cover the bowl with a towel and let dough rise for 12 to 18 hours at room temperature.
- Preheat your oven to 450°F (230°C) and place the Dutch oven inside to heat.
- Lightly flour your countertop and shape the dough into a round loaf.
- Let it rest for about 20 minutes, covered with a towel.
- Transfer the dough into the hot Dutch oven and cover with the lid; bake for 30 minutes.
- Remove the lid and bake for an additional 15 to 20 minutes until golden brown.
- Cool on a wire rack for 30 minutes before slicing.
Leave a Reply