
It was an ordinary Wednesday afternoon when I stumbled upon a dreamy combination of flavors that turned my post-workout snack into a delightful ritual: High Protein Frozen Peanut Butter Greek Yogurt Bites. The moment I took my first bite, I was hooked! These little treasures offer a creamy, rich texture balanced perfectly with the satisfying taste of peanut butter—all while being gluten-free and protein-packed. They make for a quick, no-bake treat that feels indulgent yet guilt-free. Plus, you can customize them to your heart’s content with different nut butters or sweeteners, giving this recipe a fun twist every time. Ready to discover how simple it is to whip up these amazing bites? Let’s dive in!
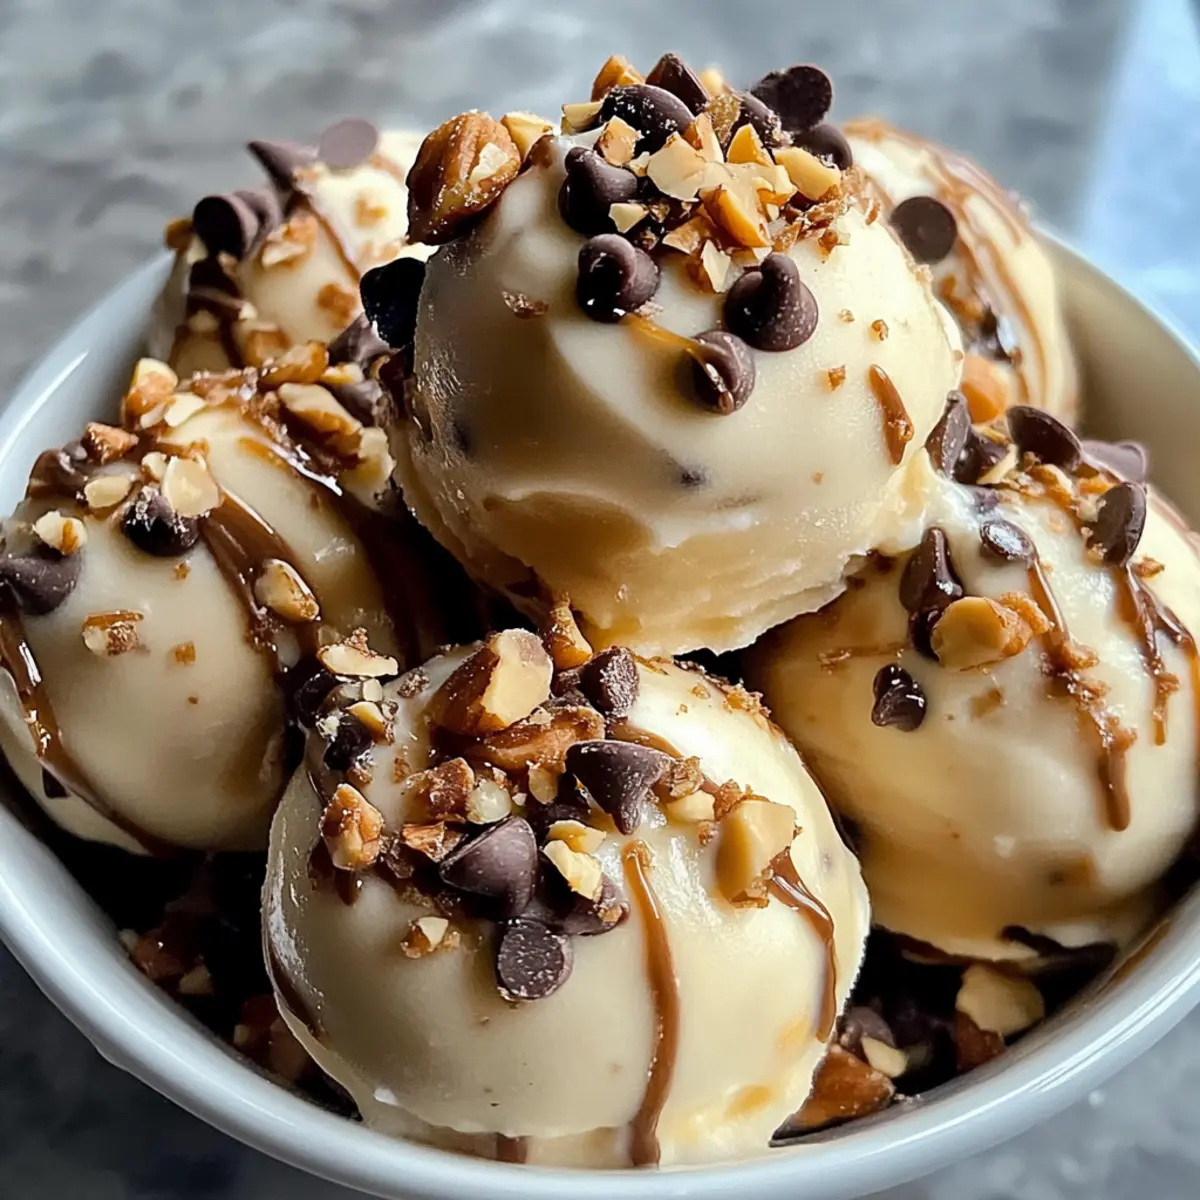
Why are these bites a must-try?
Creamy Delight: The blend of Greek yogurt and peanut butter creates a mouthwatering treat that’s both satisfying and nutritious.
Customizable Fun: Enjoy experimenting with different nut butters or sweeteners for unique flavors each time you make them!
Quick & Easy: With just a few simple steps, you can prepare these no-bake bites in no time.
Guilt-Free Indulgence: At only 80 calories each, they’re perfect for a post-workout pick-me-up or a late-night snack.
Crowd-Pleasing: Whether you serve them at gatherings or keep them for yourself, these bites are destined to impress family and friends. For more delightful indulgences, try out my Crockpot Garlic Butter or Cowboy Butter Chicken!
Peanut Butter Greek Yogurt Bites Ingredients
For the Base
• Greek Yogurt – This creamy foundation offers tanginess and protein; opt for non-dairy yogurt if you prefer a vegan version.
• Peanut Butter – Rich and flavorful, you can swap this for almond or sunflower seed butter to cater to nut allergies.
• Honey – This natural sweetener adds a touch of sweetness; for a vegan alternative, use maple syrup or agave nectar.
• Vanilla Extract – Enhances the overall flavor; choose pure vanilla extract for the best aroma and taste.
For the Mix-Ins
• Chocolate Chips – Add delightful sweetness and a chewy texture; customize with dark, milk, or dairy-free chocolate as desired.
• Chopped Nuts/Seeds (optional) – For an extra crunch and nutritional boost; consider pecans, walnuts, or chia seeds for added variety.
Step‑by‑Step Instructions for Peanut Butter Greek Yogurt Bites
Step 1: Mix Base Ingredients
In a medium mixing bowl, combine 1 cup of Greek yogurt, ½ cup of creamy peanut butter, ¼ cup of honey, and 1 teaspoon of vanilla extract. Using a spatula or whisk, blend these ingredients together until smooth and creamy, which should take about 2-3 minutes. Aim for a consistent mixture with no lumps, as this will ensure your Peanut Butter Greek Yogurt Bites have a delightful texture.
Step 2: Fold in Add-Ins
Gently fold in ¼ cup of chocolate chips and any optional chopped nuts or seeds you choose to include, taking care not to over-mix the batter. Spend about 1 minute on this step, ensuring the mix-ins are evenly distributed throughout the base. This will add bursts of flavor and texture to each bite, making your creamy Greek yogurt bites even more enjoyable.
Step 3: Prepare Molds
While the mixture is resting, prepare your mini muffin tin or silicone molds by lining them with liners or lightly greasing them with cooking spray. This preparation is crucial for preventing your delicious Peanut Butter Greek Yogurt Bites from sticking. Set your molds aside and make sure they are ready to receive the creamy goodness.
Step 4: Fill Molds
Carefully pour the mixture into each mold cavity, filling them about three-quarters full. As you fill, gently tap the tin on the counter to eliminate any air bubbles, which will help your bites set uniformly and prevent uneven textures. Take your time to ensure each cavity is filled evenly for optimal results.
Step 5: Freeze
Once your molds are filled, transfer them to the freezer and allow them to chill for 2-3 hours. This freezing period is essential for your Peanut Butter Greek Yogurt Bites to firm up and hold their shape. Once frozen, they should feel solid to the touch, ready to be enjoyed as a satisfying snack or dessert.
Step 6: Store
After the bites have reached perfect firmness, remove them from the molds gently. Place the bites in an airtight container, making sure to separate layers with parchment paper to prevent sticking. Store your Peanut Butter Greek Yogurt Bites in the freezer for up to one month, ensuring they remain fresh and ready for whenever you crave a healthy treat.
Make Ahead Options
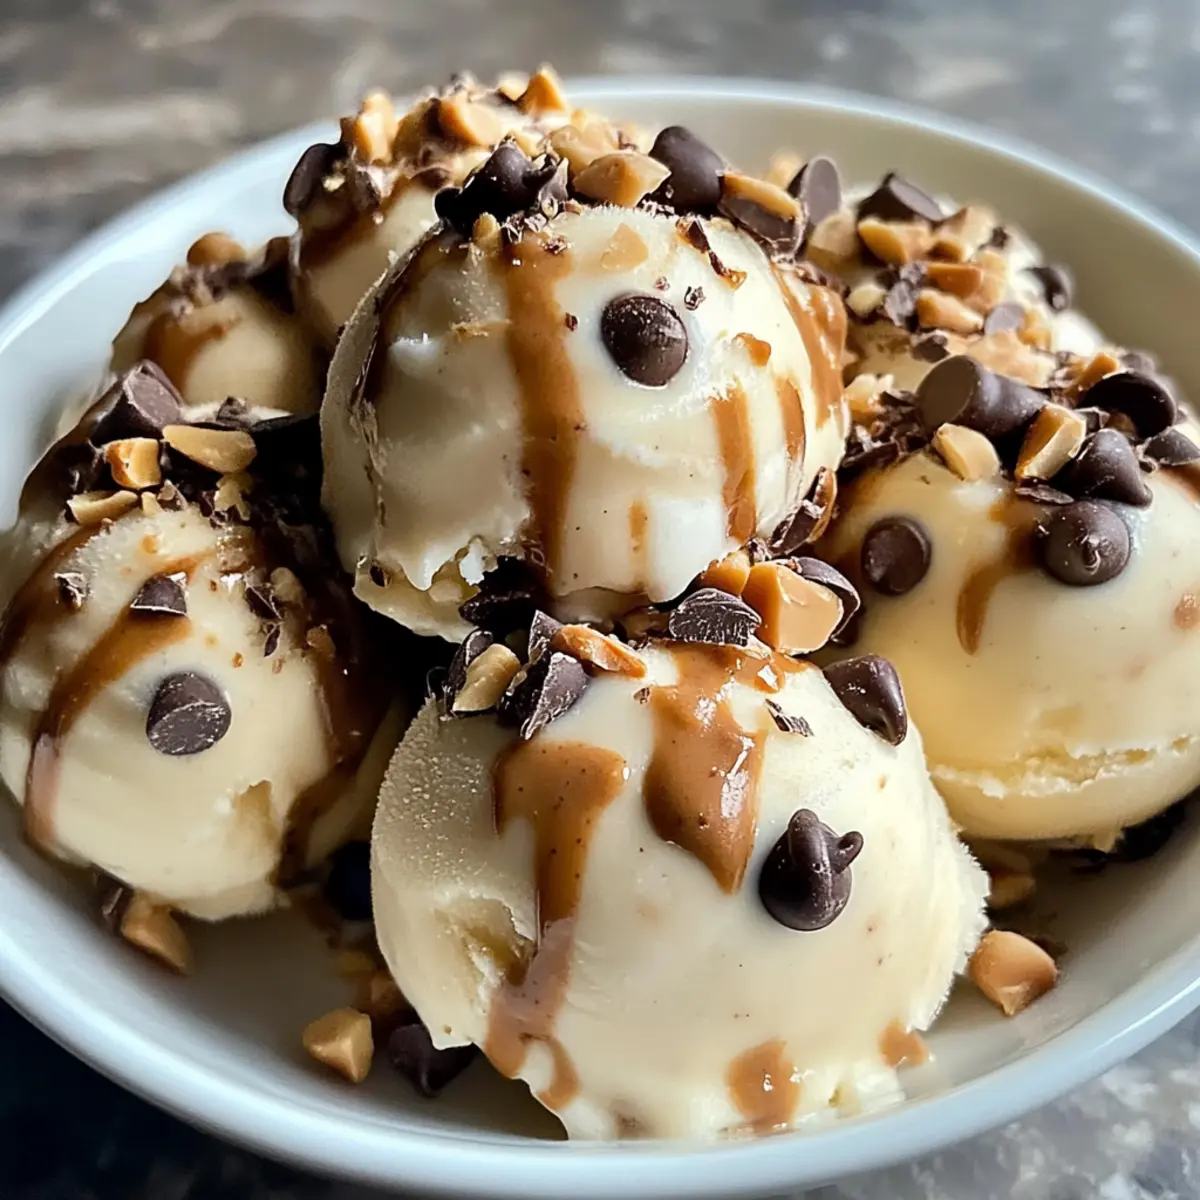
These High Protein Frozen Peanut Butter Greek Yogurt Bites are a fantastic choice for meal prep enthusiasts! You can mix the base ingredients and store them in the refrigerator for up to 24 hours before pouring them into molds. This allows you to enjoy the flavors meld without sacrificing quality. Additionally, if you want to make these delicious bites ahead, freeze them for up to one month. When you’re ready to serve, simply remove them from the freezer and let them sit at room temperature for a few minutes to soften slightly before indulging. This way, you’ll have a tasty, ready-made treat that’s perfect for busy weeknights or post-workout cravings!
Expert Tips for Peanut Butter Greek Yogurt Bites
Smooth Mixture: Ensure all ingredients are thoroughly mixed without lumps; this will guarantee a creamy texture in your Peanut Butter Greek Yogurt Bites.
Mold Preparation: Use liners or cooking spray to prevent sticking. If your bites do stick, warm the mold slightly to release them easily.
Taste Test: Before freezing, sample the mixture to adjust sweetness or flavor as needed, ensuring your bites have just the right balance.
Storage Matters: Minimize air exposure by wrapping bites in parchment paper or placing them in an airtight container; this helps prevent freezer burn.
Customizable Options: Don’t hesitate to swap in different nut butters or sweeteners to create your favorite flavor variations; enjoy the fun of customization!
How to Store and Freeze Peanut Butter Greek Yogurt Bites
Fridge: Store the mixture in the fridge for up to 24 hours before filling molds if you prep ahead; this keeps it fresh while waiting to set.
Freezer: Keep your Peanut Butter Greek Yogurt Bites in an airtight container in the freezer for up to one month to maintain their creamy texture and flavor.
Separation: Layer the bites with parchment paper in the container to prevent sticking and ensure easy access when you’re in need of a quick snack!
Reheating: No need to reheat; simply remove the desired amount from the freezer and enjoy them straight away for a refreshing snack!
What to Serve with High Protein Frozen Peanut Butter Greek Yogurt Bites
Looking to create a delightful spread that perfectly complements the creamy goodness of these bites?
- Fresh Fruit Salad: A colorful mix of juicy fruits like berries, bananas, and apples adds a refreshing contrast, balancing richness with brightness.
- Crunchy Granola: Sprinkle some homemade or store-bought granola over your bites for an added crunch and nutty flavor that enhances your snack time.
- Savory Veggie Sticks: Pair with carrot and celery sticks for a light option that offers crunch and a pop of freshness, mingling different textures beautifully.
- Dark Chocolate Drizzle: A simple melted dark chocolate drizzle over your bites intensifies the dessert feel, marrying the flavors in a deliciously decadent way.
- Herbal Tea: Serve with a warm cup of herbal tea, such as chamomile or peppermint, to soothe while enjoying these protein-packed nuggets.
- Yogurt Parfait: Layer bites with your favorite yogurt and fruit for a vibrant and nutritious parfait that adds a fun twist to snacking.
- Peanut Butter Banana Smoothie: Blend together a quick and easy smoothie made with banana, spinach, and a dollop of peanut butter to create a forgivingly indulgent beverage.
Each option adds a unique touch, turning your city-inspired snack into a delightful meal experience that’s both welcoming and comforting!
Peanut Butter Greek Yogurt Bites Variations
Feel free to get creative and tailor these bites to match your cravings or dietary needs!
-
Nut Butter Swap: Switch peanut butter for almond or sunflower seed butter to explore different flavors. Each swap introduces a unique taste and texture that elevates the bites.
-
Vegan Sweetener: Replace honey with maple syrup or agave nectar for a vegan-friendly option. The rich flavors will still shine through, ensuring you get that delightful sweetness without compromising your dietary choices.
-
Flavor Boost: Add a pinch of cinnamon or cocoa powder to the base mixture for a warm, aromatic twist. These little additions can transform the entire experience, making each bite an exciting surprise.
-
Fruity Add-Ins: Toss in diced dried fruits or fresh berries for a fruity explosion in every bite. The sweetness of fruits pairs beautifully with the creamy base, creating a delightful contrast that’s hard to resist.
-
Crunchy Texture: Incorporate crispy rice cereal or granola for extra crunch. The added texture not only enhances mouthfeel but also makes these bites feel even more indulgent.
-
Heat It Up: For those who enjoy a kick, add a dash of cayenne pepper to the mix. This surprising heat can awaken your taste buds, making your snack time a little more exhilarating.
-
Chocolate Variations: Experiment with dark, milk, or dairy-free chocolate chips based on your preference. Each type will bring a different level of sweetness and flavor richness that you can enjoy.
-
Nut & Seed Mix: Play around with different nuts or seeds like pecans, walnuts, or chia seeds for an added nutritional boost. Each addition brings a unique crunch and enhances the health benefits.
And if you’re in the mood for even more delicious recipes, dive into my Lemon Garlic Butter or indulge in some Garlic Butter Meatballs!
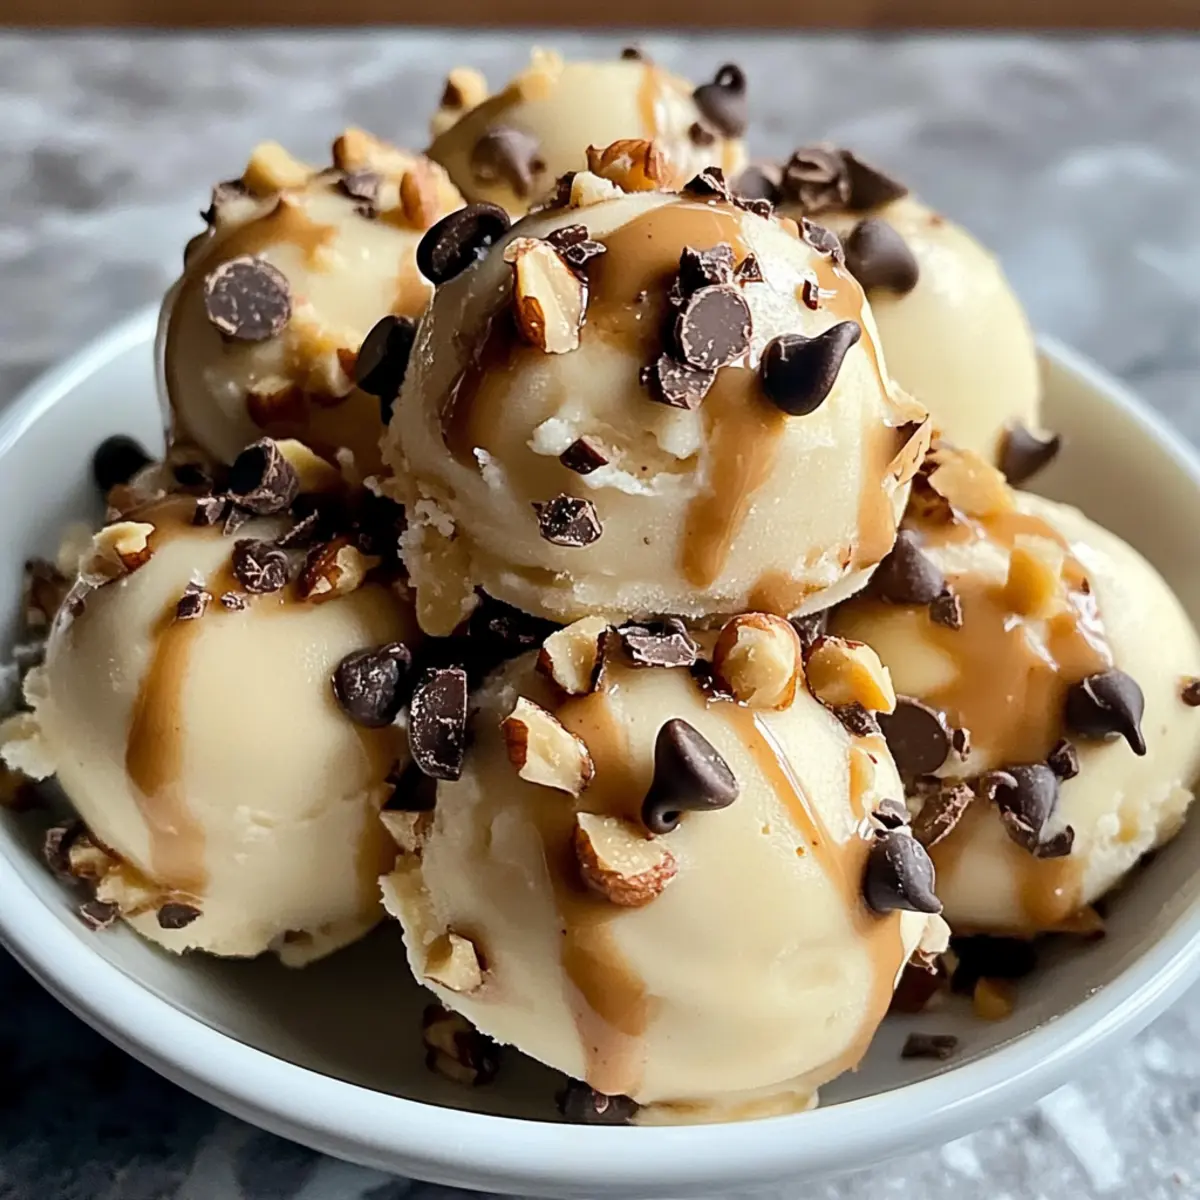
Peanut Butter Greek Yogurt Bites Recipe FAQs
What type of Greek yogurt should I use?
Absolutely! For the best texture and flavor, I recommend using full-fat Greek yogurt, as it adds creaminess to your Peanut Butter Greek Yogurt Bites. If you’re looking for a dairy-free option, you can easily substitute with non-dairy yogurt like coconut or almond yogurt.
How long can I store these peanut butter bites in the freezer?
You can store your Peanut Butter Greek Yogurt Bites in the freezer for up to one month! Just make sure to keep them in an airtight container, layering them with parchment paper to prevent sticking. This way, you can enjoy them without worrying about freezer burn.
Can I freeze the mixture before filling the molds?
It’s best to pour the mixture into molds and freeze them as intended. However, if you’re short on time, you can store the mixture in the fridge for up to 24 hours before filling the molds. Just be sure to stir it well before pouring into molds, as it may thicken slightly.
What if the bites stick to the mold?
If your Peanut Butter Greek Yogurt Bites are sticking to the mold, don’t fret! Simply warm the exterior of the mold with your hands or run it under warm water for a few seconds. This will help loosen the bites, allowing you to easily pop them out.
Are there any allergy considerations I should be aware of?
Very! If you are serving these bites to others, consider potential nut allergies. You can substitute peanut butter with sunflower seed butter, which provides a similar creaminess without the nuts. For sweetening, use agave nectar or maple syrup to avoid honey for a vegan option as well.
Can I customize the flavors easily?
The more the merrier! You can absolutely customize these bites to suit your taste. Swap the peanut butter for almond or cashew butter, try different types of sweeteners, or add spices like cinnamon or cocoa powder for a flavor twist. Go ahead and let your imagination run wild!
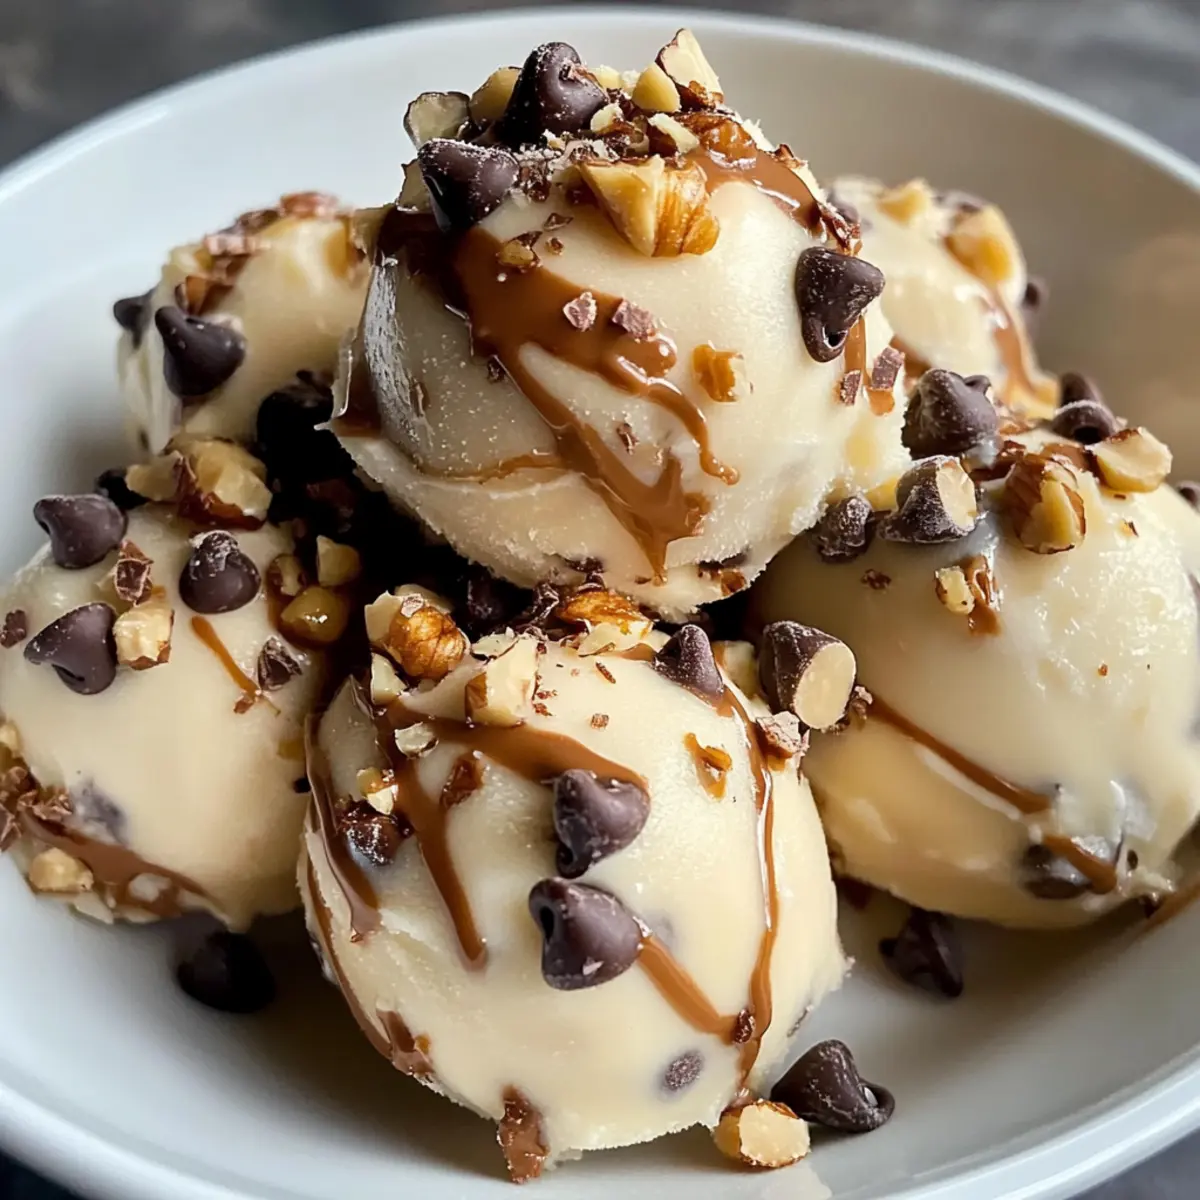
Creamy Peanut Butter Greek Yogurt Bites You’ll Crave
Ingredients
Equipment
Method
- In a medium mixing bowl, combine Greek yogurt, peanut butter, honey, and vanilla extract. Blend until smooth and creamy.
- Gently fold in chocolate chips and any optional chopped nuts or seeds.
- Prepare your mini muffin tin or silicone molds by lining them or lightly greasing them with cooking spray.
- Pour the mixture into each mold cavity, filling them about three-quarters full.
- Transfer the molds to the freezer and allow them to chill for 2-3 hours.
- Once frozen, remove bites from the molds and store in an airtight container with parchment paper in between layers.
Leave a Reply