
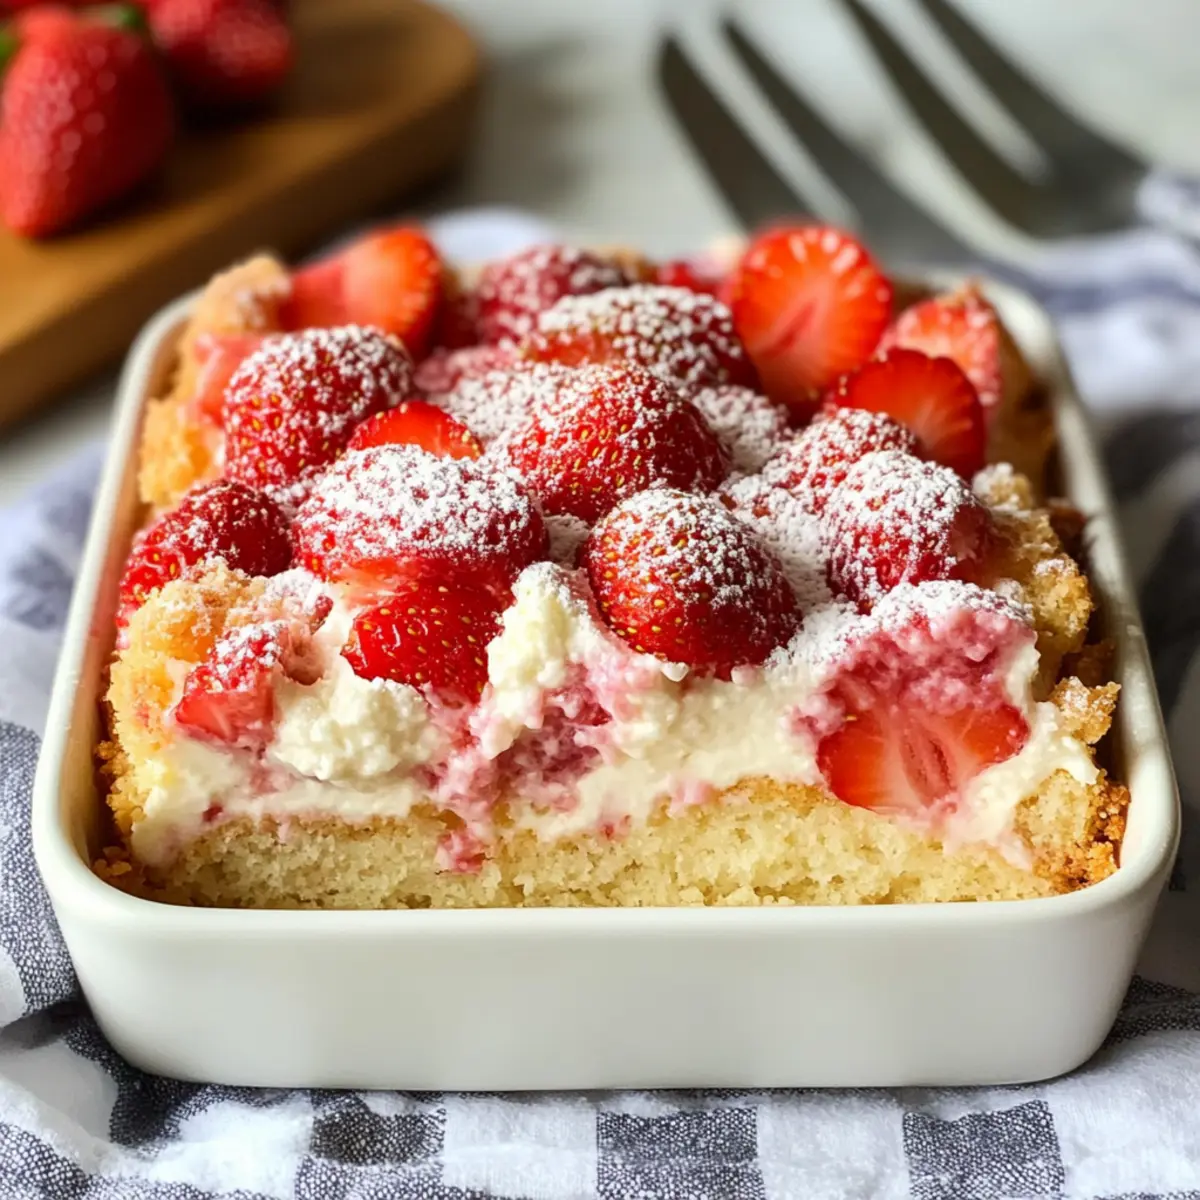
As I watched the last of the sun dip below the horizon, I realized it was the perfect evening for a sweet treat. Enter the Easy Strawberry Cheesecake Dump Cake—my latest culinary obsession. With just a handful of ingredients, this delightful dessert blends creamy cheesecake with luscious strawberries, creating a comforting dish that’s not only a crowd-pleaser but also incredibly easy to whip up. Imagine having a delicious dessert ready in no time, ideal for those hectic weeknights or spontaneous gatherings! Plus, with options for gluten-free and vegan adaptations, everyone can indulge in a piece of this dreamy cake. Curious about how to bring this simple, yet decadent dessert to your table? Let’s dive in!
Why is This Dump Cake a Must-Try?
Simplicity at Its Finest: With basic ingredients and a straightforward method, whipping up this dessert is a breeze.
Versatile Flavor Options: Feel free to switch out strawberries for blueberries or peaches, making it perfect for any season!
Dietary Accommodations: Whether gluten-free or vegan, this recipe has you covered, so everyone can join in on the fun.
Crowd-Pleasing Delight: It’s a dessert that brings people together, leaving them wanting seconds! Try serving it alongside a scoop of vanilla ice cream or with a dollop of whipped cream for an extra treat.
Quick Preparation: Ready in under an hour, you can easily satisfy any sweet tooth without spending all day in the kitchen. This Easy Strawberry Cheesecake Dump Cake is bound to become a go-to for gatherings or simply to brighten up your weeknight dinner!
Strawberry Cheesecake Dump Cake Ingredients
For the Cake Base
- Yellow Cake Mix – A convenient starting point that provides structure; opt for gluten-free cake mix if needed.
- Melted Butter – Adds richness and moisture; use plant-based butter for a vegan option.
- Milk – Keeps the batter smooth and pourable; almond or oat milk works great for a dairy-free version.
- Salt – A pinch balances out the sweetness and enhances flavor.
For the Cheesecake Layer
- Cream Cheese – The heart of the cheesecake layer, yielding creaminess; swap with plant-based cream cheese for vegan variation.
- Granulated Sugar – Sweetens the cheesecake layer and can be adjusted based on preference.
- Vanilla Extract – Boosts the depth of flavor in your cheesecake mix.
For the Strawberries
- Sliced Strawberries – The star ingredient that adds vibrant sweetness; marinating them with sugar enhances their flavor beautifully.
Feel inspired to gather these ingredients? Your journey to making an unforgettable Strawberry Cheesecake Dump Cake is about to begin!
Step‑by‑Step Instructions for Strawberry Cheesecake Dump Cake
Step 1: Preheat the Oven
Begin by preheating your oven to 350°F (175°C) to ensure even baking of your Strawberry Cheesecake Dump Cake. This step is crucial for achieving that perfect golden-brown crust. While the oven warms up, gather your ingredients and prepare your 9×13-inch baking dish by greasing it lightly to prevent sticking.
Step 2: Marinate Sliced Strawberries
In a mixing bowl, combine sliced strawberries with 1/4 cup of sugar. Let them sit for about 10 minutes, allowing the sugar to draw out their natural juices. This step not only enhances the flavor but also creates a syrupy layer that will add moisture to your dump cake. Stir occasionally and watch those beautiful, juicy strawberries develop!
Step 3: Prepare the Cream Cheese Mixture
In a separate bowl, beat together the softened cream cheese, 3/4 cup of sugar, and a teaspoon of vanilla extract until the mixture is smooth and creamy. This should take about 2-3 minutes using an electric mixer on medium speed. A well-blended cheesecake layer is key to the delightful creamy center of your Strawberry Cheesecake Dump Cake.
Step 4: Mix the Cake Batter
In another bowl, combine the yellow cake mix, melted butter, milk, and a pinch of salt. Mix the ingredients just until combined; be careful not to overmix, as this can affect the texture. You want to maintain a few small lumps in your batter for that perfect fluffy cake base.
Step 5: Layer the Cake Batter
Pour half of the cake batter into the greased 9×13-inch baking dish. Use a spatula to spread it evenly across the bottom of the dish, covering every corner to ensure a consistent base for your Strawberry Cheesecake Dump Cake. The batter should create a smooth layer, setting the stage for the delicious cheesecake layer to come.
Step 6: Spread the Cream Cheese Mixture
Gently spoon the cream cheese mixture over the layer of cake batter, spreading it evenly but being careful not to disturb the cake base. The cream cheese should create a nice, thick layer on top of the batter, intermingling beautifully with the strawberries you’ll add later. This is where the luscious cheesecake element shines!
Step 7: Add the Marinated Strawberries
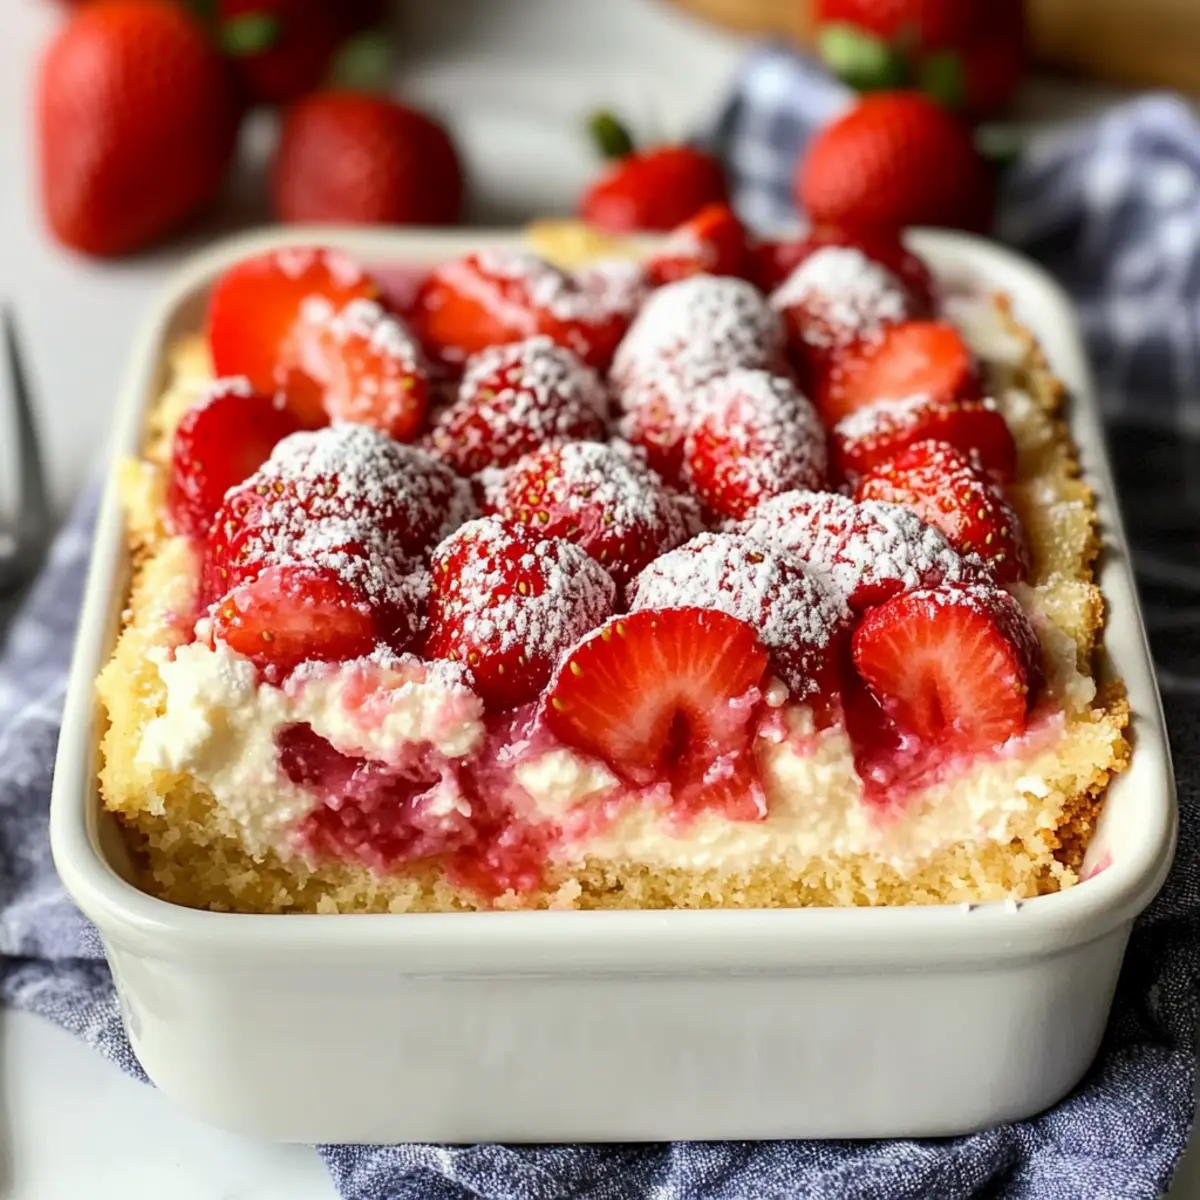
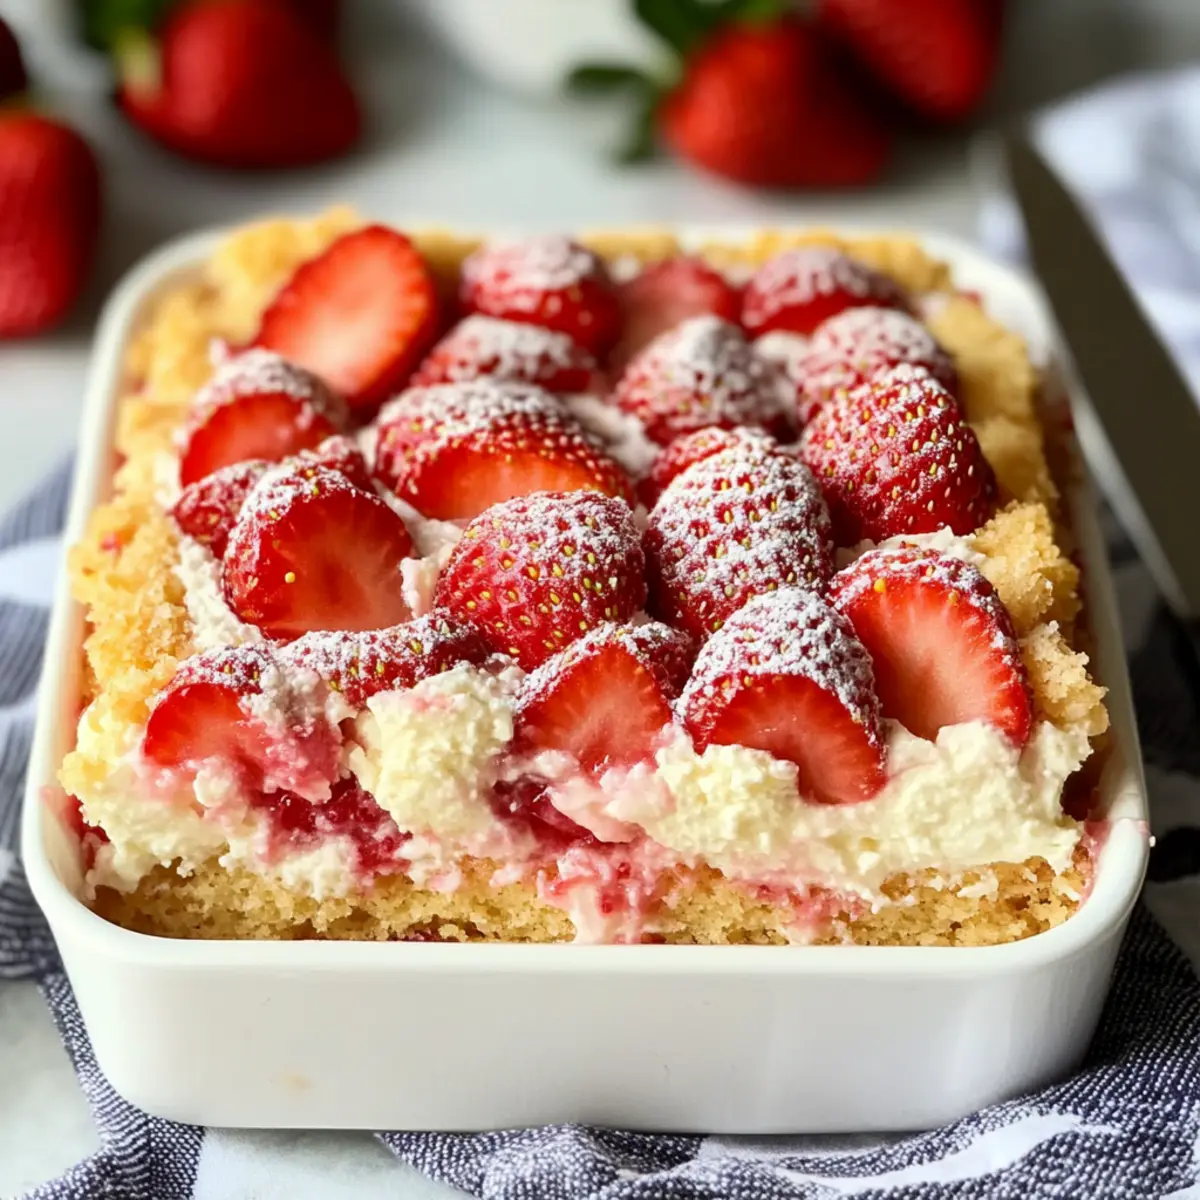
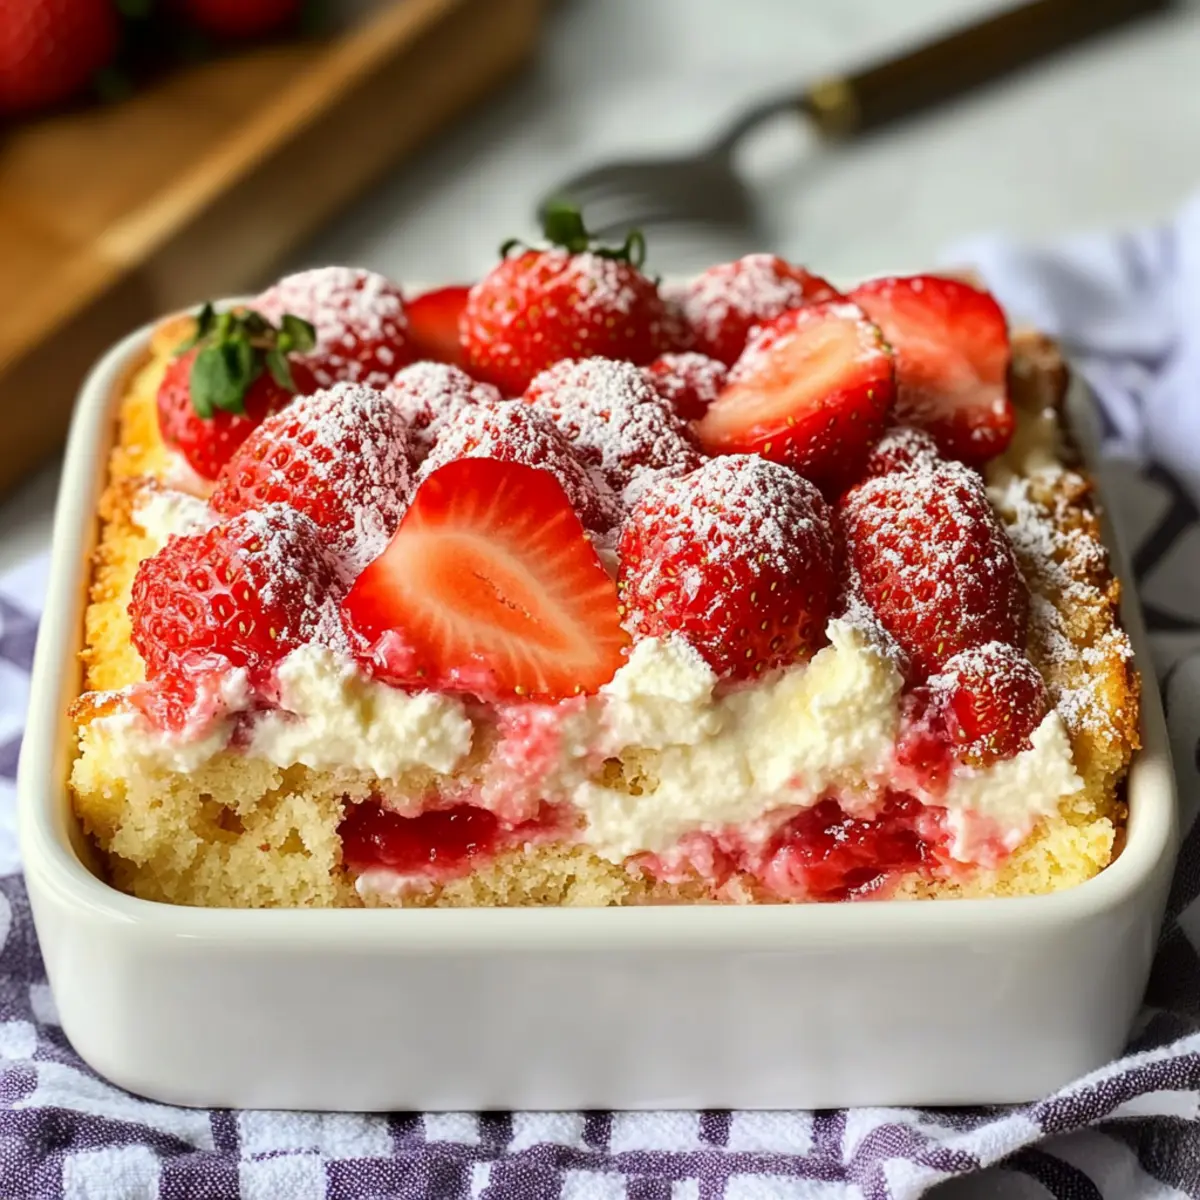
Evenly distribute the marinated strawberries on top of the cream cheese layer, ensuring that their sweet juices seep into the cheesecake and cake batter beneath. The vibrant red strawberries not only add flavor but also create a colorful presentation for your Strawberry Cheesecake Dump Cake, making it visually appealing.
Step 8: Top with Remaining Batter
Pour the remaining cake batter over the strawberries, covering them completely. It’s important to spread it evenly so every bite of your Strawberry Cheesecake Dump Cake tastes delicious. The batter acts as a sealing layer, locking in all the wonderful flavors and moisture below while it bakes.
Step 9: Bake to Perfection
Place the baking dish in the preheated oven and bake for 45-50 minutes. You’ll know it’s done when the top is golden brown and a toothpick inserted in the center comes out clean. The aroma will fill your kitchen, making your mouth water in anticipation of this delightful dessert.
Step 10: Cool and Serve
Once baked, remove your Strawberry Cheesecake Dump Cake from the oven and let it cool for about 10-15 minutes. This cooling time helps enhance the flavors and makes it easier to cut. Before serving, dust the top with a sprinkle of powdered sugar for an elegant finish that adds a touch of sweetness.
Make Ahead Options
These Easy Strawberry Cheesecake Dump Cakes are perfect for busy home cooks looking to save time during the week! You can prepare the cheesecake layer and marinate the strawberries up to 24 hours in advance, storing them separately in the refrigerator. To keep the cheesecake layer smooth and creamy, cover it tightly with plastic wrap. On the day you plan to serve it, simply layer the cake batter in your baking dish, add the prepared cream cheese mixture and strawberries, then finish with the remaining batter before baking. This way, you can effortlessly create a delightful dessert that is just as delicious as if you made it all at once!
Strawberry Cheesecake Dump Cake Variations
Feel free to let your creativity shine by customizing this recipe to cater to your taste buds!
-
Berry Medley: Swap strawberries for a combination of blueberries and raspberries for a vibrant fruit explosion. The balance of sweetness and tartness will have everyone coming back for more!
-
Stone Fruit Delight: Use sliced peaches or nectarines instead of strawberries for a summery twist. Thinly sliced stone fruits bring a juicy sweetness that elevates your dump cake.
-
Gluten-Free Option: Simply substitute the yellow cake mix for a gluten-free blend. Don’t forget to check that all other ingredients, like baking powder and vanilla, are also gluten-free for an enjoyable treat!
-
Vegan Dream: For a plant-based delight, replace cream cheese with dairy-free varieties and use almond or oat milk. This way, you can indulge in this luscious dessert worry-free!
-
Chocolate Peanut Butter Twist: Add a scoop of cocoa powder to the cake batter and swirl in some peanut butter for a decadent twist! The harmony of chocolate and peanut butter makes for a dreamy dessert experience.
-
Cinnamon Spice: Introduce a teaspoon of cinnamon into the cake mix for a warm, comforting spice layer. It’s perfect for cozy gatherings, especially during the holiday season.
-
Nutty Crunch: Fold in some finely chopped nuts, like pecans or walnuts, into the cake batter for a delightful crunch and added texture. They create a lovely contrast to the smooth cheesecake layer.
-
Zesty Lemon Infusion: Add a tablespoon of lemon zest to the cream cheese mixture for a citrusy zing. The lemon brightens up the flavors, making every bite refreshing!
By trying these variations, you can keep the Strawberry Cheesecake Dump Cake fresh and exciting! Just like with my other favorites, such as Fried Strawberry Cheesecake and Caramel Dump Cake, this recipe is all about exploring flavors and making it your own!
Expert Tips for Strawberry Cheesecake Dump Cake
Softened Cream Cheese: Ensure your cream cheese is at room temperature for seamless blending; this guarantees a smooth cheesecake layer that’s irresistible.
Avoid Overmixing: Gently mix the cake batter—overmixing can lead to a dense texture. A few lumps are perfectly okay for a fluffy finish!
Juicy Strawberries: Marinate the sliced strawberries for at least 10 minutes. This enhances their sweetness and creates a delicious syrup that moistens the cake.
Watch the Baking Time: Keep an eye on your Strawberry Cheesecake Dump Cake as it bakes; the top should be golden brown, and a toothpick should come out clean to avoid drying it out.
Cool Before Serving: Allow the cake to cool for 10-15 minutes before cutting. This waiting period helps set the layers and makes serving easier.
How to Store and Freeze Strawberry Cheesecake Dump Cake
Room Temperature: Store the cake covered at room temperature for up to 1 day. Keep it in a cool, dry place to maintain its texture.
Fridge: If you have leftovers, refrigerate the Strawberry Cheesecake Dump Cake in an airtight container for up to 3 days. This keeps it fresh and delicious!
Freezer: For longer storage, wrap individual slices in plastic wrap and place them in a freezer-safe bag. Freeze for up to 2 months, ensuring they’re well-sealed to prevent freezer burn.
Reheating: To enjoy frozen slices, thaw in the fridge overnight and gently reheat in the microwave for about 20-30 seconds, or until warmed through. This way, you can relive that delightful flavor anytime!
What to Serve with Easy Strawberry Cheesecake Dump Cake
As you gather your family and friends for a delightful dessert experience, consider these pairings to elevate your Simple Strawberry Cheesecake Dump Cake into a complete meal moment.
-
Vanilla Ice Cream: A scoop of creamy vanilla ice cream complements the fluffy cake, creating a delightful contrast of temperatures and textures.
-
Whipped Cream: Light and airy whipped cream adds an indulgent touch, enhancing the cheesecake richness while providing a playful, fluffy counterpart.
-
Fresh Berries: A mix of fresh berries—like blueberries and raspberries—brightens the plate, adding a burst of color and additional fruity flavor.
-
Chocolate Drizzle: Drizzling warm chocolate sauce over each slice introduces a luscious, sweet contrast that appeals to chocolate lovers.
-
Pecan Crunch Topping: Toasted pecans add a satisfying crunch that pairs beautifully with the soft cake and fruity layers.
-
Mint Sprigs: Garnishing with fresh mint sprigs introduces a refreshing herbal note, enhancing the overall flavor profile of the dessert.
-
Sparkling Water or Lemonade: Refreshing drinks like sparkling water with a twist of citrus or homemade lemonade balance the sweetness, making it a perfect dining experience.
Enjoy the warmth of shared moments with these delightful accompaniments to your Easy Strawberry Cheesecake Dump Cake!
Strawberry Cheesecake Dump Cake Recipe FAQs
How do I select the best strawberries for this recipe?
Absolutely! Look for fresh strawberries that are bright red, firm, and free of dark spots. They should have a sweet fragrance. Avoid those with bruises or mold, as these can affect the flavor and texture of your finished dump cake.
How should I store leftover Strawberry Cheesecake Dump Cake?
After your gathering, if there are any leftovers, cover the cake and store it at room temperature for up to 1 day. For longer storage, place it in an airtight container and refrigerate for up to 3 days. Make sure it’s securely covered to keep it moist!
Can I freeze this dump cake, and how?
Very much! To freeze your Strawberry Cheesecake Dump Cake, start by waiting for it to cool completely. Once cooled, wrap individual slices in plastic wrap and place them in a freezer-safe bag. It’s best consumed within 2 months. When you’re ready to enjoy, simply thaw in the fridge overnight and reheat in the microwave for about 20-30 seconds.
What should I do if my cake is dense?
If your dump cake turns out dense, it might be due to overmixing the batter. Remember, a few lumps in the batter are perfectly acceptable! Also, ensure your ingredients, especially the cream cheese, are at room temperature for easier blending, which helps maintain a fluffy texture.
Is this Strawberry Cheesecake Dump Cake safe for everyone?
Absolutely! If you’re accommodating dietary restrictions, you can make a gluten-free version by using gluten-free cake mix. For vegan adaptations, just replace the cream cheese with a plant-based alternative and use dairy-free milk options. Always double-check labels for allergens to ensure safety!
How can I enhance the flavor of the strawberries?
I recommend marinating the sliced strawberries with sugar for about 10 minutes before adding them to the cake. This step draws out their juices and intensifies their sweetness, making your dump cake even more delectable!
Savor the Moment with Easy Strawberry Cheesecake Dump Cake
Ingredients
Equipment
Method
- Preheat your oven to 350°F (175°C) and grease a 9x13-inch baking dish.
- In a bowl, combine sliced strawberries with 1/4 cup of sugar and let sit for 10 minutes.
- Beat together cream cheese, 3/4 cup sugar, and vanilla extract until smooth.
- In another bowl, mix cake mix, melted butter, milk, and salt until combined.
- Pour half of the cake batter into the greased baking dish.
- Spread the cream cheese mixture evenly over the cake batter.
- Distribute the marinated strawberries on top of the cream cheese layer.
- Top with the remaining cake batter, spreading it evenly.
- Bake for 45-50 minutes until golden brown and a toothpick comes out clean.
- Cool for 10-15 minutes before serving, dust with powdered sugar if desired.
Leave a Reply