
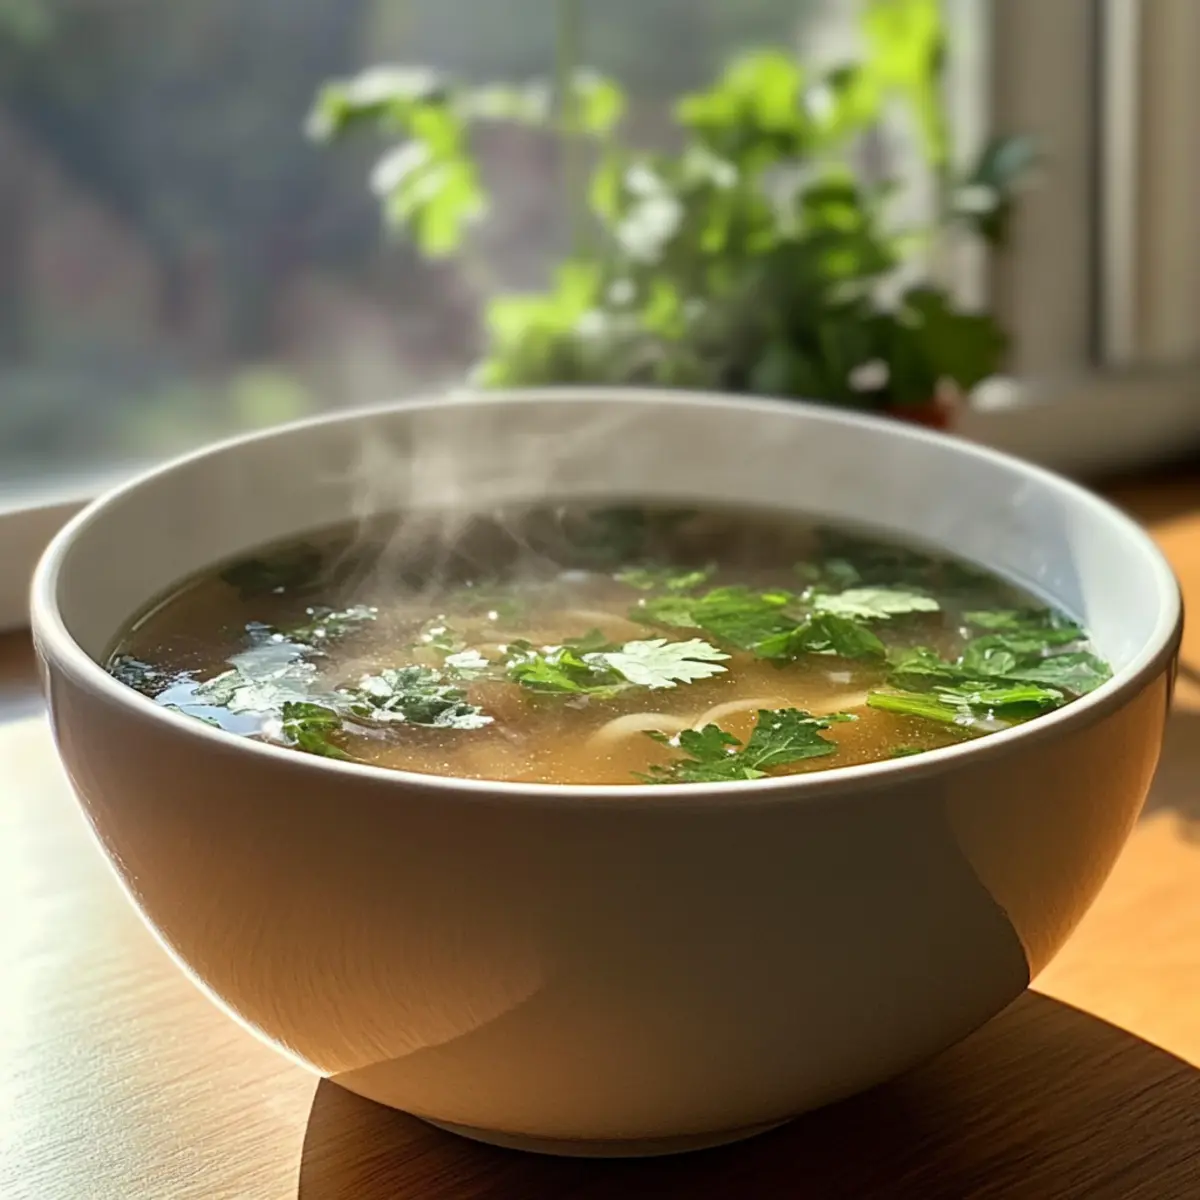
As the fragrant steam rises from a simmering pot, I’m reminded of family gatherings where warm bowls of broth would grace our dinner table. This Thai Broth recipe is a true comfort for the soul, offering a delicate, clear soup base that’s perfect for sipping or as a canvas for your culinary creations. Its versatility allows you to effortlessly transition between cozy noodle dishes or vibrant vegetable soups, all while keeping things light and nourishing. Plus, this broth is low in calories, making it an ideal option for those looking to savor homemade goodness without the guilt. Whether you’re a seasoned home-chef or just dipping your toes into the world of cooking, this recipe will surely become a cherished staple in your kitchen. Ready to discover how easy it is to craft your own Thai Broth? Let’s dive in!
Why is Thai Broth a Must-Try?
Comforting Warmth: There’s nothing like the cozy aroma of homemade broth simmering on the stove. Versatile Base: Use it as a foundation for soups, noodles, or sip it solo! Low-Calorie Delight: Enjoy a guilt-free dish that nourishes without heaviness. Adaptable Creations: Experiment with variations like a vegetarian option or spiced version for those who crave a kick. Culinary Tradition: This broth embodies the essence of Thai culinary heritage, perfect for connecting with family and tradition. For more exciting dishes, check out my delicious Crockpot Thai Coconut or the vibrant Thai Peanut Chicken.
Thai Broth Ingredients
For the Broth Base
• Chicken or Pork Bones – Adds richness and natural collagen; perfect for a flavorful base. Use beef bones for a heartier flavor if desired.
• Water – The principal component that carries all the delicious flavors; no substitutes needed.
For the Aromatics
• Garlic – Provides warmth and aromatic depth; crush lightly to enhance flavor release. Shallots can replace it for a touch of sweetness.
• Cilantro Roots or Stems – Contributes earthiness and authenticity; if unavailable, fresh parsley can offer a similar fresh note.
For Seasoning
• Ground White Pepper – Adds a subtle heat without overwhelming the broth; regular black pepper can be used but will change the appearance.
• Thin Soy Sauce – Offers color and mild umami; consider tamari for a gluten-free option.
• Fish Sauce – Brings authenticity and salty depth; use sparingly for balance. Substitute soy sauce for a vegetarian adaptation.
This Thai broth is not only comforting but also a wonderful canvas for your favorite soups and dishes. Enjoy creating!
Step‑by‑Step Instructions for Thai Broth
Step 1: Prepare Ingredients
Begin by rinsing your chicken or pork bones under cool running water for a few minutes. This crucial step reduces cloudiness in your broth and ensures a clearer, more appetizing final product. While rinsing, gather your garlic, cilantro roots or stems, and other seasoning ingredients so you’re ready for the next steps.
Step 2: Simmer Broth
In a large pot, combine the rinsed bones with approximately 12 cups of cold water. Turn the heat to medium-high and bring the mixture to a gentle boil before reducing it to a simmer. Aim for a low simmer, as this will help extract flavors without creating bitterness. You’ll know the broth is ready for the next step when gentle bubbles are consistently visible.
Step 3: Add Aromatics and Seasonings
Once the broth reaches a gentle simmer, it’s time to enhance its flavor profile. Add in the crushed garlic, cilantro roots or stems, ground white pepper, thin soy sauce, and fish sauce. Stir gently to combine all the ingredients, allowing the fragrant herbs and spices to infuse the broth. The aroma of your Thai broth should begin to fill the kitchen!
Step 4: Bring to Heat
Carefully monitor the heat, ensuring that your pot maintains a low simmer without boiling. Allow the broth to simmer over low heat for about 30 minutes. During this time, the flavors will meld beautifully, and you can watch the liquid turn a lovely, golden color—a perfect indication that your broth is developing its essence.
Step 5: Skim Impurities
After 30 minutes of simmering, use a ladle or fine mesh skimmer to gently remove any floating impurities that have risen to the surface. This step is essential for a clear broth, so take your time to skim thoroughly. By the end of this step, your broth will start looking crystal clear, hinting at the delicious flavors developing within.
Step 6: Continue Simmering
Allow the broth to simmer for an additional 1.5 hours, stirring occasionally to ensure even cooking. During the last 20 minutes of simmering, taste the broth and adjust the seasoning as needed to achieve a balanced flavor. Look for a deep, satisfying aroma that suggests you’ve created a nourishing Thai broth that’s packed with flavor.
Step 7: Cool and Store
Once the simmering time is complete, it’s time to cool your broth. Carefully remove the pot from the heat and let it sit for about 10-15 minutes. Then strain the broth through a fine mesh sieve into another pot or bowl to separate the liquid from the solids. Store the clear Thai broth in airtight containers, and it’s ready for your future culinary creations!
What to Serve with Thai Broth?
Imagine the delightful aroma wafting through your kitchen, inviting loved ones to gather around a warm bowl of soup.
- Fresh Herbs: Chopped cilantro or basil adds brightness and a burst of flavor, enhancing the broth’s aroma. A sprinkle on top makes the warm bowl even more inviting.
- Rice Noodles: Soft and chewy rice noodles create a heartier dish while soaking up all the aromatic broth, making each bite a cozy experience.
- Steamed Vegetables: Crisp-tender vegetables like bok choy or snow peas provide a lovely crunch, complementing the smooth broth with fresh, vibrant flavors.
- Grilled Chicken: Tender pieces of grilled chicken integrate protein, making it a heartwarming complete meal packed with comforting flavors.
- Crispy Tofu: For a vegetarian option, add golden, crispy tofu to bring texture and a protein boost, perfect for a cozy plant-based meal.
- Chili Oil: A drizzle of chili oil or a dash of sriracha adds a spicy kick that elevates the broth’s deliciousness and warms the spirit.
- Lime Wedges: A squeeze of fresh lime juice enlivens the soup with a zesty brightness, cutting through the richness and enhancing the flavors beautifully.
- Coconut Milk: For a creamy twist, stirring in some coconut milk transforms the broth into a luscious, comforting treat that’s both indulgent and nourishing.
- Mango Salad: A refreshing mango salad on the side offers a delightful contrast to the warm broth flavors, finishing off your meal with a light sweetness.
Thai Broth Variations You’ll Love
Feel free to make this recipe your own—there are so many delicious ways to customize your Thai broth!
-
Vegetarian Broth: Replace bones with a mix of mushrooms, seaweed, and radish to create a robust, plant-based flavor. It’s a hearty alternative that doesn’t skimp on taste!
-
Spiced Version: Add crushed dried chili flakes to bring a warm kick to your broth. This little twist adds layers of heat and complexity without overwhelming the flavor.
-
Concentrated Cubes: Simmer the broth down until it’s thickened, then freeze in ice cube trays. These flavor-packed cubes will spice up your meals in no time!
-
Coconut Infusion: Incorporate a can of coconut milk for a rich and creamy broth. This delightful variation creates an amazing base for a warming soup, perfect for cool evenings.
-
Lemongrass Twist: Infuse your broth with fresh lemongrass for a citrusy and aromatic edge. This addition pairs beautifully with shrimp or chicken-based dishes.
-
Herb Boost: Try adding more fresh herbs like Thai basil or mint towards the end of cooking for a fresh burst of flavor that enhances the broth’s aromatic qualities.
-
Noodle Add-In: Consider adding rice or egg noodles directly into the broth for a quick and comforting meal. Just cook them separately for best results, then combine for the ultimate deliciousness!
These variations offer endless possibilities to enjoy your Thai broth. Whether you’re looking for a cozy bowl to sip on or a base for a nutritious meal—this recipe can grow with you! For even more flavor-filled dishes, take a look at my delicious Street Style Thai or Thai Fried Chicken recipes!
Make Ahead Options
These Thai Broth preparations are perfect for busy cooks looking to streamline meal prep! You can prepare the broth base by simmering it up to 24 hours in advance, allowing the flavors to deepen overnight. After cooking, cool the broth and strain it into airtight containers; it can be stored in the refrigerator for up to 4 days or frozen for up to 3 months. To maintain the quality, skim any fat layer from the top after cooling to keep it light and clear. When you’re ready to serve, simply reheat the broth gently on the stove and use it as a base for soothing soups or hearty noodle dishes—effortlessly delicious in no time!
Expert Tips for Thai Broth
-
Start with Cold Water: Using cold water during the initial simmer helps develop a cleaner taste by extracting flavors gradually.
-
Simmer Gently: Avoid boiling; a gentle simmer prevents cloudiness and ensures all flavors meld beautifully.
-
Frequent Tasting: Taste your broth often, especially during the last 20 minutes, to adjust seasoning. Flavors will concentrate, so be careful not to over-season.
-
Skim Thoroughly: Skimming impurities after 30 minutes is key to achieving a clear broth. Don’t rush this step for the best results.
-
Storing Tips: For long-lasting freshness, cool your Thai broth completely before transferring it to airtight containers. It can be frozen for up to 3 months!
How to Store and Freeze Thai Broth
Fridge: Store your Thai broth in airtight containers for up to 4 days. Cool completely before refrigerating to maintain freshness and flavor.
Freezer: Freeze your broth in smaller portions, like ice cube trays or freezer-safe bags. It will keep well for up to 3 months, ready for quick meal additions.
Defrosting: To use frozen broth, transfer it to the fridge overnight or heat gently in a saucepan. Avoid boiling to preserve its delicate flavors.
Reheating: Reheat the broth on the stovetop over low heat, stirring occasionally. Taste and adjust seasoning if necessary before serving.

Thai Broth Recipe FAQs
How do I select the best bones for making Thai broth?
Absolutely! For the richest and most flavorful broth, opt for chicken or pork bones with some meat still attached. Look for bones that are fresh and have some marbling, as they contribute natural collagen and depth of flavor. If you’re feeling adventurous, beef bones can be used for a heartier taste, just remember to adjust the simmering time as they may require longer for the flavors to develop.
What is the best way to store Thai broth, and how long does it last?
Very simple! Store your Thai broth in airtight containers in the refrigerator for up to 4 days. Make sure to cool it completely before placing it in the fridge to maintain its freshness. If you want to store it for longer, freezing is a fantastic option! It can last for up to 3 months in the freezer. Just remember to label your containers with the date so you’ll know when to use them!
Can I freeze Thai broth, and if so, how?
Certainly! Freezing your Thai broth is a great way to have it on hand for quick meals. I suggest pouring the cooled broth into ice cube trays or freezer-safe bags for easy portioning. Once frozen, you can transfer the cubes to a freezer bag. For easy use later, simply pop out a cube or two whenever you need a flavor boost in soups or sauces. The cubes will last up to 3 months, maintaining their delicious quality!
What if my broth turns cloudy during cooking? Can I fix it?
No worries! If your broth becomes cloudy, it’s usually due to impurities that were not skimming off properly. To remedy this in future batches, make sure to skim any floating bits after the first 30 minutes of simmering. If your broth has already cooled down and is cloudy, you can strain it through a fine mesh sieve or cheesecloth to help clarify it. Just be gentle to avoid losing the beautiful flavors!
Can I make a vegetarian Thai broth, and what would I substitute?
Absolutely! Making a vegetarian Thai broth is both easy and delightful. Simply replace the bones with an assortment of mushrooms like shiitake or cremini for umami flavor, along with kombu (a type of seaweed) and radish for depth. Additionally, you can use vegetable stock as your base for extra flavor. Just follow the same steps as you would with the meat-based broth, and you’ll have a comforting, plant-based creation!
Thai Broth: Your Ultimate Comforting Soup Base Recipe
Ingredients
Equipment
Method
- Prepare Ingredients: Rinse chicken or pork bones under cool water. Gather garlic, cilantro roots or stems, and other seasoning ingredients.
- Simmer Broth: Combine rinsed bones with 12 cups of cold water in a large pot. Bring to a gentle boil, then reduce to a simmer.
- Add Aromatics and Seasonings: Add crushed garlic, cilantro roots or stems, ground white pepper, thin soy sauce, and fish sauce. Stir gently.
- Bring to Heat: Maintain a low simmer for about 30 minutes.
- Skim Impurities: Use a ladle or skimmer to remove floating impurities after 30 minutes.
- Continue Simmering: Simmer for an additional 1.5 hours, stirring occasionally. Adjust seasoning as needed.
- Cool and Store: Let it cool for 10-15 minutes, then strain through a fine mesh sieve. Store in airtight containers.
Leave a Reply