
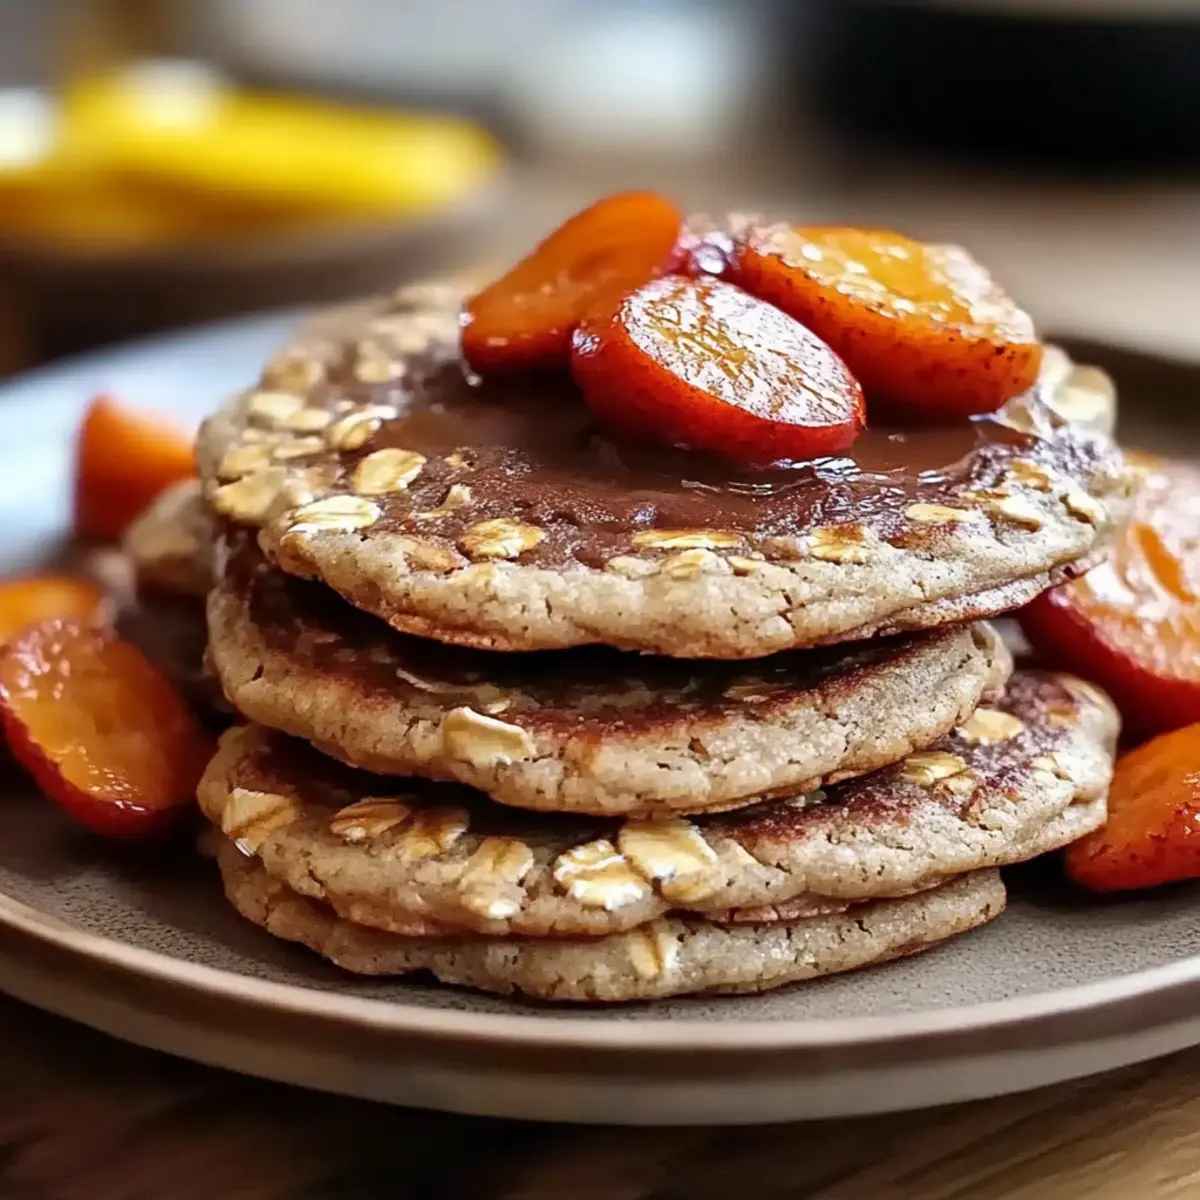
It’s amazing how a simple snack can transform a hectic day into something special. These 4-Ingredient Chocolate Oat Cookies are my go-to remedy for those moments when life feels a bit overwhelming. Made with wholesome oats and rich chocolate, they’re not only quick to whip up but also deliver a chewy texture that satisfies any sweet tooth. Plus, they’re gluten-free, so everyone can indulge without a worry. Perfect for a last-minute treat or a quick pick-me-up, these cookies redefine homemade goodness. Curious about how to make these delightful little bites? Let’s dive into the recipe!
Why are These Cookies a Game Changer?
Quick Preparation: Whip up these delightful cookies in just a few minutes—perfect for busy days or unexpected guests!
4-Ingredient Wonder: With only four simple ingredients, this recipe is designed for simplicity, making it accessible for bakers of all levels.
Gluten-Free Goodness: Modify your ingredients to suit your dietary needs, like using gluten-free oats or maple syrup for a vegan option.
Versatile Flavors: Mix and match ingredients for endless variations; consider adding chocolate chips, nuts, or even seasonal spices for a unique twist.
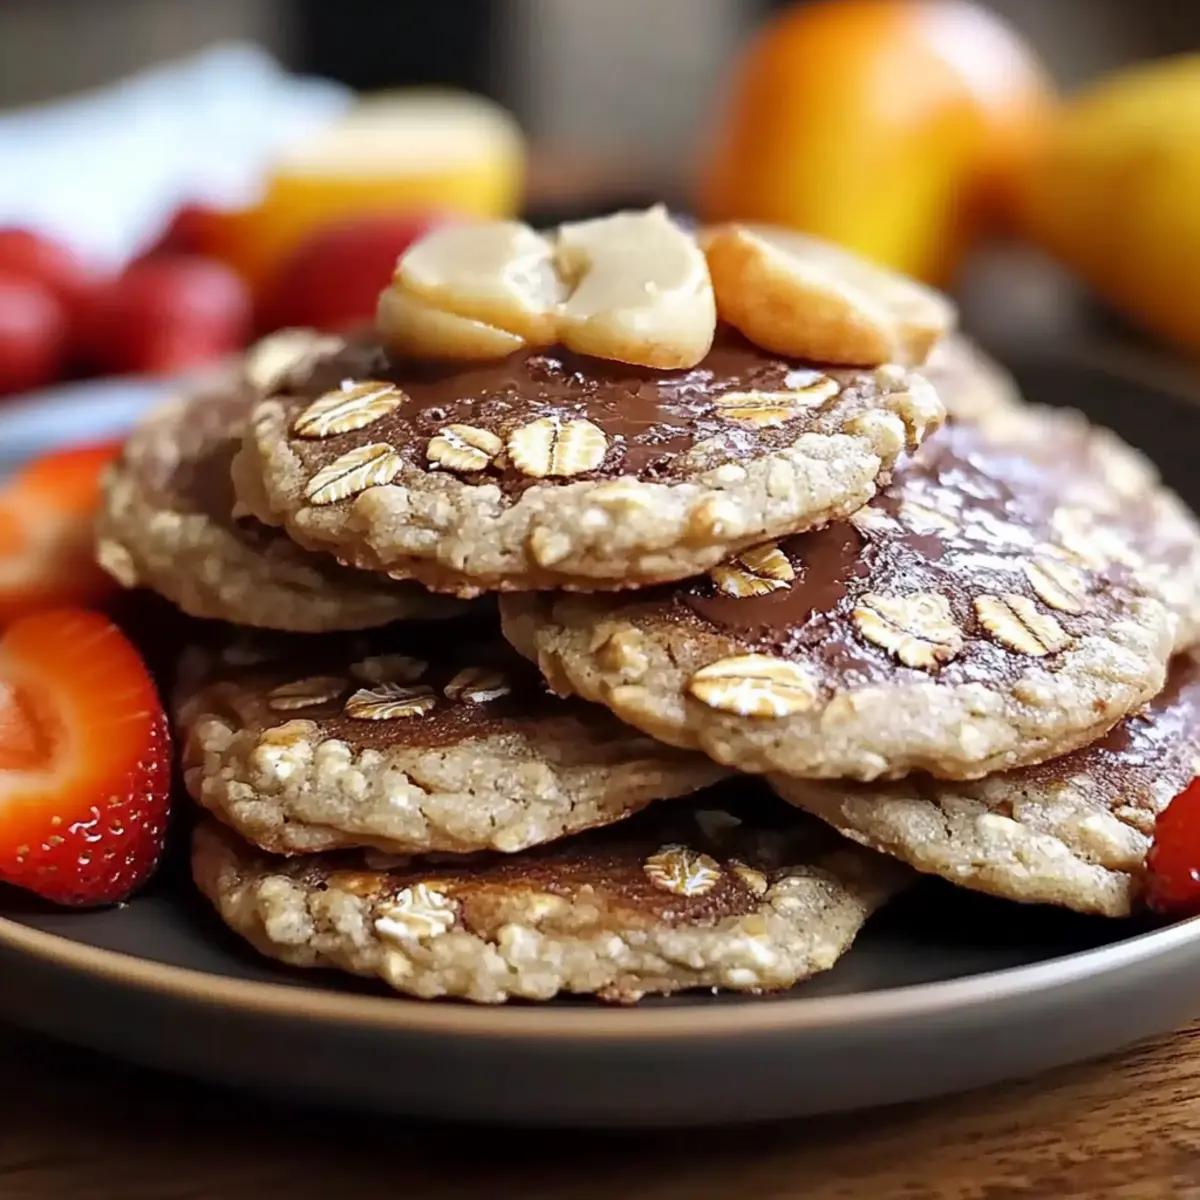
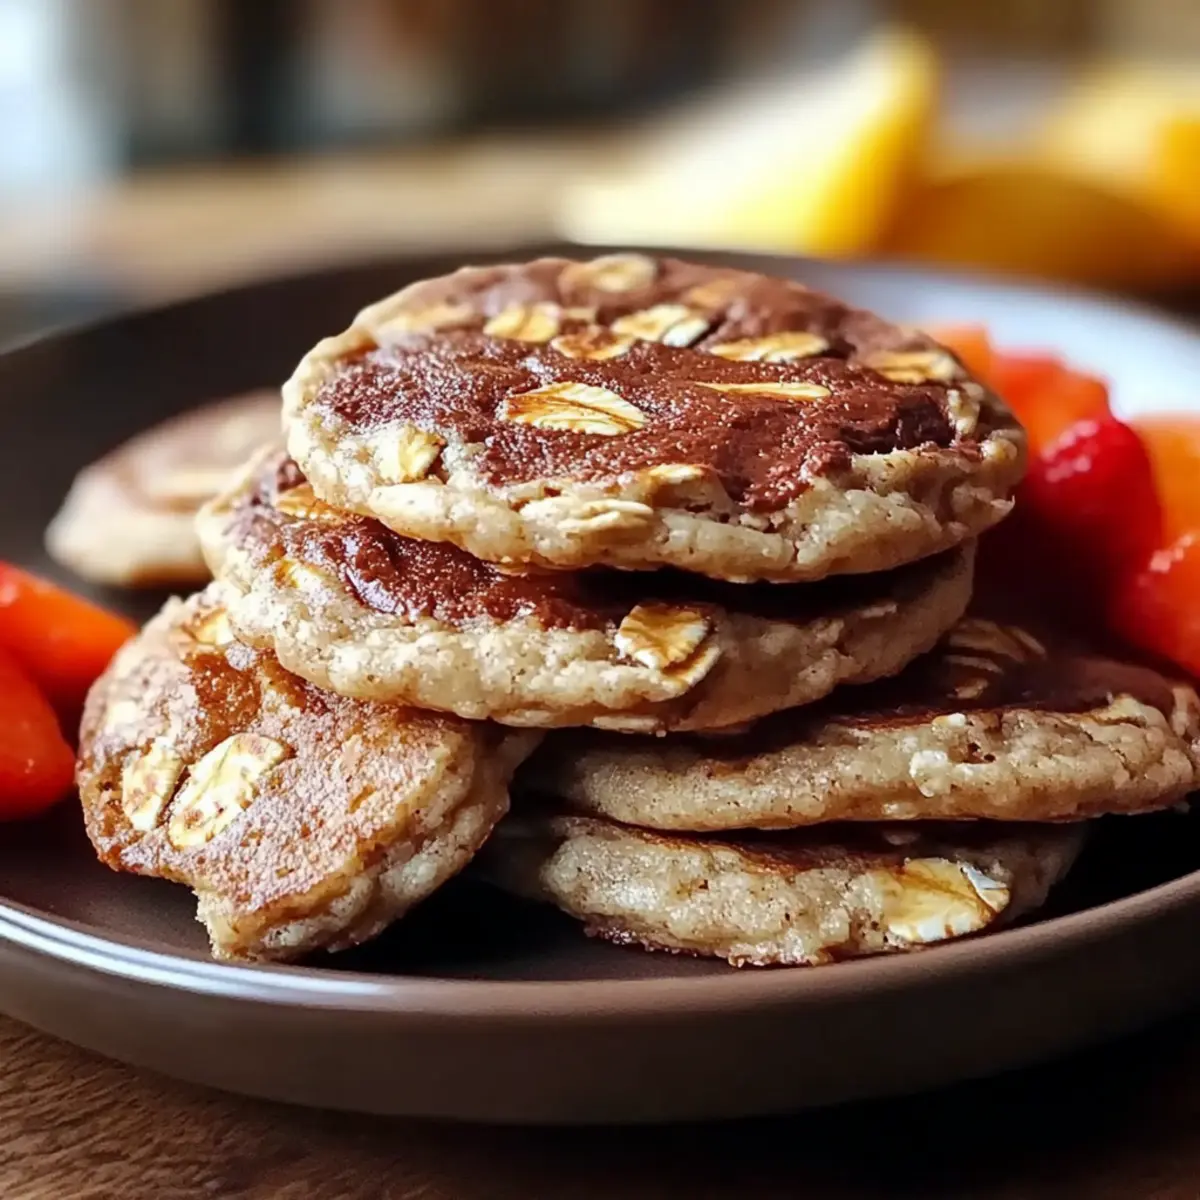
Chewy Texture: Each bite offers a satisfying chewy texture, complemented by a rich, chocolatey flavor that’s sure to please everyone.
Craving more delectable recipes? Don’t forget to check out my incredibly fluffy Banana Oatmeal Pancakes Recipe for a cozy breakfast option!
Chocolate Oat Cookies Ingredients
• Here’s what you need for the ultimate chocolate oat cookie experience!
For the Cookie Base
- Oats – Great for structure and a chewy bite; use gluten-free oats to keep this recipe gluten-free.
- Peanut Butter (or Almond Butter) – Binds the ingredients while adding richness; feel free to swap for sunflower seed butter for a nut-free version.
- Honey (or Maple Syrup) – Provides natural sweetness and moisture; use maple syrup for a vegan-friendly alternative.
- Cocoa Powder – Boosts the chocolaty goodness; adjust the amount based on your chocolate preference or try carob powder for a different flavor profile.
Step‑by‑Step Instructions for 4-Ingredient Chocolate Oat Cookies
Step 1: Preheat the Oven
Begin by preheating your oven to 350°F (175°C). This temperature ensures that your cookies will bake evenly and achieve the perfect chewy texture. While the oven heats up, prepare your baking sheet by lining it with parchment paper, which will prevent sticking and make cleanup a breeze.
Step 2: Mix Oats and Cocoa
In a large mixing bowl, combine your oats and cocoa powder. Use a whisk to blend them together until well incorporated, creating a uniform mixture. This step is crucial as it evenly distributes the chocolate flavor throughout your cookies, ensuring each bite is delightful and delicious.
Step 3: Add Wet Ingredients
Next, stir in your choice of peanut butter and honey. Mix vigorously with a spatula until a thick dough forms. The peanut butter acts as a binder, while the honey adds sweetness and moisture. If your mixture feels too thick, don’t hesitate to microwave the peanut butter for a few seconds to make it easier to blend.
Step 4: Scoop the Cookies
Using a tablespoon, scoop out rounded portions of dough and place them onto your prepared baking sheet. Ensure to space them evenly, about 2 inches apart, as they will spread slightly during baking. The rounded scoops should create a nice cookie shape that will puff up just right in the oven.
Step 5: Bake the Cookies
Place your baking sheet in the preheated oven and bake the cookies for 10-12 minutes. Watch for the edges to firm up while the centers remain soft, which will give your cookies that delightful chewy texture. Be careful not to overbake; they will continue to firm up after being removed from the oven.
Step 6: Cool the Cookies
Once baked, remove the cookies from the oven and let them cool on the baking sheet for about 5 minutes. This cooling time allows them to set properly. Then, gently transfer the cookies to a wire rack to cool completely, ensuring they maintain their delicious chewy consistency.

Variations & Substitutions for Chocolate Oat Cookies
Feel free to get creative and make these cookies your own with a few fun twists!
-
Nut-Free: Swap peanut butter for sunflower seed butter for a tasty, nut-free alternative that still binds beautifully.
This substitution ensures that everyone can enjoy these delightful treats without worries about allergies. Plus, sunflower seed butter offers a slightly sweet, nutty flavor all its own! -
Vegan Sweetener: Replace honey with agave syrup for a completely vegan cookie that’s just as sweet and delicious.
This simple switch keeps your cookies plant-based while ensuring that each bite remains a delightful treat for everyone involved. -
Frozen Treat: No baking? No problem! Form your dough into balls and freeze them for a no-bake cookie option.
These cool treats are not only refreshing but also maintain a delightful chewiness, perfect for warm days! -
Flavor Boost: Add a teaspoon of vanilla extract or almond extract for an unexpected flavor twist in your cookies.
This little addition can transform the taste profile, making each cookie feel like a special homemade creation. -
Cocoa Alternatives: Use carob powder instead of cocoa powder for a unique flavor profile that’s less intense but just as delicious.
This swap introduces a slightly sweeter and earthier taste, perfect for those who may be sensitive to caffeine! -
Dried Fruits or Nuts: Toss in some chopped nuts or dried fruits like cranberries or raisins for an extra pop of flavor and texture.
Not only do these ingredients add delightful surprises, but they also up the health factor with added fiber and nutrients! -
Spice it Up: Stir in a teaspoon of cinnamon or pumpkin spice to introduce a cozy warmth, especially in the fall season.
Imagine the aroma wafting through your kitchen as you bake—these spices bring comfort and joy to every bite!
If you’re in the mood for more mouthwatering recipes, be sure to check out my fluffy Banana Oatmeal Pancakes Recipe or explore the delicious layers of my Neapolitan Cake!
Make Ahead Options
These 4-Ingredient Chocolate Oat Cookies are perfect for meal prep enthusiasts looking to save time on busy weeknights! You can prepare the dough and refrigerate it for up to 24 hours before baking; simply cover it tightly with plastic wrap to maintain freshness. If you’re aiming for a longer shelf life, shape the cookies and freeze them for up to 3 months on a baking sheet before transferring them to an airtight container. When you’re ready to bake, just place them directly in the oven without thawing, adding an extra minute or two to the baking time. This way, you’ll have fresh, chewy cookies on hand with minimal effort!
Expert Tips for 4-Ingredient Chocolate Oat Cookies
-
Smooth Peanut Butter: Ensure your peanut butter is smooth for easier mixing; microwave it for a few seconds if it’s too thick to blend well.
-
Watch the Baking Time: Be vigilant about the baking time; overbaking can lead to dry cookies. The centers should feel soft when you take them out of the oven.
-
Experiment with Flavors: Get creative! Add chocolate chips, nuts, or seasonal spices to elevate the chocolate oat cookies and enjoy varied flavor profiles.
-
Cool Before Transferring: Allow the cookies to cool on the baking sheet briefly to set properly; transferring them too soon can cause breakage.
-
Storage Tips: Keep cookies in an airtight container at room temperature and consume within a week, or freeze them for longer preservation.
Storage Tips for Chocolate Oat Cookies
Room Temperature: Store your chocolate oat cookies in an airtight container at room temperature for up to 1 week to maintain freshness.
Fridge: If you prefer a chilled treat, you can refrigerate the cookies in an airtight container for up to 2 weeks, enhancing their chewy texture.
Freezer: For longer storage, freeze the cookies in a single layer, then transfer them to a freezer-safe bag, where they can last for up to 3 months.
Reheating: To enjoy the cookies warm, microwave them for about 10-15 seconds after thawing, bringing back that delightful chewy goodness.
What to Serve with 4-Ingredient Chocolate Oat Cookies
Imagine the delightful aroma filling your kitchen as you whip up a batch of these chocolatey delights.
-
Creamy Almond Milk: The nutty flavor and smoothness perfectly complement the chewy texture of the cookies, enhancing their chocolatey goodness. A glass of chilled almond milk brings a refreshing balance to each bite.
-
Fresh Berries: Light and bursting with flavor, fresh berries provide a contrast to the rich sweetness of the cookies. A handful of raspberries or strawberries adds a vibrant pop of color and a touch of tanginess that brightens up every nibble.
-
Decadent Coffee: The bold, roasted notes of a warm cup of coffee pair wonderfully with the sweetness of the cookies. The slightly bitter taste balances out the rich chocolate flavor, creating a comforting moment for your afternoon snack.
-
Banana Slices: Creamy and naturally sweet, banana slices add a fruity bite that beautifully mingles with the chocolate. They bring a soft, velvety texture that seamlessly complements the chewiness of the cookies.
-
Vanilla Ice Cream: For a delightful dessert twist, a scoop of vanilla ice cream takes these cookies to another level. The cool creaminess melts into the soft centers, making each cookie an indulgent treat.
-
Honey Drizzle: Drizzling a bit of honey atop the cookies enhances their natural sweetness and adds an irresistible gloss. This simple touch elevates their homemade charm, making them even more enticing.
These pairings beautifully enhance the experience of enjoying your chocolate oat cookies, turning a simple treat into a memorable occasion.
Chocolate Oat Cookies Recipe FAQs
How do I select the best oats for this recipe?
Absolutely! When choosing oats, look for rolled or old-fashioned oats for the best texture in your cookies. If you need a gluten-free option, ensure they are certified gluten-free, as some oats can be processed in facilities that handle gluten-containing grains.
What’s the best way to store leftover cookies?
Very! To store your chocolate oat cookies, place them in an airtight container at room temperature for up to 1 week. If you want them to last longer, you can refrigerate them for up to 2 weeks, which can enhance their chewiness.
Can I freeze chocolate oat cookies for later use?
The more the merrier! To freeze, first arrange the cookies in a single layer on a baking sheet and freeze until solid. Then, transfer them to a freezer-safe bag. They can be stored for up to 3 months. To enjoy, thaw them in the refrigerator and microwave for about 10-15 seconds to regain that warm, chewy texture.
What should I do if my cookie dough is too thick to mix?
No worries! If your dough becomes too thick, you can microwave the peanut butter for about 10-15 seconds to loosen it up, making it easier to blend with the other ingredients. This step can help you achieve a smoother dough that mixes well.
Are these cookies safe for people with nut allergies?
Certainly! For a nut-free version, simply substitute the peanut butter with sunflower seed butter. This way, you can enjoy the same delightful texture without worrying about nut allergies, making these delicious cookies accessible to everyone.
What’s the proper way to ensure my cookies don’t dry out in the oven?
Great question! To avoid dry cookies, keep a close eye on your baking time. Bake for 10-12 minutes, and remove them when the edges are firm but the centers still have a soft feel. They will continue to firm up as they cool on the baking sheet, ensuring a chewy texture that everyone loves.
Fluffy Banana Oatmeal Pancakes Recipe for a Cozy Breakfast
Ingredients
Equipment
Method
- In a mixing bowl, combine oats, mashed bananas, milk, and baking powder.
- Mix thoroughly until the batter is well combined and has a thick consistency.
- Preheat the griddle over medium heat and lightly grease it with oil or butter.
- Pour a scoop of batter onto the griddle and cook until bubbles form on the surface.
- Flip the pancake and cook for another 2-3 minutes until golden brown.
- Repeat with the remaining batter, adjusting heat as necessary.
Leave a Reply