
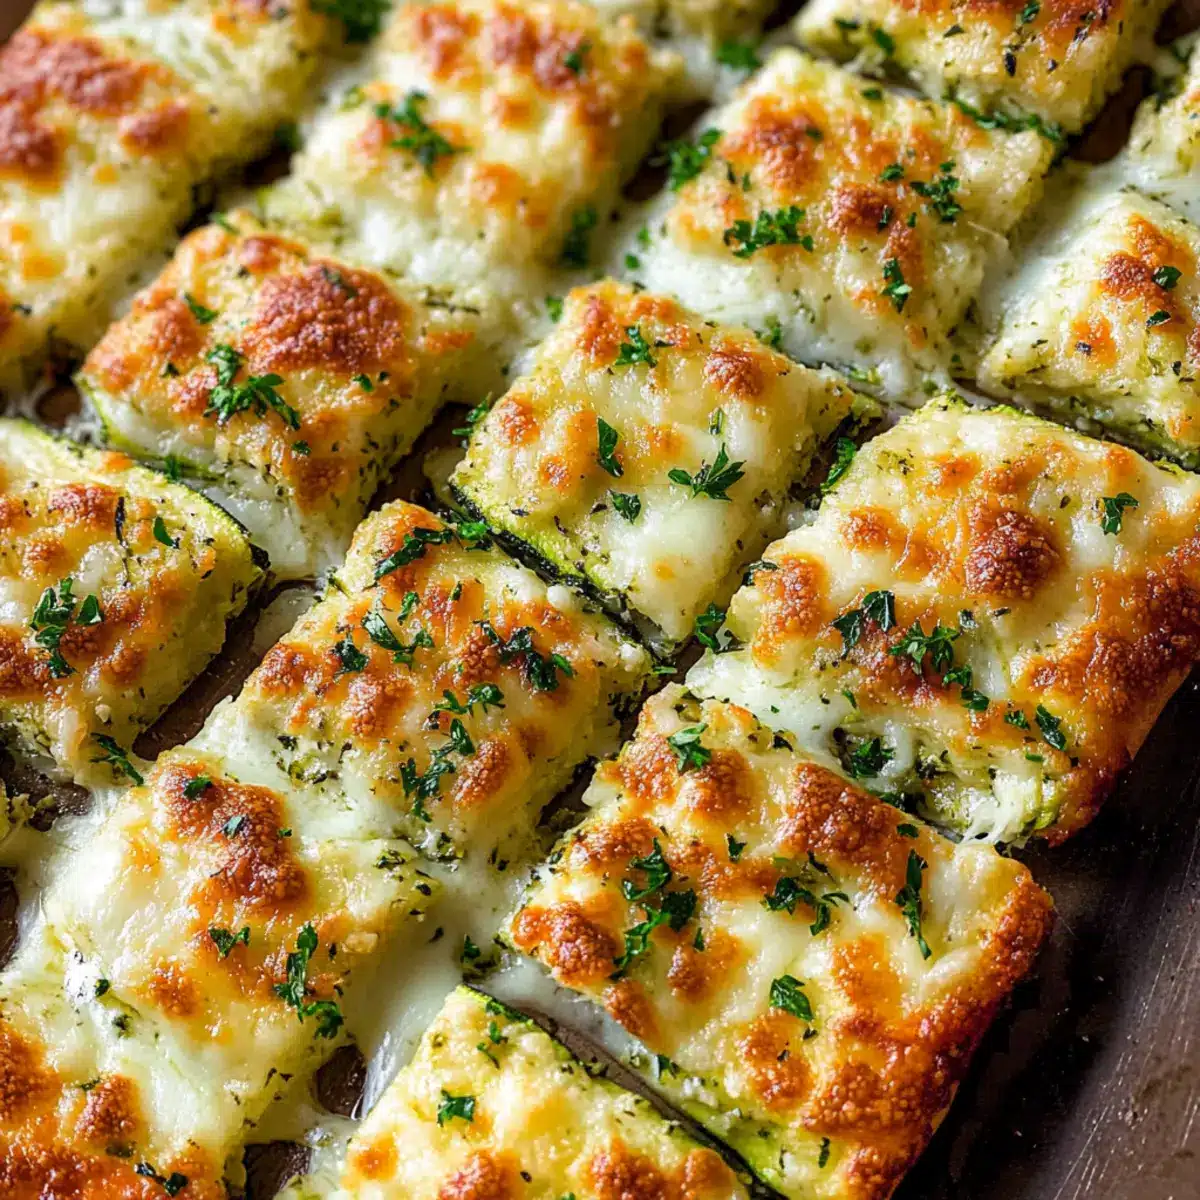
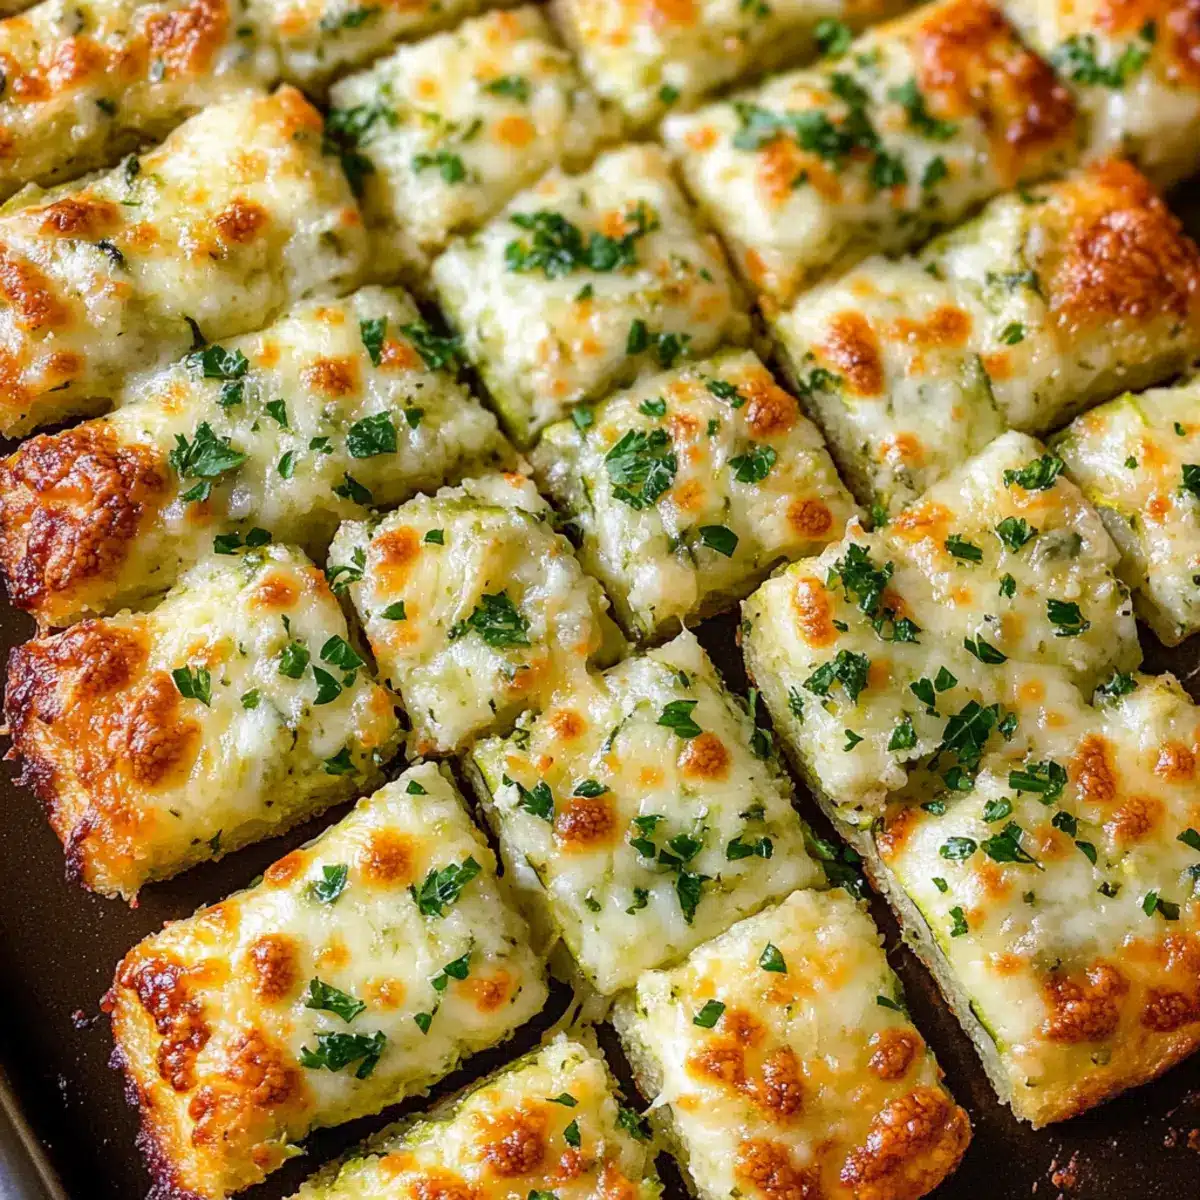
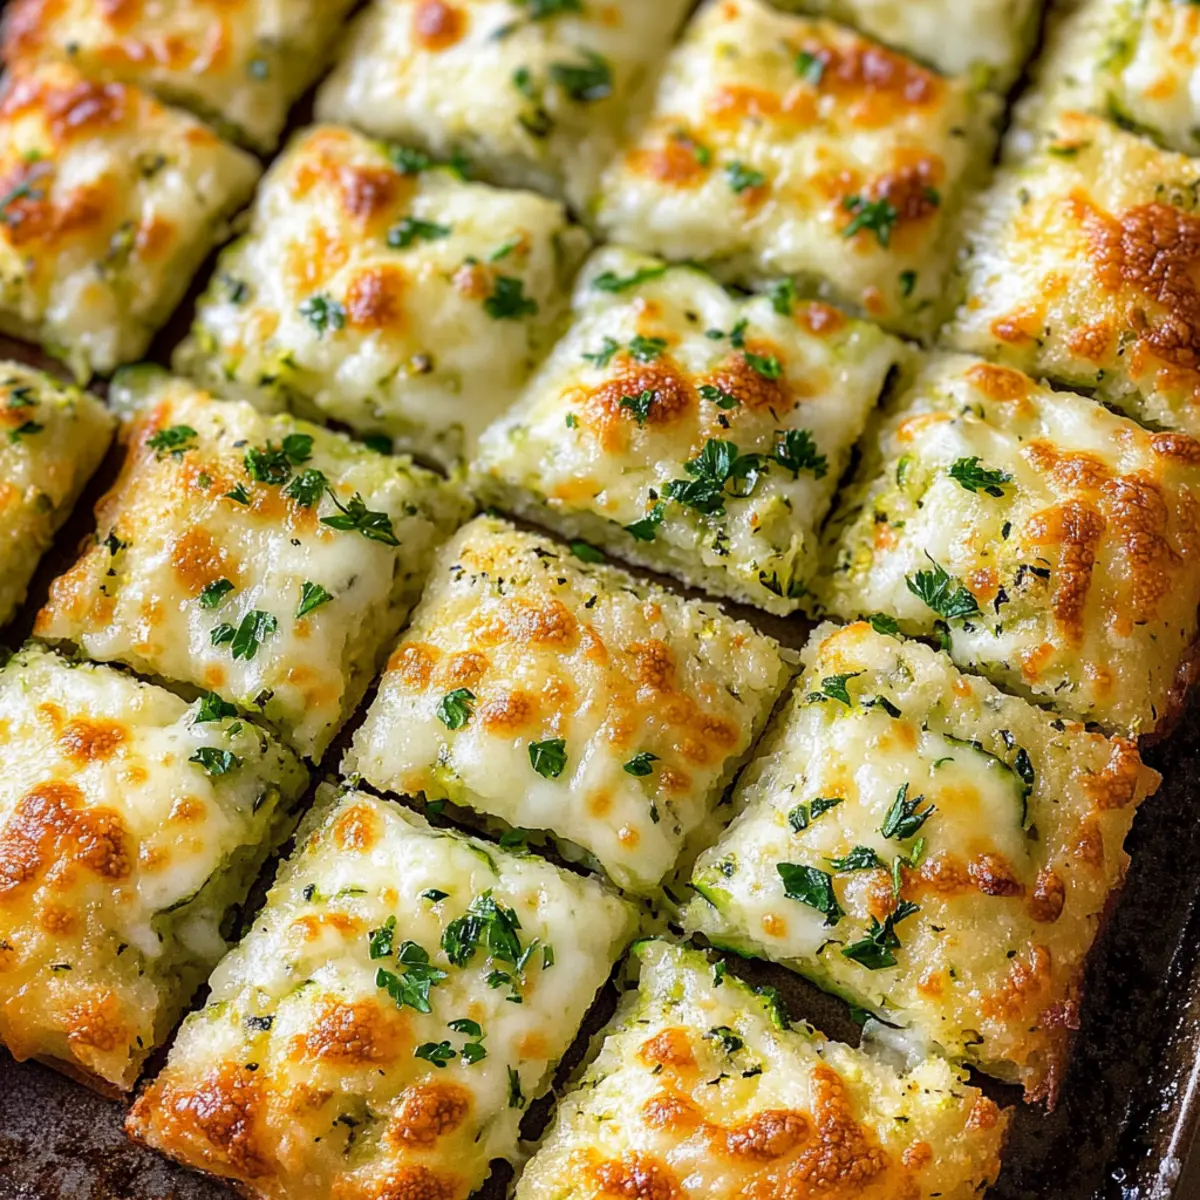
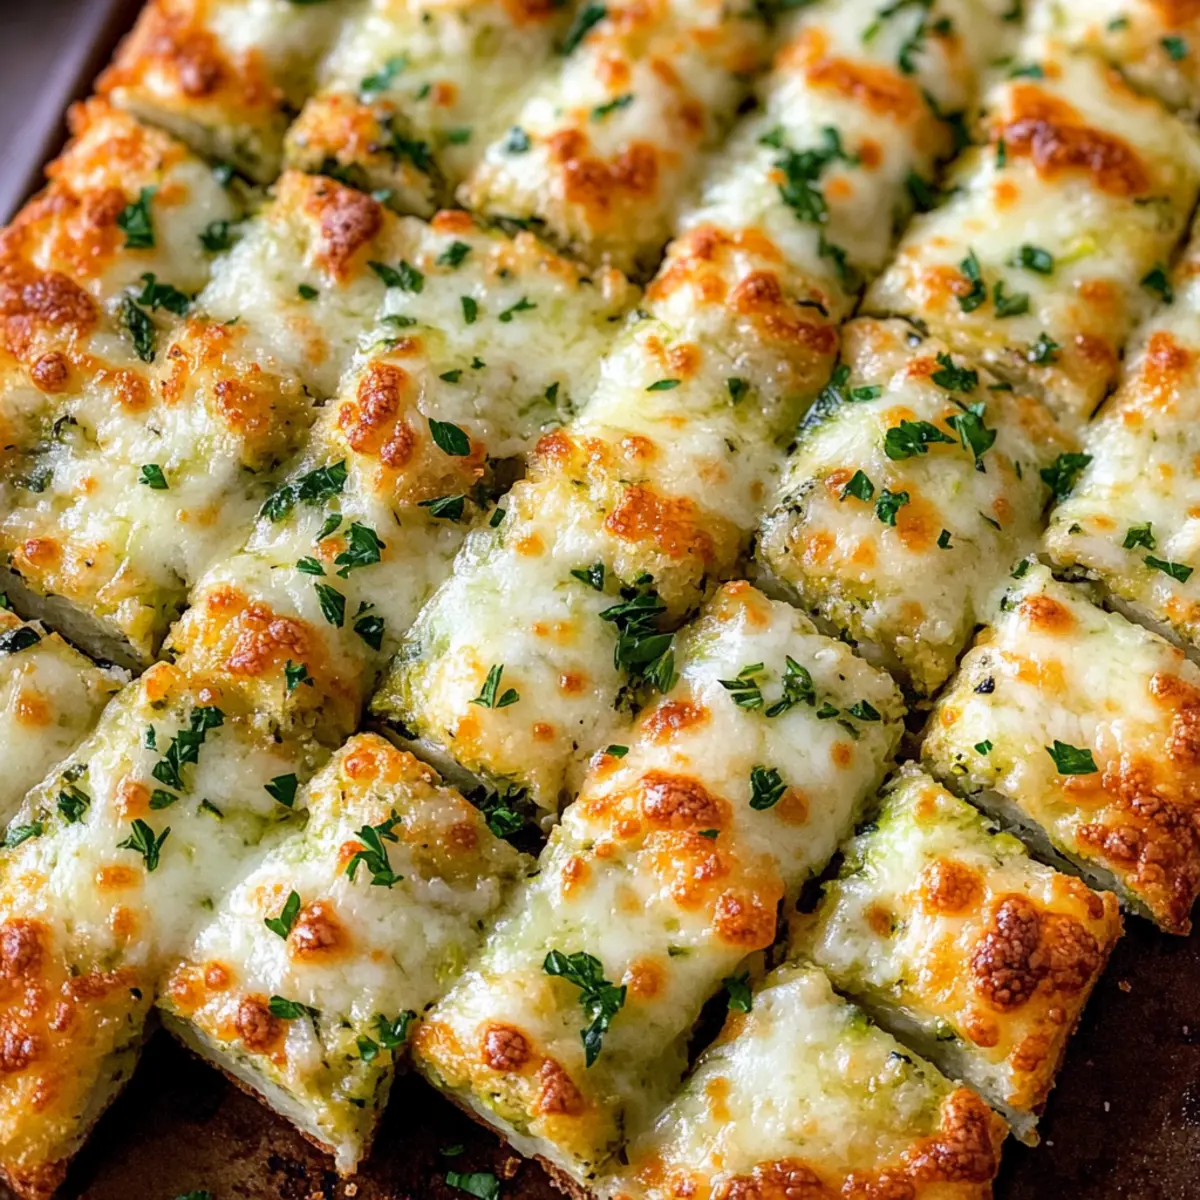
A moment of panic washed over me as I peeked into my fridge, searching for inspiration for a quick snack. Just as I contemplated another uninspired round of takeout, I spotted the lone zucchini silently waiting for its turn in the spotlight. Enter Cheesy Zucchini Breadsticks—a low-carb delight that magically transforms simple ingredients into a crispy, cheesy snack everyone can enjoy. These breadsticks are not only easy to whip up, but they also act as the perfect vehicle for sneaking more veggies into your family’s meals. Whether you’re serving them as an appetizer for game night or a warm treat after school, they promise to disappear in minutes. Trust me—once you dip these golden beauties into marinara or ranch, you’ll find yourself reaching for seconds (and thirds!). Feeling curious about how to make this delectable dish? Let’s dive in!
Why Are Cheesy Zucchini Breadsticks a Hit?
Kid-Approved: These zucchini breadsticks are so cheesy and flavorful that kids can’t resist them! They’re a fantastic way to introduce more vegetables into their diet without them even noticing.
Quick & Easy: With just a handful of ingredients and minimal prep time, whipping up these snacks is a breeze—perfect for busy weeknights or last-minute gatherings.
Versatile Enjoyment: Serve them as a tasty appetizer, after-school treat, or alongside your family’s favorite pizza. The possibilities are endless!
Healthy & Guilt-Free: As a low-carb and gluten-free option, these breadsticks satisfy cravings without the added guilt—a win for parents looking for healthier choices. Take a moment to explore other crowd-pleasers like Spicy Southern Cheesy and Cheesy Meat Potato dishes for even more family-friendly fun.
Perfect for Dipping: Pair these cheesy delights with marinara or ranch dressing, elevating your snack experience and guaranteeing every last bite is enjoyed!
Cheesy Zucchini Breadsticks Ingredients
For the Zucchini Mixture
• Zucchini – About 2 cups shredded; adds moisture and serves as the base. Ensure to squeeze out as much moisture as possible to avoid soggy breadsticks.
• Eggs – 2 large; acts as a binder to hold all ingredients together.
• Mozzarella Cheese – ½ cup (plus another 1 cup for topping); provides stretch and cheesiness. Use low-moisture mozzarella for best results.
• Parmesan Cheese – ¼ cup grated; enhances flavor with its nutty, savory notes.
• Garlic Powder – 1 teaspoon; adds that classic garlic bread flavor. Fresh minced garlic can be substituted if preferred.
• Italian Seasoning – 1 teaspoon; a mix of dried herbs that balance the overall flavor.
• Salt – ½ teaspoon; seasoning for the zucchini base.
• Black Pepper – ¼ teaspoon; additional seasoning.
For Garnish
• Fresh Parsley or Basil – optional; adds flavor and enhances presentation.
These Cheesy Zucchini Breadsticks are packed with flavor and the perfect snack for your family! Enjoy!
Step‑by‑Step Instructions for Cheesy Zucchini Breadsticks
Step 1: Prepare Zucchini
Preheat your oven to 425°F (220°C) and line a baking sheet with parchment paper to ensure easy cleanup. Grate about 2 cups of zucchini using a box grater or food processor, then place it in a clean kitchen towel. Twist the towel to squeeze out as much moisture as possible; this is crucial for achieving crisp Cheesy Zucchini Breadsticks.
Step 2: Make the Crust
In a large mixing bowl, combine the drained zucchini with 2 large eggs, ½ cup of shredded mozzarella cheese, ¼ cup of grated Parmesan, 1 teaspoon of garlic powder, 1 teaspoon of Italian seasoning, ½ teaspoon of salt, and ¼ teaspoon of black pepper. Stir this mixture well until everything is nicely incorporated, creating a flavorful base that will hold your Cheesy Zucchini Breadsticks together.
Step 3: Shape and Bake
Transfer the zucchini mixture onto the prepared baking sheet, spreading it into a thin, even rectangle about ½ inch thick. Use a spatula to smooth the surface and ensure uniform edges. Bake in the preheated oven for 20-25 minutes, or until the crust is golden brown and firm to the touch. This step is vital for creating a sturdy foundation before adding the cheesy topping.
Step 4: Add Cheese Topping
Once the crust is beautifully browned, carefully remove it from the oven and sprinkle the remaining 1 cup of mozzarella cheese generously over the top. Return the baking sheet to the oven and bake for an additional 5-7 minutes, or until the cheese is melted and bubbly, creating that irresistible cheesy layer on your Cheesy Zucchini Breadsticks.
Step 5: Slice and Serve
After removing the breadsticks from the oven, let them cool for about 5 minutes on the baking sheet. This cooling period helps them set further. Using a sharp knife or pizza cutter, slice the breadsticks into individual pieces. Garnish with freshly chopped parsley or basil if desired, and serve warm with your favorite marinara sauce or ranch for dipping.
What to Serve with Cheesy Zucchini Breadsticks
Delight your senses with these cheesy, crispy treats as the star of a delicious meal experience.
- Creamy Garlic Dip: This rich, velvety dip complements the garlic notes in the breadsticks while adding a smooth texture. Perfect for dunking!
- Garlic Butter Shrimp: Juicy, succulent shrimp in a garlic butter sauce pair beautifully with the cheesy zing, creating a savory seafood experience.
- Mixed Green Salad: A fresh, crisp salad tossed with a tangy vinaigrette offers a bright contrast to the warmth of the breadsticks, keeping each bite refreshing.
- Tomato Basil Soup: Serve these breadsticks alongside a warm bowl of tomato basil soup for a comforting combo that feels hearty yet light.
- Stuffed Bell Peppers: Colorful bell peppers filled with rice and savory herbs make a delightful main dish that enhances the veggie aspect of the meal.
- Herbed Quinoa: Light, fluffy quinoa loaded with herbs and lemon zest offers a wholesome, grainy side that balances the cheese’s richness.
- Light Red Wine: A glass of light pinot noir or merlot enhances the meal’s flavor, adding a touch of sophistication to your casual get-together.
- Dark Chocolate Covered Strawberries: End the meal on a sweet note with these juicy berries, combining the rich chocolate with the natural sweetness of fruit for the perfect dessert.
Make Ahead Options
These Cheesy Zucchini Breadsticks are fantastic for meal prep and can easily be made ahead to save you time during busy weeknights! You can bake the base of the breadsticks and refrigerate it for up to 3 days. Just make sure to allow them to cool completely before storing in an airtight container. When you’re ready to serve, simply top with cheese and reheat in a preheated oven at 375°F (190°C) for about 10 minutes until the cheese is melted and bubbly. For longer storage, freeze the baked crust without toppings, and when desired, add cheese and bake directly from frozen—perfect for a quick, delicious snack anytime!
Expert Tips for Cheesy Zucchini Breadsticks
- Moisture Control: Squeeze the zucchini thoroughly to avoid soggy breadsticks. Excess moisture can lead to a mushy texture that ruins your delicious dish.
- Oven Temperature: Make sure your oven is preheated to 425°F (220°C) before baking. A hot oven helps achieve a perfectly crisp crust on your Cheesy Zucchini Breadsticks.
- Cheese Quality: Use low-moisture mozzarella for best melting results. Fresh mozzarella can be too watery and may affect the texture.
- Make Ahead: Bake the zucchini base ahead of time and store it in the fridge. When ready to serve, just add cheese and reheat for a quick snack.
- Flavor Variations: Don’t hesitate to experiment with spices! Adding red pepper flakes or fresh herbs can bring exciting new flavors to your Cheesy Zucchini Breadsticks.
Cheesy Zucchini Breadsticks Variations
Feel free to get creative and customize your Cheesy Zucchini Breadsticks to suit your taste!
- Cheese Blend: Combine mozzarella with provolone and cheddar for a richer, decadent flavor. This cheesy trio will elevate each bite to ooey-gooey perfection.
- Dairy-Free: Use non-dairy mozzarella and Parmesan substitutes to enjoy these delicious breadsticks without dairy. They’ll still be a hit with everyone, even the non-dairy crowd!
- Herb-Infused: Add fresh chopped herbs, like basil or oregano, into the zucchini mixture for an aromatic twist. This will lend your breadsticks a fresh burst of flavor that pairs beautifully with marinara.
- Spicy Kick: Mix in some red pepper flakes or diced jalapeños for an added level of heat. It’s the perfect way to spice things up for a more adventurous snack!
- Pizza Style: Spread a thin layer of marinara sauce on the crust before topping with cheese for a pizza-inspired version. These will taste like your favorite pizza in stick form!
- Veggie-Packed: Toss in finely diced bell peppers or spinach into the zucchini mixture for extra nutrition and flavor. This is a delightful way to pack even more veggies into your snack.
- Crunchy Topping: Sprinkle some seasoned breadcrumbs on top of the cheese before baking for an added crunch. They’ll provide a unique texture that contrasts beautifully with the gooey cheese.
- Garlic Lovers: For an extra garlic punch, add minced garlic directly to the zucchini mixture. This will deepen the savory flavor profile and make your breadsticks irresistible!
Explore these ideas to make your Cheesy Zucchini Breadsticks even more exciting! For more wonderful family-friendly meals, check out my recipes for Cheesy Ground Beef and Spicy Southern Cheesy dishes.
How to Store and Freeze Cheesy Zucchini Breadsticks
Fridge: Store leftovers in an airtight container for up to 3 days—these Cheesy Zucchini Breadsticks are best enjoyed fresh but still tasty when reheated!
Freezer: For longer storage, freeze the un-topped zucchini crust in a single layer, then wrap tightly. Use within 1 month for optimal quality; simply add cheese and bake when ready.
Reheating: For the best texture, reheat in an oven or air fryer until warm and crisp—microwaving, while quicker, may result in sogginess.
Cooling: Allow cooked breadsticks to cool completely before storing or freezing to maintain their delightful texture.
Cheesy Zucchini Breadsticks Recipe FAQs
What should I look for when selecting zucchini?
Absolutely! When selecting zucchini, look for firm, smooth-skinned ones that are medium-sized, ideally about 6-8 inches long. Avoid zucchinis with dark spots or soft spots, as these could indicate overripeness. Freshness is key for achieving that delightful crispness in your Cheesy Zucchini Breadsticks.
How should I store leftover Cheesy Zucchini Breadsticks?
Store any leftovers in an airtight container in the fridge for up to 3 days. For optimal reheating, I recommend using an oven or air fryer to bring them back to life, ensuring they stay crispy. If you just microwave them, they might turn soggy—a definite no-no for these tasty treats!
Can I freeze Cheesy Zucchini Breadsticks?
Yes! To freeze them, bake the un-topped zucchini crust first, then let it cool completely. Wrap the cooled crust tightly in plastic wrap and aluminum foil, and store in the freezer for up to 1 month. When you’re ready to enjoy, just add your cheese topping and bake directly from the freezer for an easy snack!
What are some troubleshooting tips if my Zucchini Breadsticks come out soggy?
Very! If your breadsticks are soggy, chances are the zucchini was not squeezed enough to remove excess moisture before baking. Next time, squeeze the grated zucchini thoroughly using a clean kitchen towel until no liquid drips out. If you still find them too moist after baking, consider increasing the baking time by 5-10 minutes on a higher rack, allowing for even more crispiness.
Are these Cheesy Zucchini Breadsticks safe for kids with allergies?
You bet! These Cheesy Zucchini Breadsticks are a great option; they’re gluten-free (as long as you use certified gluten-free cheese), and you can easily customize them to be dairy-free by using non-dairy cheese alternatives. Just be sure to check all ingredient labels carefully if your child has specific allergies!
Cheesy Zucchini Breadsticks: Guilt-Free, Kid-Approved Snack
Ingredients
Equipment
Method
- Preheat your oven to 425°F (220°C) and line a baking sheet with parchment paper.
- Grate about 2 cups of zucchini using a box grater or food processor, then place it in a clean kitchen towel. Twist the towel to squeeze out as much moisture as possible.
- In a mixing bowl, combine the drained zucchini, eggs, ½ cup mozzarella cheese, Parmesan, garlic powder, Italian seasoning, salt, and black pepper. Stir until well combined.
- Transfer the mixture onto the prepared baking sheet, spreading it into a thin, even rectangle about ½ inch thick. Bake for 20-25 minutes until golden brown and firm.
- Remove the crust from the oven and sprinkle the remaining 1 cup of mozzarella cheese over the top. Bake for an additional 5-7 minutes until the cheese is melted and bubbly.
- Let the breadsticks cool for 5 minutes, then slice into individual pieces. Garnish with parsley or basil and serve warm.
Leave a Reply