
The other day, while waiting for my lunch to be delivered, I found myself reminiscing about the simple joy of a homemade meal. Enter the Ultimate Chicken Caesar Wraps—a satisfying solution for anyone looking for a hearty meal that’s a step above takeout. These wraps offer the perfect medley of juicy, golden-brown chicken, crisp romaine, and crunchy croutons, all swirled together in a creamy Caesar dressing. Not only are they incredibly easy to prepare, but they also make for a delightful lunch or quick dinner that will impress anyone at your table. Ready to learn how to create these mouthwatering wraps and transform your mealtime into something special? Let’s dive in!
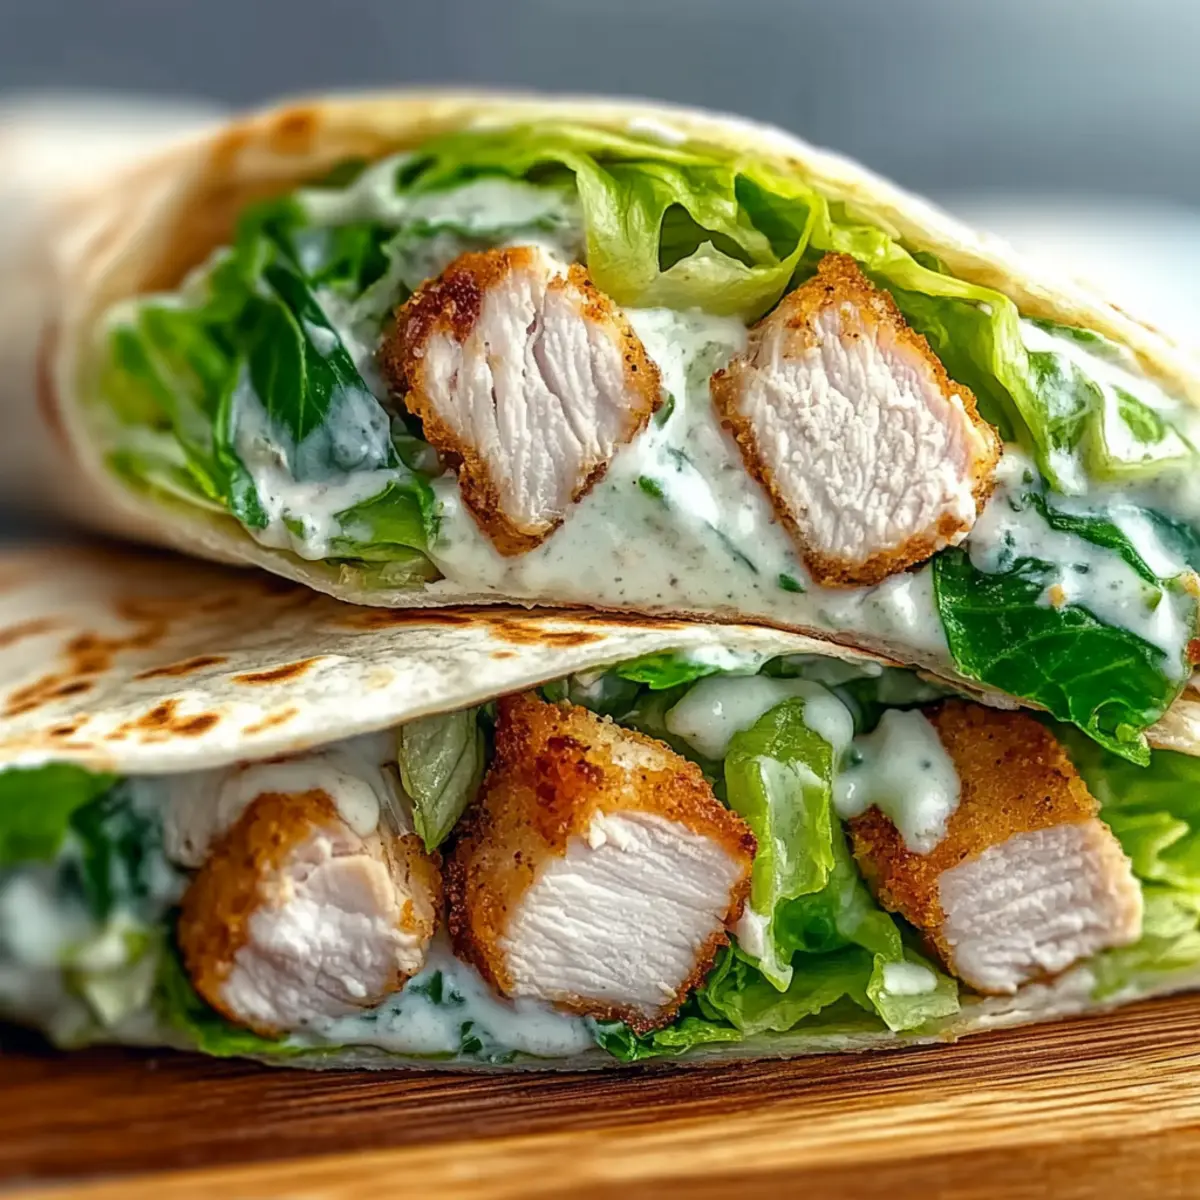
Why Are These Wraps So Irresistible?
Flavor Explosion: The incredible blend of savory chicken and creamy Caesar dressing is a match made in culinary heaven.
Quick Assembly: Perfect for busy weeknights, you can whip these up in under 30 minutes!
Hearty and Satisfying: With protein-packed chicken and fresh vegetables, these wraps are sure to fill you up.
Crowd-Pleasing Appeal: Great for family meals or gatherings, they cater to various tastes and are easily customizable!
Delicious Leftovers: Prep ingredients ahead of time for easy lunches throughout the week, making mealtime a breeze. If you’re looking for more lunch inspiration, check out my Peanut Chicken Wraps or Chicken Enchiladas for more mouthwatering ideas!
Chicken Caesar Wrap Ingredients
• A perfect blend for delightful wraps!
For the Chicken
- Boneless, skinless chicken breasts – These provide a hearty protein base; pat them dry before cooking for that golden crust.
- Olive oil – Used for searing the chicken; it enhances flavor and browning. Feel free to substitute with any neutral oil.
- Kosher salt and black pepper – Essential for seasoning; adjust to your taste for the best results.
For the Salad Filling
- Romaine lettuce – Adds freshness and crunch; make sure it’s thoroughly dried to prevent sogginess in the wraps.
- Shaved parmesan cheese – Offers a sharp umami flavor; you can substitute with grated parmesan if needed.
- Rustic croutons – Deliver a satisfying crunch; lightly crush them to fit neatly into the wrap without tearing the tortilla.
- Creamy white Caesar dressing – Binds everything together while adding rich flavor; choose a thick dressing to maintain the wrap’s structure.
For the Wrap
- Soft white flour tortillas (10-inch) – Holds all fillings nicely; ensure they’re fresh for the best taste and texture.
Now you’re all set to create these mouthwatering Chicken Caesar Wraps, which are sure to elevate your lunch or dinner experience! Enjoy every bite!
Step‑by‑Step Instructions for Ultimate Chicken Caesar Wraps
Step 1: Season and Sear Chicken
Begin by patting the boneless, skinless chicken breasts dry with paper towels, ensuring they’re ready for a perfect sear. Season each side generously with kosher salt and black pepper. Heat 2 tablespoons of olive oil in a skillet over medium-high heat. Sear the chicken for about 5-6 minutes per side, until golden brown and cooked through, reaching an internal temperature of 165°F (74°C).
Step 2: Rest and Slice Chicken
Once the chicken is beautifully browned, transfer it to a cutting board. Let it rest for 5 minutes in a single layer; this step locks in moisture. After resting, slice the chicken into thick, juicy pieces. Set aside as you prepare the fresh filling for your Chicken Caesar Wraps.
Step 3: Prepare Salad Filling
In a large mixing bowl, combine 2 cups of chopped romaine lettuce, 1 cup of shaved parmesan cheese, and 1 cup of lightly crushed rustic croutons. Drizzle ½ cup of creamy white Caesar dressing over the top. Toss everything gently but thoroughly to ensure all ingredients are evenly coated, creating a delicious, crunchy filling for your wraps.
Step 4: Wrap Assembly
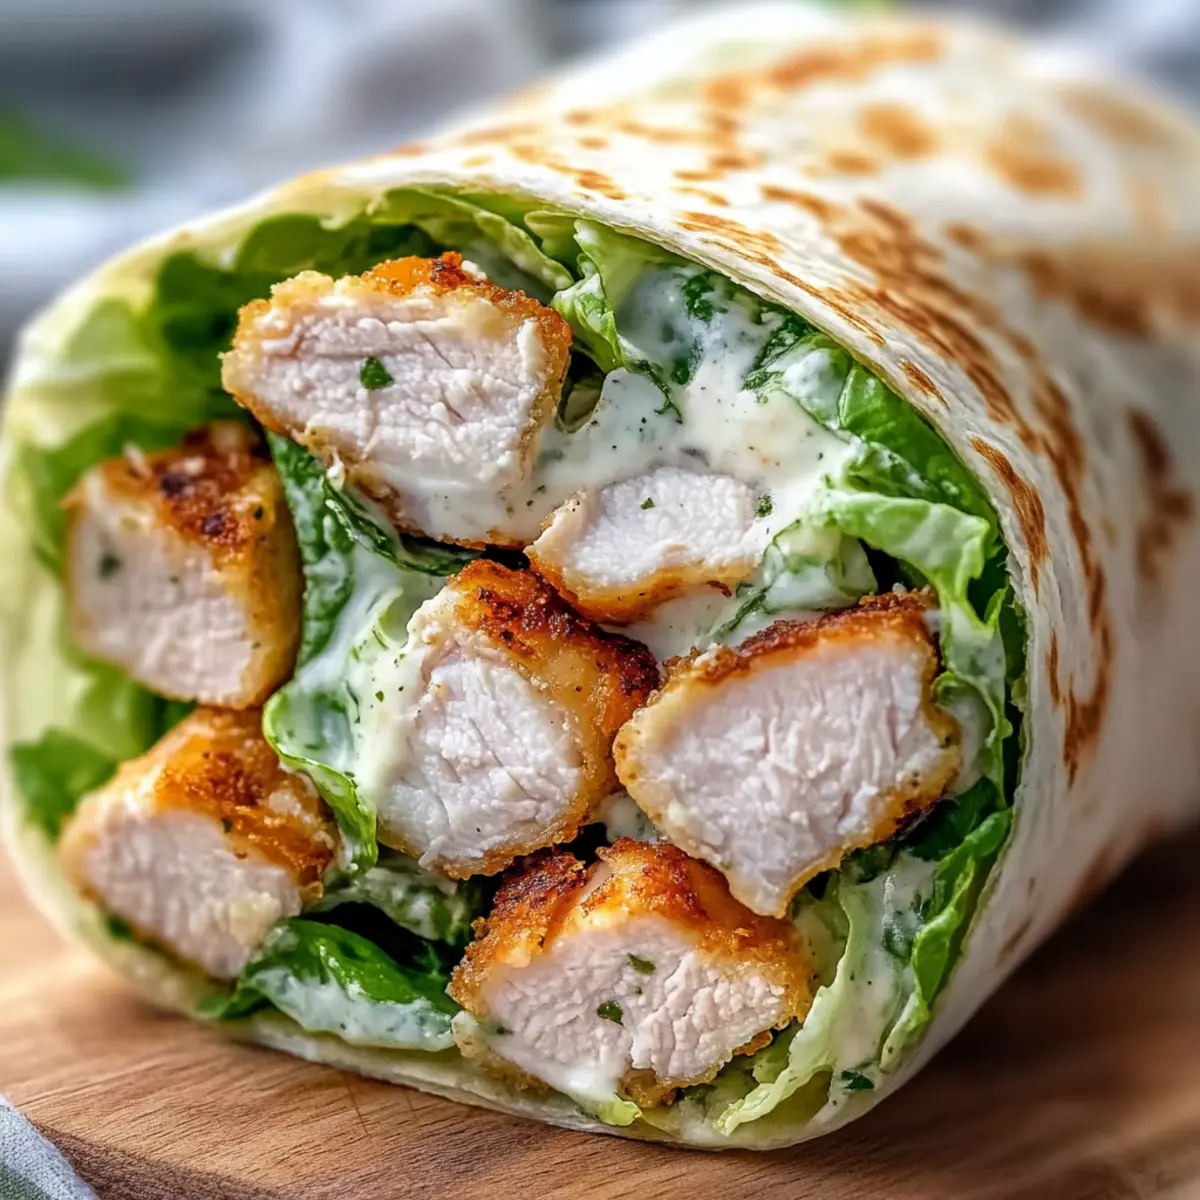
To assemble the Ultimate Chicken Caesar Wraps, start by warming the soft white flour tortillas in a dry skillet for about 30 seconds on each side; this makes them pliable. Lay a tortilla flat and add a generous amount of the prepared salad filling and slices of seared chicken in the lower-middle section. Fold the sides inward and roll tightly from the bottom to the top, securing all the delicious fillings inside.
Step 5: Toast Wraps
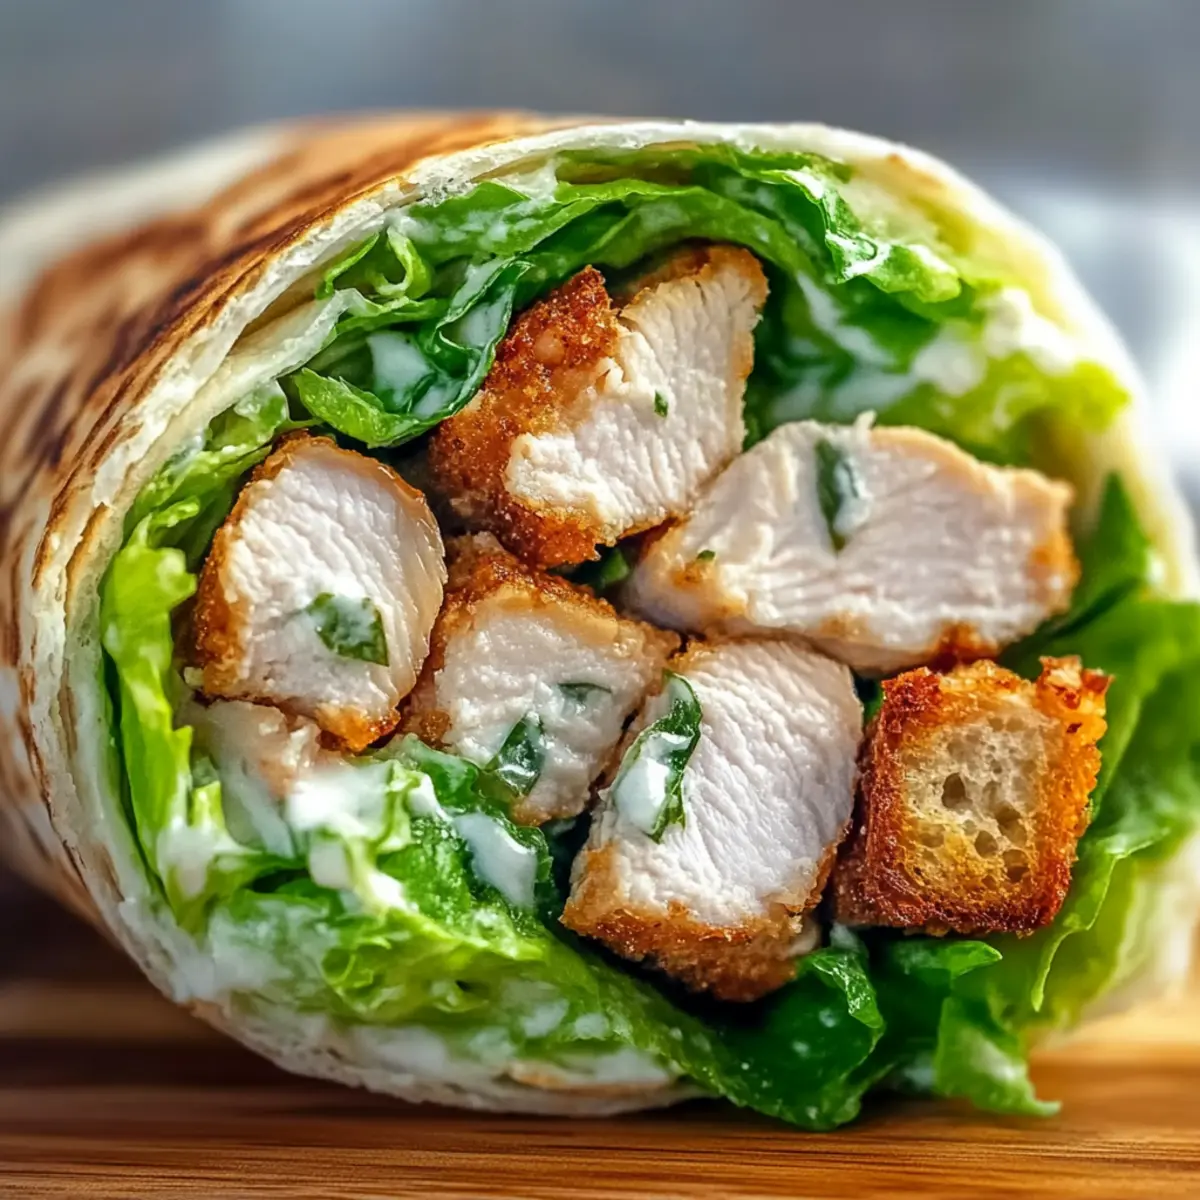
Heat the same dry skillet over medium heat, placing the assembled wraps seam-side down. Toast each wrap for 1-2 minutes on each side, or until they are golden brown and crisped to perfection. Carefully slice each wrap in half to reveal the tasty layers within, and get ready to serve your Ultimate Chicken Caesar Wraps!
Make Ahead Options
These Ultimate Chicken Caesar Wraps are a fantastic option for meal prep! You can cook the chicken and slice it up to 24 hours in advance, allowing the flavors to deepen while keeping the meat juicy. Additionally, you can assemble the salad filling—romaine, parmesan, croutons, and dressing—up to 3 days ahead. Simply store each component separately in airtight containers in the refrigerator to maintain their crispness and integrity. When you’re ready to enjoy your wraps, just warm the tortillas, fill them with the chilled salad and chicken, and toast them in a skillet for 1-2 minutes per side for a delightful, restaurant-quality meal at home, saving you time on busy weeknights!
What to Serve with Ultimate Chicken Caesar Wraps
Creating a delightful meal doesn’t have to be complicated—just add a few tasty companions to your wraps.
-
Tangy Potato Salad: This classic side offers a creamy texture and zesty flavor that beautifully contrasts the rich Caesar dressing.
-
Crunchy Coleslaw: Its crisp vegetables and tangy dressing introduce a fresher element that enhances the overall meal experience.
-
Sweet Potato Fries: Crispy on the outside and soft on the inside, these fries add a sweet note that pairs perfectly with the savory wraps.
-
Vegetable Skewers: Bright and colorful, these marinated and grilled veggies provide a delightful crunch and a burst of flavor.
-
Mediterranean Pasta Salad: With olives, feta, and fresh herbs, this robust salad brings a refreshing twist that complements the wraps.
-
Chilled Cucumber Soup: Light and refreshing, this soup serves as the perfect palate cleanser, offering a cool contrast to the warm wraps.
-
Lemonade or Iced Tea: A thirst-quenching beverage with a hint of tartness will enhance the flavors and elevate your meal experience.
How to Store and Freeze Chicken Caesar Wraps
-
Room Temperature: Chicken Caesar Wraps are best enjoyed fresh, but if left out, consume within 2 hours to ensure safety and quality.
-
Fridge: Store wrapped or in an airtight container in the fridge for up to 4 days. Reheat in a skillet for a few minutes before enjoying again.
-
Freezer: Freezing is not recommended for these wraps, as fresh ingredients like lettuce can become wilted and soggy once thawed.
-
Reheating: To reheat, place your Chicken Caesar Wraps seam-side down in a dry skillet over medium heat for about 2-3 minutes per side, or until warmed through and crisp.
Expert Tips for Ultimate Chicken Caesar Wraps
-
Perfect Temperature: Use a meat thermometer to ensure your chicken is cooked to 165°F (74°C); overcooking can dry it out.
-
Soggy Wrap Prevention: Make sure to thoroughly dry the romaine lettuce before combining it with the other ingredients to avoid a soggy Chicken Caesar Wrap.
-
Healthy Options: Substitute olive oil with avocado oil or use less dressing for a lighter wrap without compromising flavor.
-
Crouton Texture: Lightly crush the croutons before adding them to the filling; this will maintain the wrap’s integrity while delivering added crunch.
-
Tortilla Freshness: Use fresh tortillas for the best texture; stale tortillas can tear easily and won’t hold up during assembly.
Chicken Caesar Wraps Variations
Feel free to let your creativity shine by customizing these delicious wraps to suit your taste and dietary needs!
-
Rotisserie Chicken: Use 2 to 3 cups of chopped rotisserie chicken for a quicker and equally tasty option. Shredded chicken adds a new layer of flavor and texture!
-
Avocado Kick: Add sliced avocado for an extra creamy element that pairs beautifully with the Caesar dressing. It’ll take these wraps to another level of richness.
-
Bacon Boost: For a mouthwatering twist, try incorporating crispy bacon bits. The savory crunch complements the chicken perfectly and adds a delightful smoky flavor.
-
Vegan Alternative: Swap out chicken for grilled tofu or chickpeas, and use a dairy-free Caesar dressing. You won’t miss the meat with these robust flavors!
-
Spicy Twist: Mix in some sliced jalapeños or a dash of hot sauce for a kick of heat that elevates the flavor profile. It’s a fun way to spice things up!
-
Whole Wheat Tortillas: Choose whole wheat tortillas for added fiber and a nuttier flavor. This small swap makes your wraps a touch more nutritious!
-
Greek Influence: Swap the Caesar dressing for a tangy Greek yogurt dressing and add some diced cucumbers and kalamata olives for a refreshing Mediterranean spin.
-
Crunchy Add-ins: Toss in some diced bell peppers or shredded carrots for extra crunch and color. They bring a delightful freshness that complements the creamy elements beautifully.
Exploring these variations opens new doors of flavor in your Chicken Caesar Wraps. If you’re looking for more creative options, be sure to check out my Cheddar Bay Chicken or Cowboy Butter Chicken for a heartier twist!
Ultimate Chicken Caesar Wraps Recipe FAQs
How do I choose the best chicken for my wraps?
Absolutely! Always look for boneless, skinless chicken breasts that are firm and free of dark spots or bruises. The fresher, the better! For a golden crust, pat the chicken dry before cooking.
What is the best way to store leftover Chicken Caesar Wraps?
You can store your Chicken Caesar Wraps wrapped or in an airtight container in the fridge for up to 4 days. When you’re ready to enjoy, simply reheat them in a skillet over medium heat for 2-3 minutes per side to get that satisfying crispiness back.
Can I freeze Chicken Caesar Wraps?
Freezing is not recommended for Chicken Caesar Wraps. Fresh ingredients like romaine lettuce don’t hold up well when frozen, meaning they can turn mushy upon thawing. It’s best to prepare them fresh for that ultimate delightful crunch!
What should I do if my wraps turn soggy?
If your wraps are soggy, make sure you’re thoroughly drying your romaine lettuce before assembling. I often recommend adding the dressing just before eating rather than during assembly. This way, you prevent moisture buildup in the wraps.
Are Chicken Caesar Wraps suitable for my gluten-free friend?
Very! You can easily make these wraps gluten-free by using gluten-free tortillas. Just be sure to read the labels on all other ingredients, such as the Caesar dressing, to ensure they fit a gluten-free diet!
What if I have leftovers that I can’t eat within 4 days?
If you have leftovers that you won’t use within 4 days, consider prepping the ingredients separately. Store the chicken, salad filling, and wraps in airtight containers in the fridge until you’re ready to assemble. This way, you can enjoy fresh-looking wraps without compromising flavor or texture!
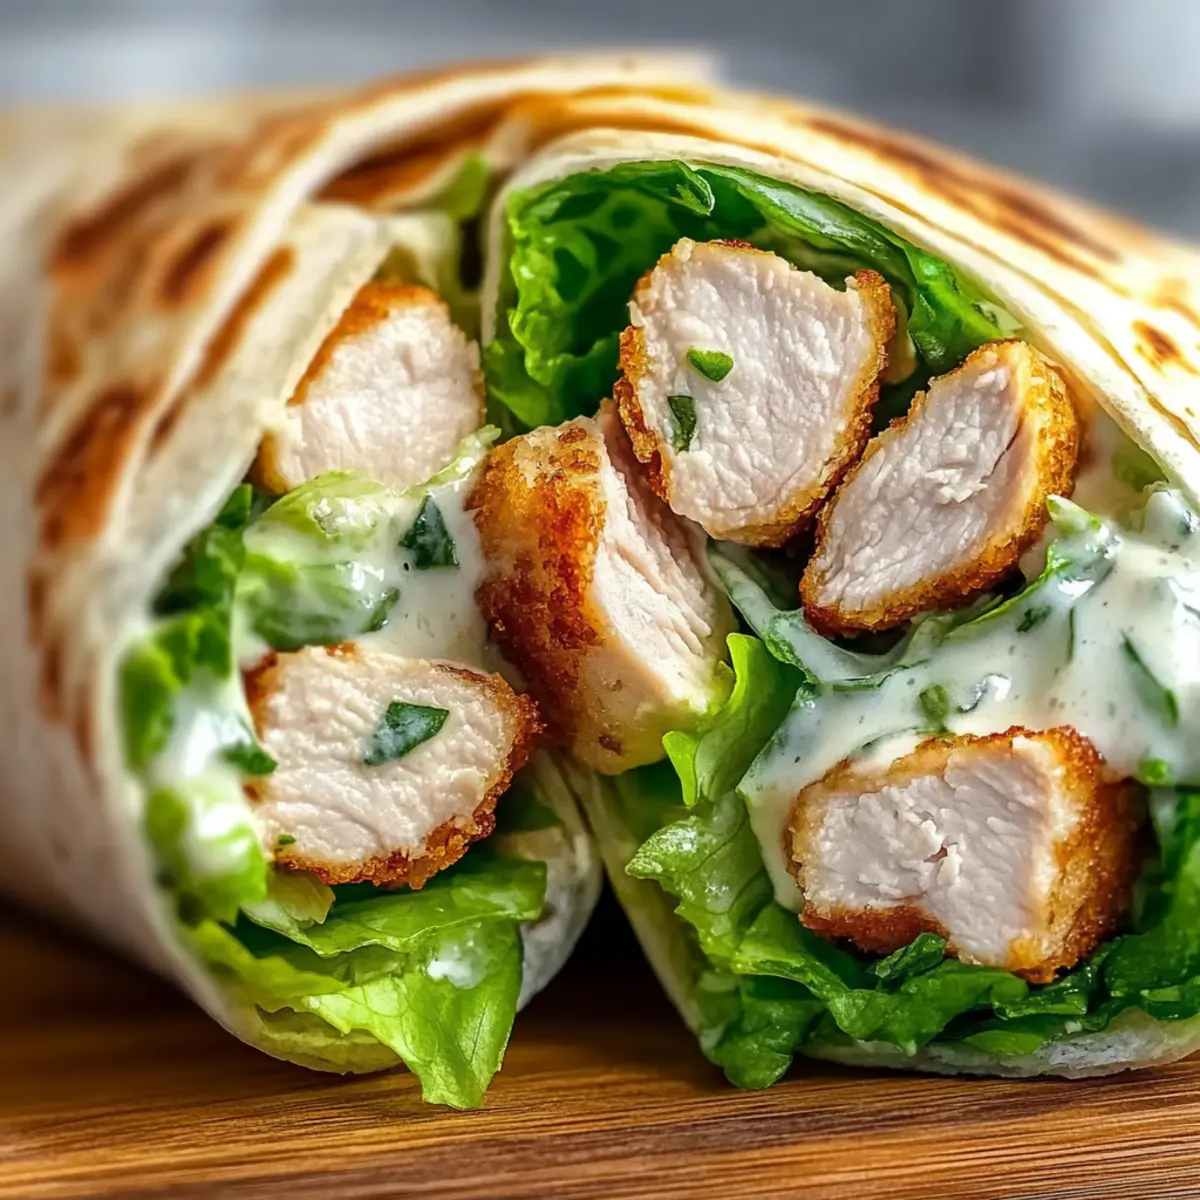
Irresistible Chicken Caesar Wraps: Perfectly Creamy Delight
Ingredients
Equipment
Method
- Pat the chicken breasts dry and season with salt and pepper. Heat olive oil in a skillet and sear chicken until golden brown, about 5-6 minutes per side.
- Let chicken rest for 5 minutes, then slice into thick pieces.
- In a bowl, combine romaine, parmesan, croutons, and Caesar dressing. Toss gently.
- Warm tortillas in a skillet. Lay a tortilla flat, add salad filling and chicken, then wrap tightly.
- Toast wraps seam-side down in the skillet for 1-2 minutes on each side until crispy.
Leave a Reply